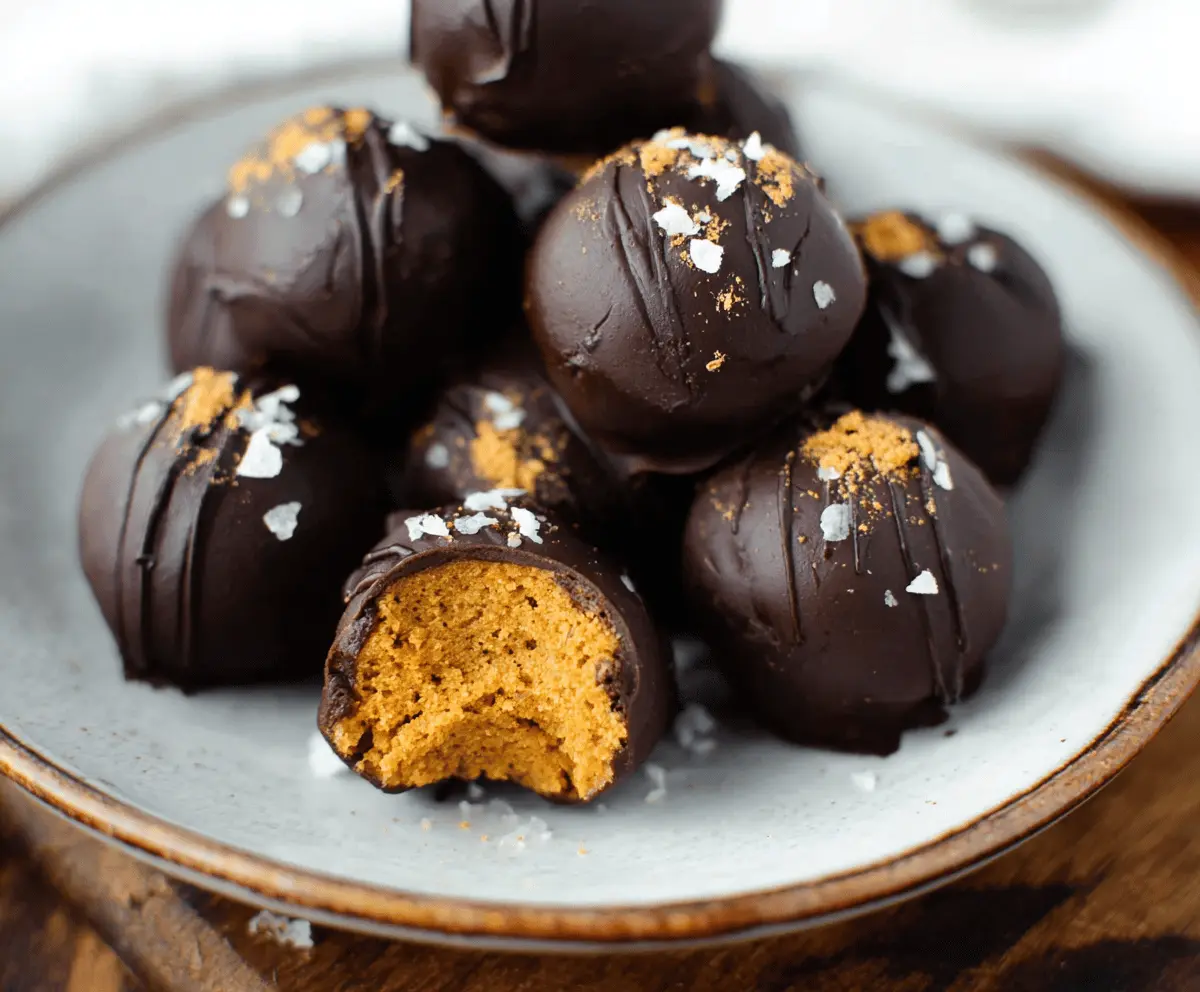
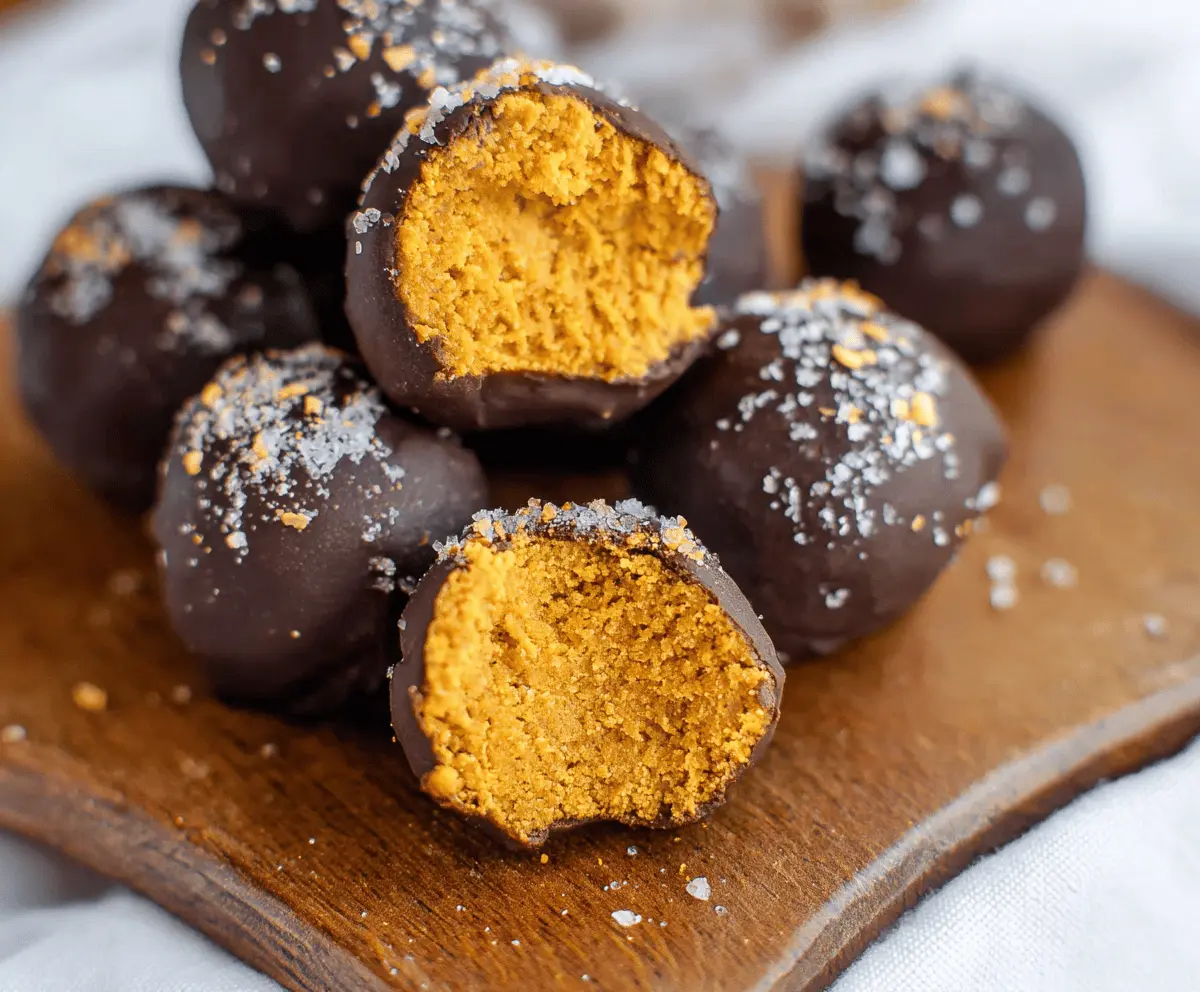
Healthy Pumpkin Truffles are little bites of autumn magic that combine smooth pumpkin, warm spices, and a touch of sweetness, all rolled into perfect bite-sized treats. These truffles are rich and creamy but made with wholesome ingredients that make them feel like a cozy, guilt-free snack or dessert.
I love making these truffles when I want something sweet but don’t want to reach for the usual sugary snacks. The pumpkin adds natural sweetness and moisture, while a hint of cinnamon and nutmeg gives them that warm fall feeling that makes you want to curl up with a good book. Plus, they’re so easy to pop in your mouth while working or relaxing!
My favorite way to enjoy these is chilled, straight from the fridge, especially when paired with a warm cup of tea or coffee. They also make a fun and thoughtful snack to share with friends during the holidays. I always find myself making a double batch because they disappear fast—guess that’s just proof how tasty they are!
Key Ingredients & Substitutions
Pumpkin Puree: Use canned pumpkin puree for convenience and consistent flavor. You can swap this with homemade pumpkin or butternut squash puree for a fresh twist. Avoid pumpkin pie filling as it contains extra sugar and spices.
Almond Flour: Almond flour gives these truffles a nice texture and healthy fats. If you have nut allergies, try oat flour or finely ground sunflower seeds as alternatives.
Maple Syrup or Honey: These natural sweeteners add gentle sweetness. Maple syrup is vegan-friendly, while honey is great if you want a richer flavor. You can also substitute with agave or date syrup.
Dark Chocolate (70% cocoa or higher): I prefer dark chocolate for its rich taste and less sugar. If you like sweeter truffles, a 60% cocoa chocolate works. Vegan chocolate chips are also an option if you want dairy-free.
How Do You Get the Perfect Chocolate Coating on Pumpkin Truffles?
Coating the pumpkin balls with chocolate can feel tricky, but the key is in chilling and handling carefully.
- Freeze the pumpkin balls well before dipping so they hold shape and the chocolate sets quickly.
- Use a fork or toothpick to dip the balls to avoid messy fingers.
- Let excess chocolate drip off before placing them on parchment paper.
- Sprinkle flaky sea salt on top while the chocolate is still wet for a nice contrast.
- Refrigerate until set so the chocolate hardens well and the truffles are easy to eat.
Equipment You’ll Need
- Mixing bowl – perfect for combining all your ingredients quickly and easily.
- Spoon or small cookie scoop – helps portion out uniform truffle balls.
- Baking sheet lined with parchment paper – keeps the truffles from sticking during freezing.
- Microwave-safe bowl – for melting the chocolate smoothly without burning.
- Fork or toothpick – makes dipping truffles into chocolate neat and simple.
- Airtight container – essential for storing your truffles and keeping them fresh.
Flavor Variations & Add-Ins
- Add a pinch of cayenne pepper to the pumpkin mix for a subtle spicy kick that pairs well with chocolate.
- Mix in chopped pecans or walnuts for added crunch and a nutty flavor.
- Use white chocolate instead of dark chocolate for a sweeter and creamier coating.
- Stir in mini dark chocolate chips or dried cranberries to the pumpkin mixture for extra texture and surprise bites.
Healthy Pumpkin Truffles
Ingredients You’ll Need:
Main Ingredients:
- 1 cup canned pumpkin puree (unsweetened)
- 1 cup almond flour
- 2 tablespoons maple syrup or honey
- 1 teaspoon pumpkin pie spice
- ½ teaspoon vanilla extract
- Pinch of salt
For Coating:
- 6 ounces dark chocolate (70% cocoa or higher), melted
- Flaky sea salt for garnish (optional)
How Much Time Will You Need?
This recipe takes about 15 minutes to prepare plus 1.5 hours for chilling and setting. You’ll mix up the pumpkin dough, roll it into balls, freeze them, then dip in chocolate and refrigerate a bit longer. It’s simple and hands-off most of the time!
Step-by-Step Instructions:
1. Mix the Pumpkin Dough
In a bowl, combine pumpkin puree, almond flour, maple syrup (or honey), pumpkin pie spice, vanilla extract, and a pinch of salt. Stir until you get a dough-like mix. If it feels too sticky, add a little more almond flour until you can easily shape it.
2. Shape the Truffles
Scoop small spoonfuls and roll them into 1-inch balls with your hands. Lay the balls out evenly on a baking sheet lined with parchment paper.
3. Chill the Pumpkin Balls
Put the baking sheet in the freezer for around 30 minutes. This makes the balls firm and easier to coat in chocolate.
4. Melt the Chocolate
While the balls chill, melt your dark chocolate in a microwave-safe bowl. Heat in 30-second bursts, stirring in between until smooth and fully melted.
5. Dip and Coat
Take the pumpkin balls from the freezer. Use a fork or toothpick to dip each ball into the melted chocolate, making sure it’s fully covered. Let the extra chocolate drip off, then place the coated truffles back onto the parchment paper.
6. Add Salt & Set
Sprinkle a tiny pinch of flaky sea salt on each truffle while the chocolate is still wet for a subtle salty flavor boost.
7. Chill Until Ready
Refrigerate the truffles for at least 1 hour so the chocolate hardens completely. Keep them stored in an airtight container in the fridge and enjoy chilled whenever you want a healthy sweet snack!
Can I Use Fresh Pumpkin Instead of Canned?
Yes! Just roast and puree fresh pumpkin until smooth. Make sure to drain any excess moisture to keep the dough from being too wet, then use it the same way as canned pumpkin.
How Should I Store Leftover Pumpkin Truffles?
Store them in an airtight container in the refrigerator for up to a week. For longer storage, you can freeze them—just thaw in the fridge before enjoying.
Can I Substitute Almond Flour with Another Flour?
Sure! Oat flour or finely ground sunflower seeds make good alternatives if you have nut allergies. Just keep an eye on texture, as the dough might need a little adjustment.
What’s the Best Way to Melt the Chocolate?
The microwave works great—heat in 30-second bursts, stirring each time to avoid burning. Alternatively, use a double boiler on the stove for gentle, even melting.
