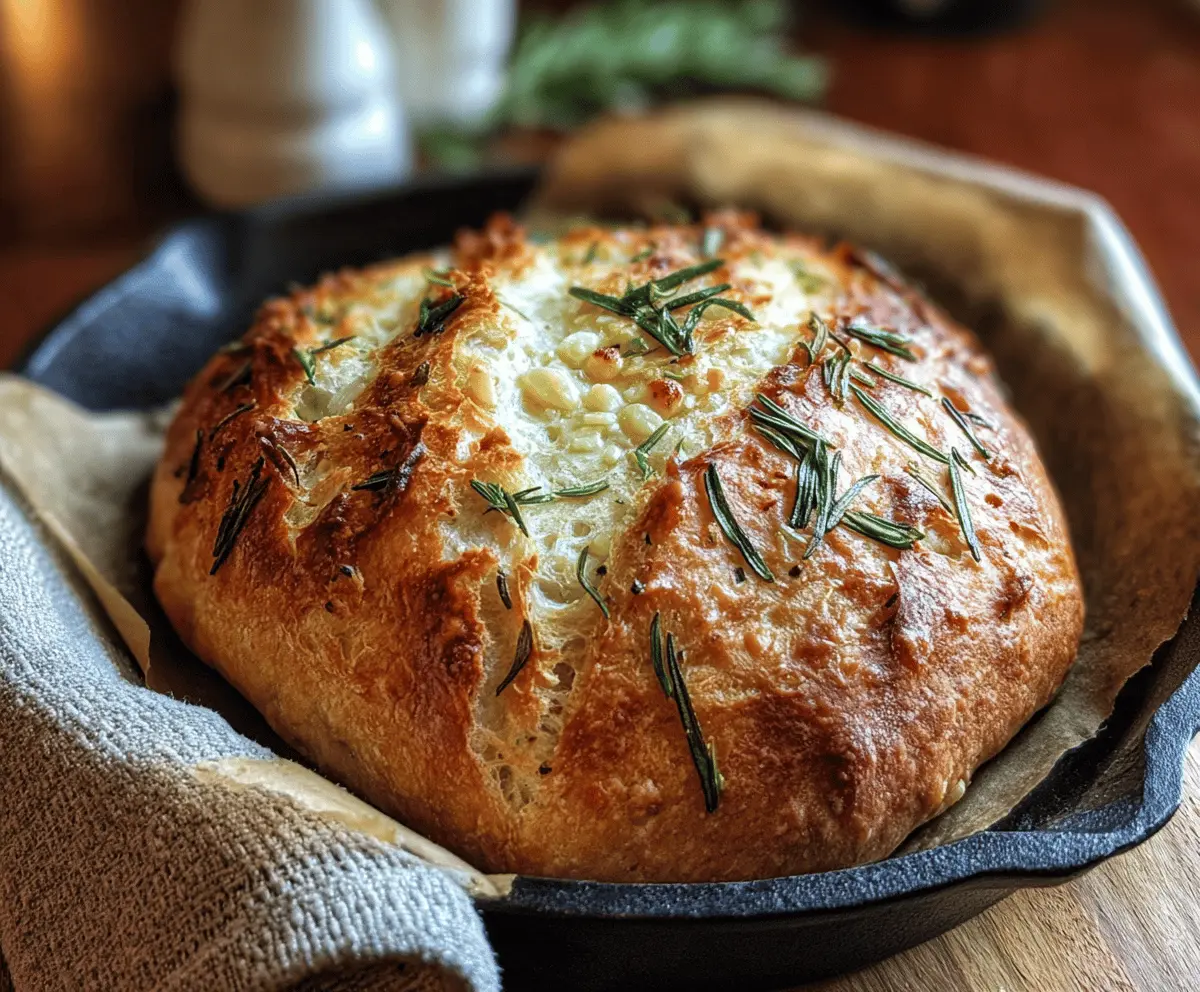
Rustic No-Knead Rosemary Garlic Bread is a wonderfully simple bread with a crispy crust and soft, chewy inside. The fresh rosemary and minced garlic give it a fragrant and flavorful twist that feels like a special treat but is really easy to make at home. This bread has all the charm of a bakery loaf without the fuss of kneading, which makes it perfect for anyone who loves fresh bread but doesn’t want to spend hours in the kitchen.
I love making this bread on a lazy weekend because the no-knead method means I can mix it up quickly, let it rise slowly, and then just pop it in the oven. The smell of garlic and rosemary filling the kitchen is one of my favorite parts—it’s cozy and welcoming, almost like a little warm hug. Plus, the crust ends up perfectly crunchy with those little pockets of garlic and herbs baked right in, and there’s no fancy equipment needed at all.
My favorite way to enjoy this bread is just warm from the oven with a little butter melting on top. It also makes a great side for soups, salads, or pasta dishes, adding a homemade touch to any meal. If you want to get fancy, it’s also amazing toasted and topped with a bit of cheese or olives. Overall, it’s a simple bread that always feels like a bit of a celebration in my kitchen.
Key Ingredients & Substitutions
Flour: All-purpose flour works well for this bread, creating a nice balance of texture. You can swap with bread flour for a chewier crumb or whole wheat flour for nuttier flavor—just expect a denser result.
Rosemary: Fresh rosemary is best because it adds bright, herbal notes. If you only have dried rosemary, use about a third of the fresh amount to avoid overpowering the bread.
Garlic: Fresh garlic brings a punch of flavor. If you want it milder, roast the garlic beforehand or use garlic powder in a pinch.
Instant Yeast: This yeast speeds up the process and doesn’t need proofing. Active dry yeast works too—just dissolve it in warm water first.
How Can I Make No-Knead Bread Without Trouble?
The key to no-knead bread’s great texture is the long rise time. Let the dough sit for 12-18 hours at room temperature so the gluten develops slowly without kneading.
- Use a large bowl to allow room for the dough to double.
- Keep the bowl covered with plastic or a towel to prevent drying out.
- Handle the dough gently when shaping after the first rise to keep those air bubbles intact.
- Heating the Dutch oven before baking traps steam, creating a crisp crust and soft inside.
Equipment You’ll Need
- Large mixing bowl – perfect for combining ingredients with plenty of room for dough to rise.
- Wooden spoon or spatula – helps you mix sticky dough easily without a mess.
- Parchment paper – prevents the bread from sticking and makes transferring dough simple.
- Heavy oven-safe pot or Dutch oven with lid – traps steam to create a crispy crust and soft inside.
- Kitchen towel or plastic wrap – keeps dough moist while it rises.
- Wire rack – lets the bread cool evenly, keeping the crust crisp.
Flavor Variations & Add-Ins
- Add ¼ cup grated Parmesan or Pecorino cheese to the dough for a rich, salty boost.
- Swap rosemary for thyme or oregano to change the herb profile without changing the method.
- Stir in ½ cup chopped olives for a Mediterranean twist and extra texture.
- For a touch of heat, mix in a pinch of red pepper flakes along with garlic.
Rustic No-Knead Rosemary Garlic Bread
Ingredients You’ll Need:
- 3 ½ cups all-purpose flour
- 1 ½ tsp salt
- ½ tsp instant yeast
- 1 ½ cups warm water
- 3 tbsp fresh rosemary leaves, chopped (plus extra sprigs for garnish)
- 3 cloves garlic, minced
- Olive oil for brushing
- Coarse sea salt for sprinkling
How Much Time Will You Need?
This bread takes about 15 minutes to prepare, then you’ll let the dough rise for 12-18 hours at room temperature. After shaping, it rests for 1-2 hours more. Baking time is around 40-45 minutes. So, the total time including rising is about 14-20 hours, mostly hands-off.
Step-by-Step Instructions:
1. Mixing the Dough:
In a large bowl, whisk together the flour, salt, and instant yeast. Then add the warm water, chopped rosemary, and minced garlic. Stir everything until you get a sticky, rough dough. No kneading needed!
2. First Rise:
Cover the bowl loosely with plastic wrap or a kitchen towel. Let it sit at room temperature for 12-18 hours, until the dough doubles in size and looks bubbly.
3. Shaping and Second Rise:
Lightly flour your work surface, turn the dough out, and fold it over itself a few times to form a rough ball. Let it rest for 15 minutes. Then shape it into a tight round ball by folding the edges toward the center. Put it seam-side down on parchment paper, cover with a towel, and let it rise for 1-2 hours until puffy.
4. Baking:
Preheat your oven to 450°F (230°C) with a heavy oven-safe pot or Dutch oven inside to get hot. When ready, carefully place the dough with parchment into the pot, cover with the lid, and bake for 30 minutes. Remove the lid, brush the top with olive oil, sprinkle with coarse sea salt and extra rosemary, then bake uncovered for another 10-15 minutes until golden and crisp.
5. Cooling and Serving:
Take the bread out of the pot and cool it on a wire rack for a bit before slicing. Enjoy warm with butter or alongside your favorite meal!
Can I Use Dried Rosemary Instead of Fresh?
Yes! Use about one-third the amount of dried rosemary since it has a stronger flavor than fresh. Add it when mixing the dough to let the flavors meld.
What If I Don’t Have a Dutch Oven?
No worries! You can bake the bread on a baking stone or heavy baking sheet. To get a crispy crust, place a pan of hot water in the oven to create steam during baking.
Can I Make This Bread Ahead of Time?
Absolutely! After the first rise, refrigerate the dough overnight. Let it come to room temperature and rise again for the second time before baking.
How Should I Store Leftover Bread?
Keep leftover bread in a paper bag or bread box at room temperature for up to 2 days. To refresh the crust, briefly warm it in the oven before serving.
