No Bake Oreo Icebox Cake is a cool and creamy dessert that’s as simple to make as it is delicious. Layers of crunchy Oreo cookies and rich, fluffy whipped cream come together to create a cake that’s delightfully sweet with a little bit of chocolate crunch in every bite. Since it doesn’t require any baking, it’s perfect for those hot days when you want something refreshing without heating up the kitchen.
I love making this cake ahead of time because it needs a few hours in the fridge or overnight to let the cookies soften and soak up all the creamy goodness. This is when magic happens—the Oreos kind of melt into the cream, creating a smooth and cake-like texture that surprises everyone. Plus, it’s one of my go-to desserts when friends come over because it looks impressive but is super easy to put together.
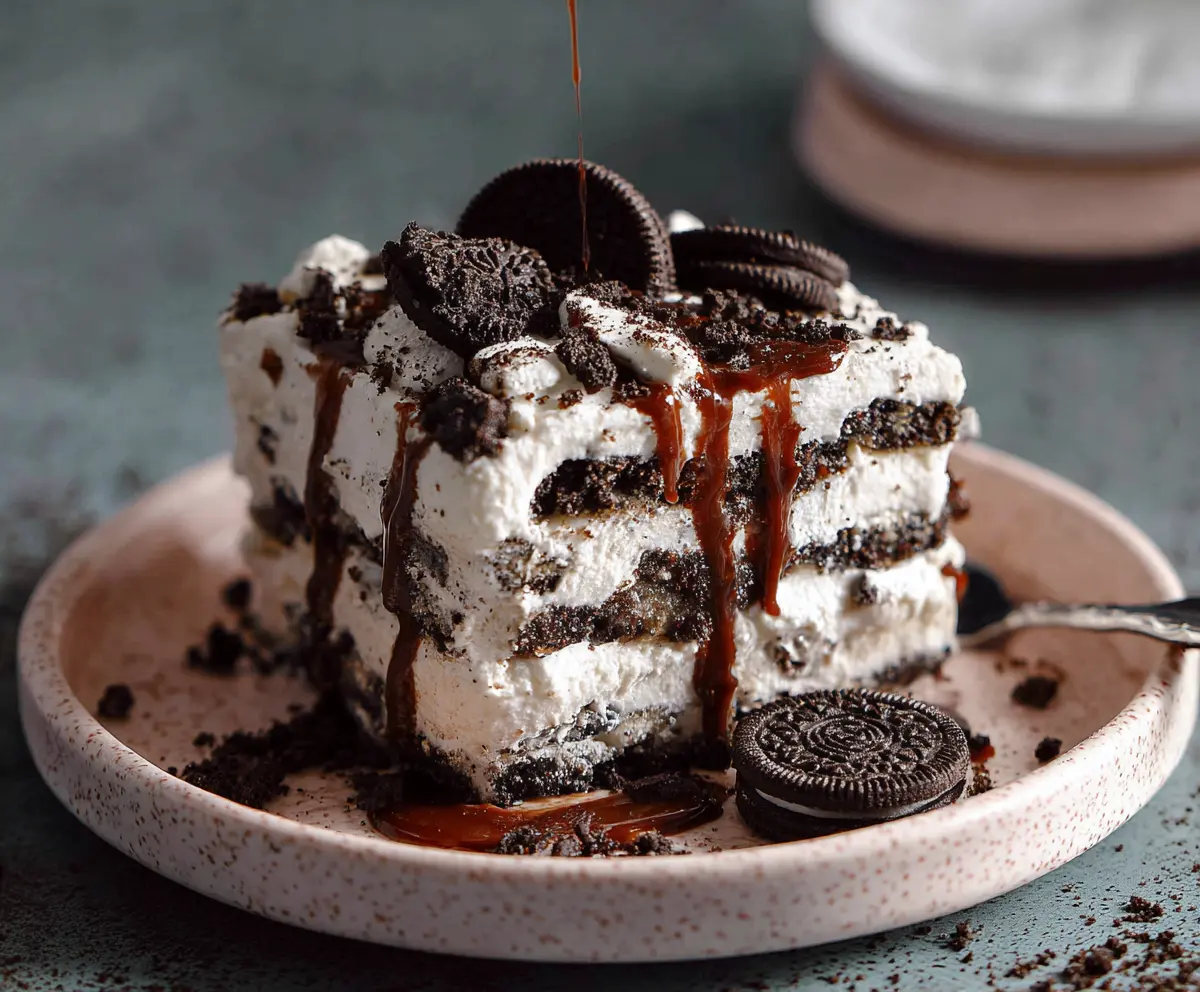
My favorite way to serve it is chilled straight from the fridge, maybe topped with a few extra Oreo crumbs or a drizzle of chocolate syrup if I’m feeling fancy. It’s one of those treats that makes any day a little more special and is loved by both kids and adults. If you haven’t tried an icebox cake before, this Oreo version is the perfect place to start—it’s comforting, sweet, and just plain fun to eat!
Key Ingredients & Substitutions
Heavy Whipping Cream: This is what makes the cake so creamy and fluffy. Make sure it’s cold before whipping to get the best volume. For a lighter option, you can try using coconut cream, which works well for lactose-free diets.
Powdered Sugar: It sweetens and stabilizes the whipped cream. If you want to reduce sugar, try a powdered sugar substitute like erythritol or monk fruit powder, but keep the sweetness balanced.
Oreos: The star ingredient! They add crunch and chocolate flavor. Classic Oreos with filling work great, but you can try golden Oreos for a twist or gluten-free Oreos if needed.
Vanilla Extract: Just a splash adds depth to the cream. If you don’t have vanilla, almond extract is a nice substitute, but use a bit less since it’s stronger.
How Can I Get the Perfect Whipped Cream for This Cake?
Whipping cream can be tricky, but here’s how to get it just right for your icebox cake:
- Use heavy whipping cream straight from the fridge—it whips up better cold.
- Start whipping at medium speed until it thickens, then increase to high.
- Watch closely as peaks form—stop whipping once stiff peaks hold their shape. Don’t overwhip, or it will turn grainy and start to become butter.
- Adding powdered sugar not only sweetens but helps stabilize the cream so it holds up well in the layers.
With these tips, your whipped cream will be smooth, fluffy, and perfect for layering with Oreos to create that melt-in-your-mouth texture.
Equipment You’ll Need
- Large mixing bowl – perfect for whipping the cream smoothly without spills.
- Electric hand mixer or stand mixer – makes whipping cream quick and easy.
- Rubber spatula – great for spreading layers evenly and scraping the bowl clean.
- 8×8-inch baking dish or similar – a good size for stacking the layers without crowding.
- Plastic wrap – keeps the cake covered in the fridge to prevent it from absorbing odors.
Flavor Variations & Add-Ins
- Swap Oreos for chocolate wafer cookies for a thinner, crunchier texture.
- Add a layer of sliced strawberries or bananas for a fresh, fruity twist.
- Mix in some instant coffee powder with the whipped cream for a mocha flavor.
- Top with chopped nuts like pecans or almonds for a bit of crunch and nuttiness.
No Bake Oreo Icebox Cake
Ingredients You’ll Need:
Main Ingredients:
- 3 cups heavy whipping cream, cold
- ½ cup powdered sugar
- 1 teaspoon vanilla extract
- 30-40 Oreo cookies (about 2 packages)
- Optional: chocolate syrup or extra crushed Oreos for garnish
Time Needed
This recipe takes about 15 minutes to prepare. After assembling the layers, the cake needs to chill in the fridge for at least 4 hours, but preferably overnight to allow the cookies to soften and flavors to blend perfectly.
Step-by-Step Instructions:
1. Whip the Cream:
In a large mixing bowl, add the cold heavy whipping cream, powdered sugar, and vanilla extract. Using an electric mixer, whip on medium-high speed until stiff peaks form. Watch carefully to avoid overwhipping.
2. Prepare the Oreos:
Take about half the Oreos and lightly crush them into smaller pieces but not into fine crumbs. Leave the rest whole for layering.
3. Assemble the Cake Layers:
Spread a thin layer of whipped cream on the bottom of an 8×8 inch or similar rectangular dish. Arrange a layer of whole Oreo cookies tightly over the cream. Spread about one-third of the whipped cream evenly over the cookies. Sprinkle half of the crushed Oreos over the whipped cream.
4. Repeat & Finish:
Repeat the layering — another layer of whole Oreos, then whipped cream, followed by the remaining crushed Oreos. Finish by spreading a thick layer of whipped cream on top, smoothing it with a spatula. Garnish with a few whole Oreos and more crushed crumbs if you like.
5. Chill and Serve:
Cover the cake with plastic wrap and refrigerate for at least 4 hours or overnight. This chilling time helps the cookies soften and the cake set. When ready, cut into squares and serve chilled. For an extra touch, drizzle with chocolate syrup before serving.
Can I Use Frozen Whipping Cream for This Recipe?
It’s best to use fresh, cold heavy whipping cream straight from the fridge. Frozen cream won’t whip properly and can affect the texture of your cake.
Can I Substitute Oreos with Another Cookie?
Absolutely! You can use any chocolate sandwich cookie or even chocolate wafer cookies. Just keep in mind the texture and flavor may vary slightly.
How Long Can I Store Leftover Icebox Cake?
Store leftovers covered in the refrigerator for up to 3 days. The cake may soften further over time but will still taste delicious.
Can I Make the Icebox Cake Without an Electric Mixer?
Yes, but whipping the cream by hand will take longer and requires more effort to reach stiff peaks. Use a chilled bowl and whisk for best results.
