Red Velvet Mug Cake is a quick and delightful treat that’s perfect for satisfying your sweet tooth in just a few minutes. It’s soft, moist, and has that lovely hint of cocoa combined with the classic red velvet flavor. This little cake also has a bit of cream cheese flavor that makes it feel special without needing to bake a whole cake.
I love making this mug cake when I need a simple dessert that doesn’t require a lot of ingredients or time. It’s one of those recipes I keep in my back pocket for when unexpected dessert cravings hit. Plus, it’s fun to mix up and watch the cake rise right in the mug—it feels a little like magic every time!
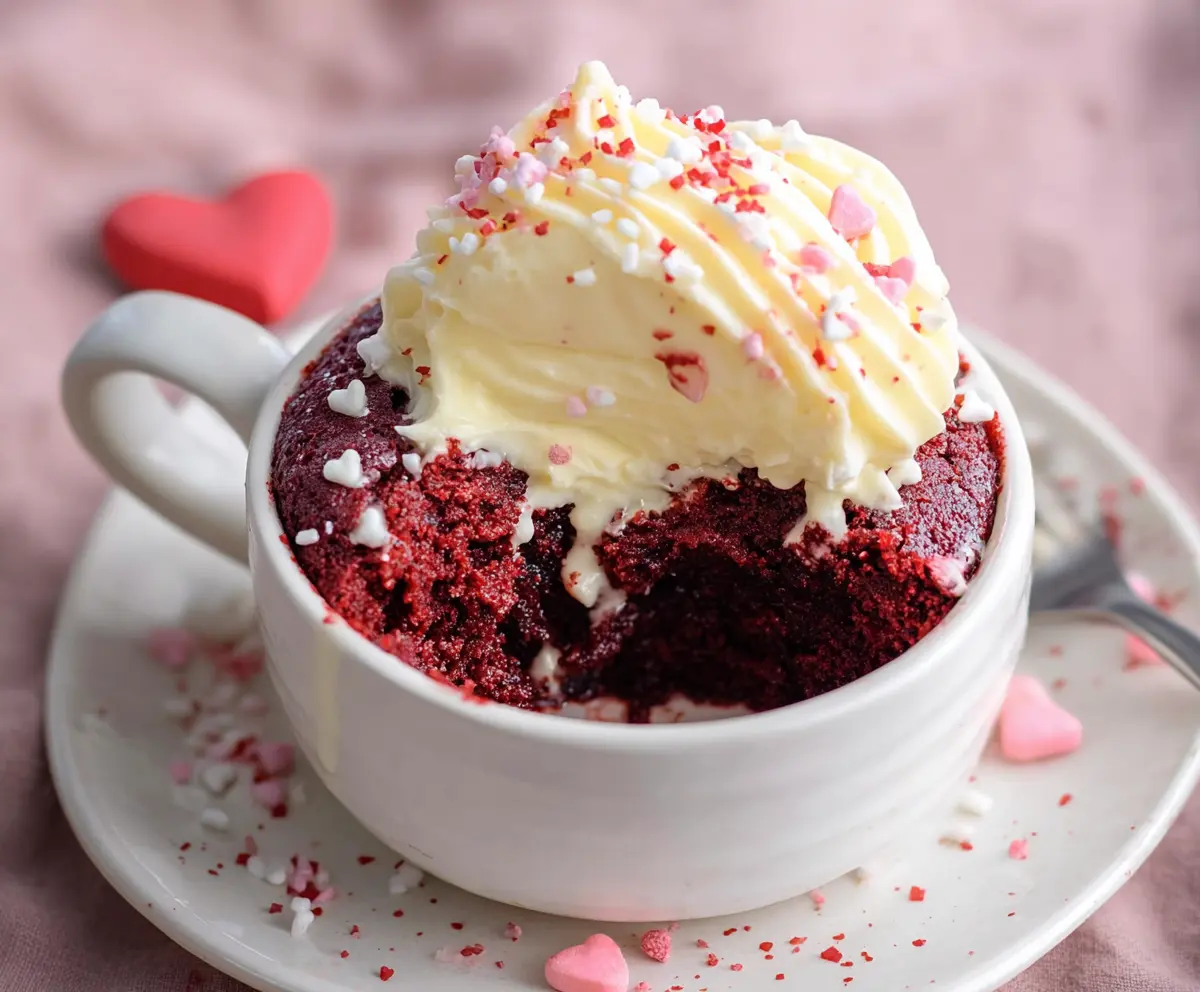
The best part is how easy it is to enjoy it just as it is or with a spoonful of frosting or a dollop of whipped cream on top. I’ve even shared this recipe with friends who were amazed at how tasty and quick it is. It’s a small, cozy cake perfect for one, made without any fuss but full of tasty goodness.
Key Ingredients & Substitutions
All-purpose flour: This gives the cake its structure. For a gluten-free option, try a 1-to-1 gluten-free baking flour blend. It works well but might change the texture slightly.
Unsweetened cocoa powder: Just a small amount adds that classic red velvet hint of chocolate. Don’t skip it unless you want a different flavor.
Red food coloring: This is what gives red velvet its signature look. You can use natural alternatives like beet juice, but the color will be softer.
White vinegar: It reacts with baking powder to help the cake rise and adds a slight tang, balancing the sweetness. You can use apple cider vinegar if needed.
Cream cheese frosting: The rich, tangy frosting is a must-have topping. If you prefer dairy-free, try vegan cream cheese and butter substitutes; just soften them well before mixing.
How Do You Avoid Overcooking the Mug Cake in the Microwave?
Microwave times can vary, so it’s key to watch closely to prevent a dry or rubbery cake. Here’s how I do it:
- Start with 70 seconds on high power.
- Check the cake by poking with a toothpick or fork. It should be mostly set but still a bit moist in the center.
- If needed, heat in 10-second bursts until done. Remember the cake continues to cook slightly after microwaving due to residual heat.
- Avoid microwaving too long or at too high power to keep it tender.
Equipment You’ll Need
- Microwave-safe mug – Perfect size for cooking and serving your single cake without spills.
- Small whisk or fork – Makes mixing the batter smooth and easy right in the mug.
- Measuring spoons and cups – Helps you get the ingredient amounts just right for the best cake texture.
- Spatula or butter knife – Great for spreading the cream cheese frosting evenly on top.
Flavor Variations & Add-Ins
- Swap cocoa powder for pumpkin pie spice to make a cozy autumn version with cinnamon and nutmeg.
- Add a tablespoon of chocolate chips for melty pockets of chocolate in each bite.
- Stir in a teaspoon of instant espresso powder to deepen the chocolate notes with a mocha twist.
- Use cream cheese frosting with a hint of orange zest for a bright, citrusy contrast that’s fresh and fun.
How to Make Red Velvet Mug Cake?
Ingredients You’ll Need:
For the Cake:
- 4 tablespoons all-purpose flour
- 2 tablespoons granulated sugar
- 1 tablespoon unsweetened cocoa powder
- 1/4 teaspoon baking powder
- Pinch of salt
- 3 tablespoons milk
- 1 tablespoon vegetable oil
- 1/4 teaspoon vanilla extract
- 1/2 teaspoon white vinegar
- 1 tablespoon red food coloring
For the Cream Cheese Frosting:
- 2 tablespoons cream cheese, softened
- 1 tablespoon unsalted butter, softened
- 1/4 cup powdered sugar
- 1/4 teaspoon vanilla extract
How Much Time Will You Need?
This recipe takes just about 5 minutes in total. You’ll spend a few minutes mixing the ingredients, about 1.5 minutes cooking the cake in the microwave, and another couple of minutes whipping up and spreading the delicious cream cheese frosting on top. It’s super quick and perfect for a fast dessert fix!
Step-by-Step Instructions:
1. Mix Dry Ingredients:
Grab a microwave-safe mug and whisk together the flour, sugar, cocoa powder, baking powder, and salt. Make sure everything is blended well for an even cake texture.
2. Add Wet Ingredients and Stir:
Add the milk, vegetable oil, vanilla extract, white vinegar, and red food coloring to the mug. Stir everything together until you have a smooth, red batter with no lumps.
3. Microwave the Cake:
Pop the mug in the microwave and cook on high for 70 to 90 seconds. The cake should rise and look set but still be a little moist inside. You can test by gently poking with a toothpick or fork.
4. Make the Cream Cheese Frosting:
While the cake cooks, mix softened cream cheese and butter until smooth. Add powdered sugar and vanilla extract, then beat until creamy and light.
5. Cool and Frost:
Let the cake cool for a minute or two. Then, spread or pipe the cream cheese frosting on top. For a pretty touch, sprinkle a few red velvet crumbs or extra cocoa powder if you like.
6. Serve and Enjoy:
Your red velvet mug cake is ready to enjoy! Grab a spoon and dig in while it’s fresh, warm, and wonderfully easy.
Can I Use Almond Milk or Another Milk Substitute?
Yes, you can substitute regular milk with almond, oat, or soy milk. Just make sure it’s unsweetened to keep the right balance of flavors and moisture in the cake.
How Should I Store Leftover Mug Cake?
Since this is a single-serving cake, leftovers are rare but can be stored in an airtight container in the fridge for up to 2 days. Reheat gently in the microwave for about 15-20 seconds before serving.
Can I Make the Cake Without Red Food Coloring?
You can skip the food coloring if you prefer, but the cake won’t have the classic red velvet color. For a natural alternative, try beet juice or powder—just a small amount to avoid changing the batter consistency.
What If I Don’t Have a Microwave?
No microwave? You can bake this mini cake in a small oven-safe ramekin at 350°F (175°C) for about 12-15 minutes or until a toothpick comes out clean. Keep an eye on it to avoid drying out the cake.
