
Those first little bubbles around the edge of the saucepan are easy to miss when you’re whisking, but they tell me the milk base is heating through. I keep the pan at medium and stay close; once the egg yolks go back in, the pudding thickens quickly. That homemade custard is what gives these Banana Pudding Cups their soft, spoonable center and gentle vanilla flavor.
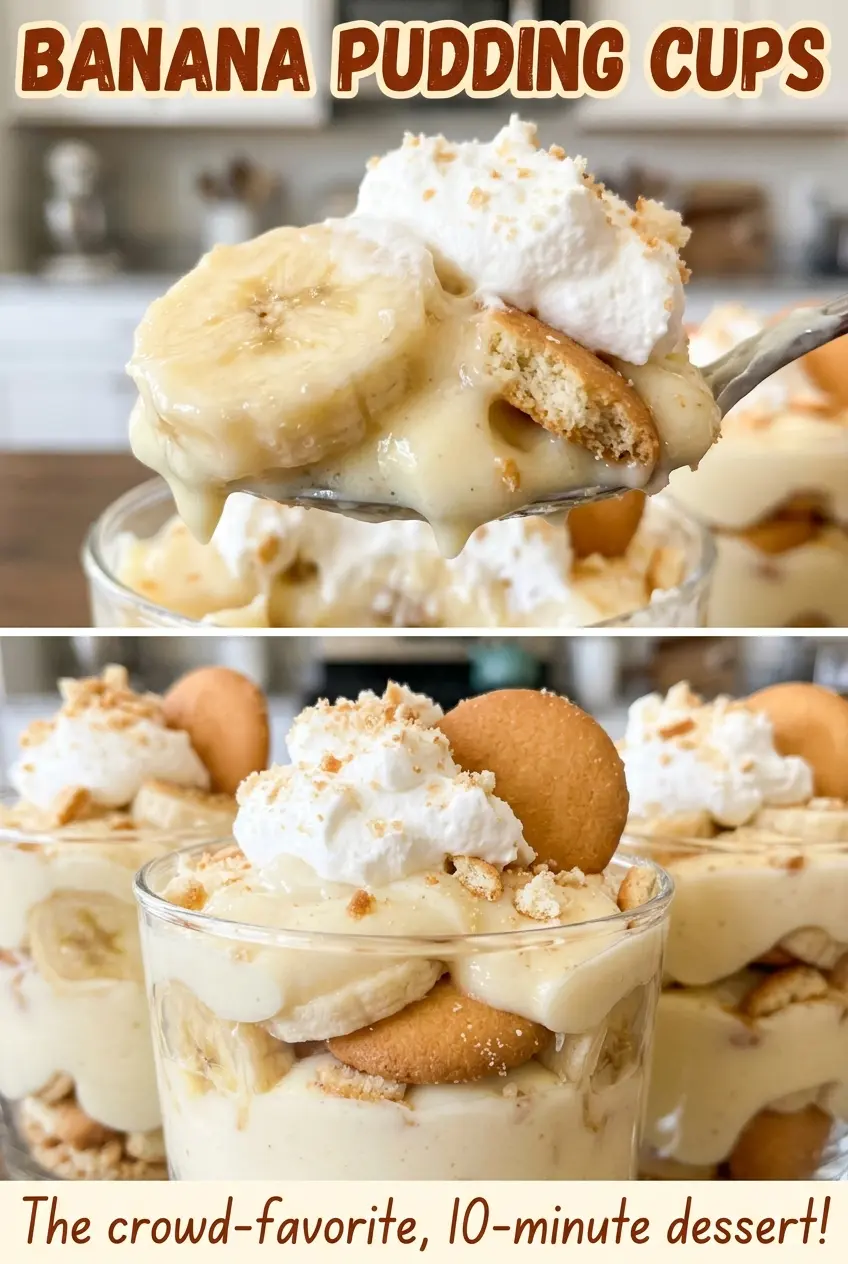
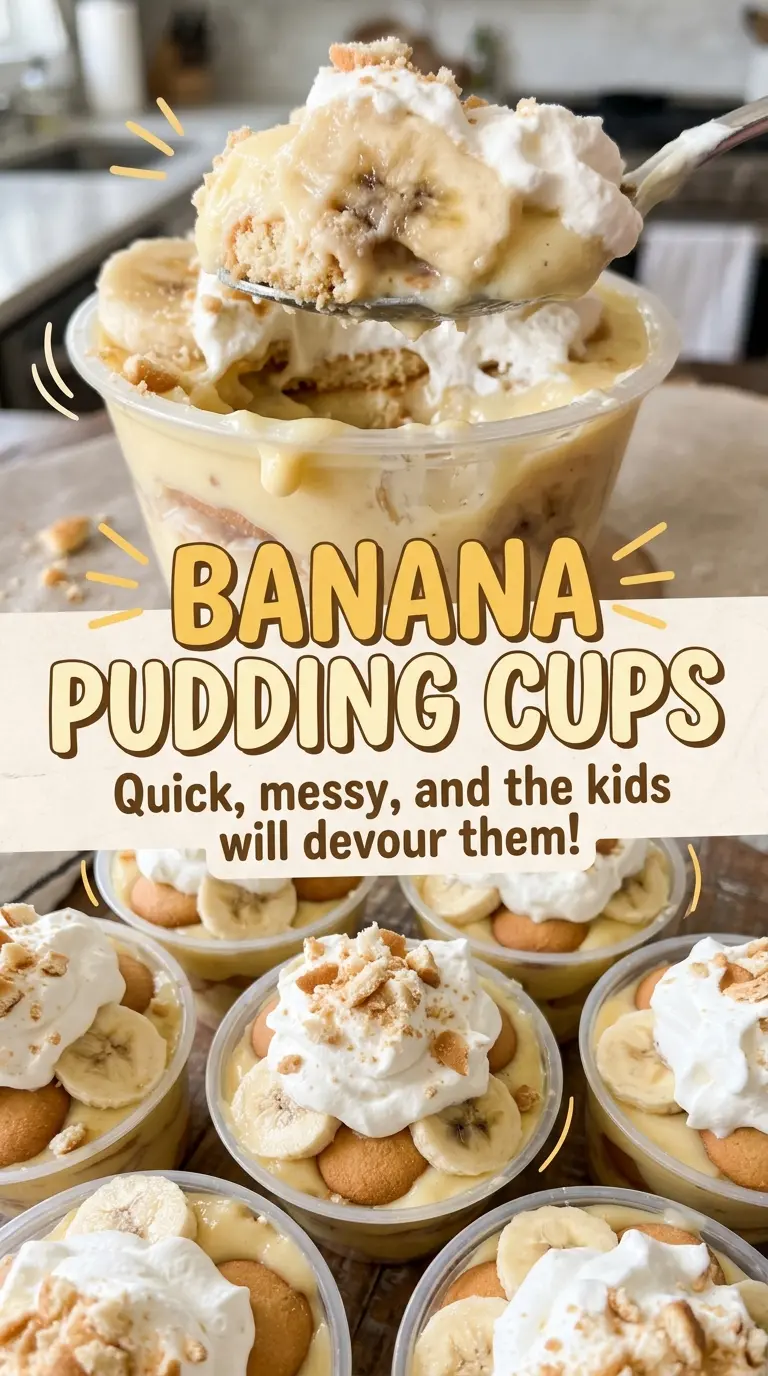
A good cup has a little contrast in every spoonful: the banana stays tender, the vanilla wafers soften into the pudding, and the whipped cream keeps the top light. I like that the layers are easy to see through the sides of the cups, but they’re even better when you dip your spoon all the way down and bring up a bit of everything.
Kitchen Note
Press the plastic wrap right against the pudding, not just over the bowl. That contact keeps a skin from forming while the custard chills, so the layers stay smooth.
Save these Banana Pudding Cups for a make-ahead dessert with silky vanilla pudding, softened wafers, and fresh banana in every spoonful.
Why Tempering the Yolks Keeps This Pudding Silky
Egg yolks add richness, but they need a gentle introduction to the hot milk. If you whisk cold yolks straight into the saucepan, the heat can set them in little strands before they have a chance to blend. That leaves you with bits of cooked egg in a pudding that should be smooth.
Instead, whisk the yolks in a heatproof bowl and slowly whisk in about half a cup of the hot milk mixture. This small amount warms the yolks gradually. Pour that mixture back into the saucepan while whisking, and the yolks can thicken the pudding without turning into scrambled pieces.
Keep whisking as the custard cooks after the yolks go in. The change from a loose milk mixture to a thick pudding happens near the end, so a steady hand helps the bottom and sides of the pan cook evenly. You’ll see the surface bubbles break through when the custard has reached the right stage.
The Milk, Yolks, and Cream Behind These Layers
- Whole milk and egg yolks — Whole milk gives the custard a fuller feel, while the yolks bring richness and help it set. Two-percent milk will still work, though the pudding won’t taste quite as plush. Keep the yolks in place; they’re part of what makes this from-scratch filling taste like custard rather than a starch-thickened sauce.
- Cornstarch — This is the main thickener, and it needs to be whisked into the sugar and salt before the milk goes in. Breaking up the dry ingredients first helps prevent stubborn pockets of starch. Don’t swap in flour measure for measure; it thickens differently and can leave the pudding pasty.
- Unsalted butter and vanilla — Butter rounds out the custard after it comes off the heat, and vanilla gives the pudding its familiar aroma. Pure vanilla extract brings a more rounded flavor, but imitation vanilla works if that’s what you keep on hand. Unsalted butter lets the small amount of salt stay balanced.
- Heavy cream and powdered sugar — Heavy cream is what makes a topping that can be whipped into peaks; half-and-half won’t whip the same way. Powdered sugar dissolves easily into the cold cream, so the topping stays smooth instead of gritty. Choose fresh cream and keep it cold for the best volume.
- Vanilla wafers and bananas — A store-brand wafer is fine here because the pudding softens it, though different brands vary in sweetness and vanilla flavor. Pick bananas that are ripe but still firm enough to slice cleanly. Slice them as you assemble the cups so they have less time to darken before serving.
From the First Bubbles to Soft, Set Layers
Whisk the Milk Base Smooth
Whisk the sugar, cornstarch, and salt together in a medium saucepan, then gradually whisk in the milk until no dry pockets remain. Set the pan over medium heat and whisk frequently as it warms. After 4 to 6 minutes, the mixture should be steaming, with small bubbles forming at the edges. If it starts sticking before it steams, lower the heat slightly and keep the whisk moving.
Warm the Yolks, Then Thicken the Custard
Whisk the egg yolks in a medium heatproof bowl. Slowly whisk about 1/2 cup of the hot milk mixture into the yolks, then pour the warmed yolk mixture back into the saucepan while whisking. Cook over medium heat, whisking constantly, until the pudding thickens and bubbles break across the surface. Continue cooking for 1 minute; don’t stop at the first hint of thickness, or the pudding may not set firmly enough.
Finish and Chill the Pudding
Take the pan off the heat and whisk in the butter and vanilla until the pudding looks smooth. Transfer it to a bowl and press plastic wrap directly onto the surface. Refrigerate until cold, about 1 1/2 hours; warm pudding won’t give you the same clean, distinct layers as chilled custard. Give the center time to cool, not just the surface.
Whip, Layer, and Let the Cups Set
Beat the cold heavy cream and powdered sugar in a chilled bowl with a mixer on medium-high until medium peaks form, about 2 to 3 minutes. Slice the bananas and break the wafers into pieces, then divide them among six 10-ounce cups, layering with the chilled pudding and ending with pudding. Divide the whipped cream among the cups and cover them. Refrigerate for at least 2 hours, until the wafers soften and the pudding is set.
Three Ways to Change the Layers Without Losing the Custard
Make the Cups Gluten-Free
Use gluten-free vanilla wafers in place of the regular wafers, keeping the same count. The pudding and fruit stay the same, while the wafer texture may soften a little differently depending on the brand. Check that the wafers are made for layering, not an especially delicate cookie that will disappear quickly.
Turn the Cups Into a Shared Trifle
Layer the same pudding, bananas, and broken wafers in one clear serving bowl instead of individual cups, finishing with the whipped cream. The larger layers look striking on the table, but the portions won’t be as tidy to serve. Chill it for the same amount of time so the wafers soften through the middle.
Make Vanilla Wafer Pudding Cups
Leave out the bananas and layer the pudding with the wafers, then finish with whipped cream. The result is less fruity and more focused on the vanilla custard, with a softer cookie layer throughout. This is a useful option when your bananas are too ripe to slice neatly.
Storage and Reheating
- Refrigerator: Keep the covered cups refrigerated and enjoy them within 2 days. The bananas may darken, and the wafers will continue to soften.
- Freezer: These cups don’t freeze well. The bananas release moisture as they thaw, and the pudding and whipped cream lose their smooth texture.
- Reheating: Serve chilled; reheating isn’t needed. Heat loosens the pudding and melts the whipped cream topping.
Questions That Come Up While Making Banana Pudding Cups
Banana Pudding Cups
Ingredients
Equipment
Method
- Whisk the sugar, cornstarch, and salt in a medium saucepan, then gradually whisk in the milk until smooth.
- Cook over medium heat, whisking frequently, until the mixture is steaming and small bubbles form at the edges, 4 to 6 minutes.
- Whisk the egg yolks in a medium heatproof bowl, slowly whisk in about 1/2 cup of the hot milk mixture, then pour the yolk mixture back into the saucepan while whisking.
- Cook over medium heat, whisking constantly, until the pudding thickens and bubbles break across the surface, then continue cooking for 1 minute.
- Remove the pan from the heat and whisk in the butter and vanilla until smooth; transfer the pudding to a bowl, press plastic wrap directly onto its surface, and refrigerate until cold, about 1 1/2 hours.
- Beat the heavy cream and powdered sugar in a chilled bowl with a mixer on medium-high until medium peaks form, 2 to 3 minutes.
- Slice the bananas and break the wafers into pieces, then divide them among six 10-ounce cups, layering them with the chilled pudding and finishing with pudding.
- Divide the whipped cream among the cups, cover, and refrigerate for at least 2 hours, until the wafers soften and the pudding is set.
