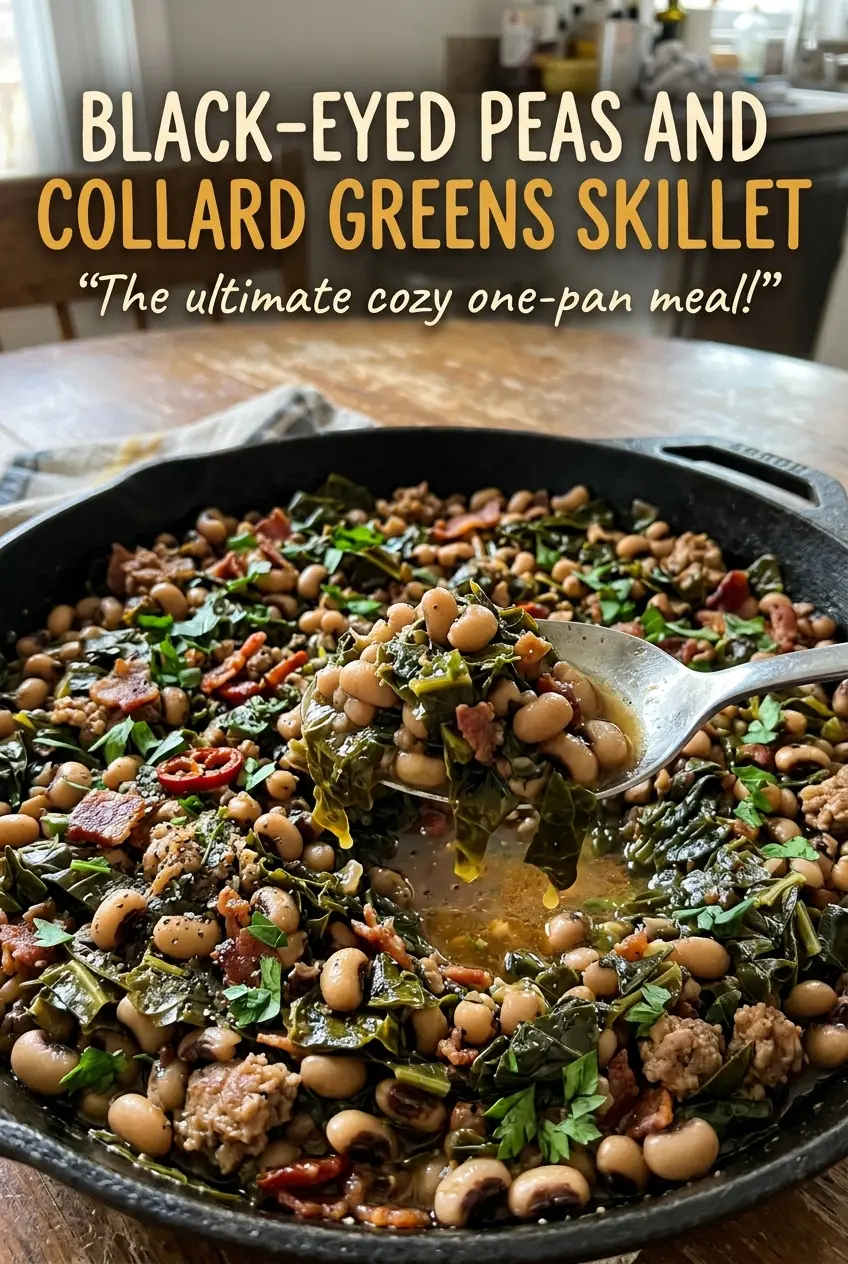
The bacon gets crisp first, then leaves behind just enough drippings to soften the onion and garlic. When the collards go into the skillet, they look like far too much for the pan; a few turns with a spoon and they settle into the savory broth. That’s the rhythm of this Black-Eyed Peas and Collard Greens Skillet: sturdy greens turn tender while the rest of the ingredients wait their turn.
I use a deep skillet so there’s room to stir the greens as they wilt and enough space for the broth to simmer without crowding the pan. The vinegar goes in at the end, where its bright tang cuts through the smoky bacon and earthy greens without disappearing into the long cook. Each spoonful is tender, savory, and finished with a little sharpness.
Kitchen Note
Garlic needs only 30 seconds in the hot skillet before the greens go in. Keep it moving, and add the first handful of collards as soon as it smells fragrant; garlic can turn bitter if it browns.
Save this Black-Eyed Peas and Collard Greens Skillet for a cozy supper with crisp bacon, tender greens, and a bright vinegar finish.
Why the Black-Eyed Peas Go In After the Collards
The collards and the peas need different amounts of time in the skillet. Collard leaves are sturdy, and they need a covered simmer to soften all the way through. Canned black-eyed peas are already cooked, so they only need a brief warm-up at the end. Adding them at the start leaves them simmering while the greens catch up, which can make the peas split and turn the skillet pasty.
Let the collards have their full covered simmer first, then stir in the drained peas and give them five minutes uncovered. That short finish warms the beans while leaving them distinct among the greens. The uncovered simmer also lets the broth settle into the dish instead of leaving a thin layer of liquid at the bottom. You’ll get tender leaves, whole beans, and enough savory broth to tie everything together.
What the Bacon, Collards, and Vinegar Each Bring
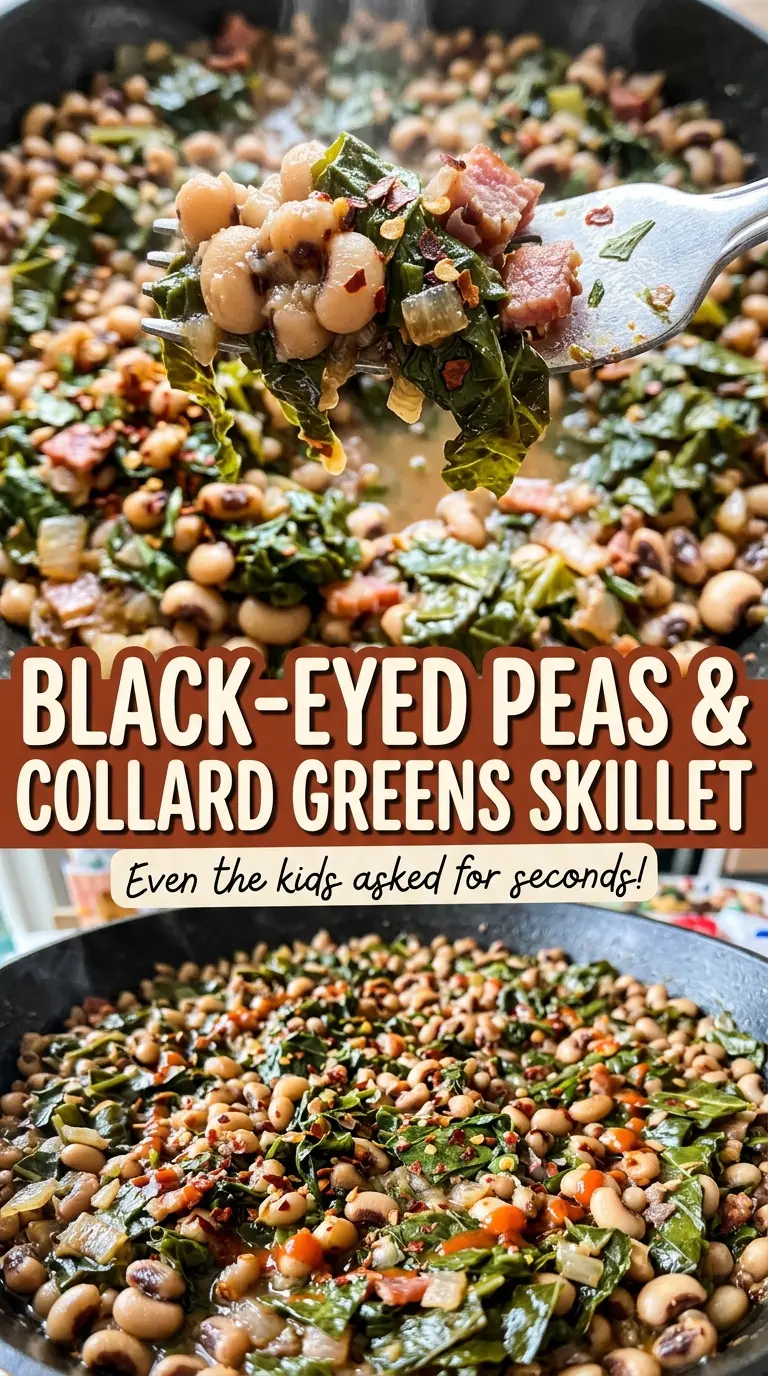
- Bacon — It contributes both crisp pieces for the finish and drippings to cook the onion and garlic. Regular sliced bacon works well; you don’t need a specialty cut. If you want to skip it, the vegetarian adaptation below explains how to replace the drippings, though you’ll lose the pork’s smoky depth.
- Collard greens — Their firm leaves hold up to a long simmer better than tender greens. Remove the stems and chop the leaves so they soften evenly. Fresh greens are worth choosing when you can; if buying prewashed chopped collards, check for tough stem pieces before they go in.
- Chicken broth — Broth gives the greens a savory liquid to simmer in. A lower-sodium broth leaves you more control when you season at the end, and an inexpensive carton is fine here. Vegetable broth works for a meat-free skillet, with a lighter, less savory result.
- Canned black-eyed peas — Canned peas make this a one-skillet meal because they’re already cooked. Drain and rinse them to remove the canning liquid. Fully cooked, drained black-eyed peas made from dried beans can replace them; the texture may be a little firmer.
- Yellow onion and garlic — These aromatics build a mellow base beneath the greens. A white onion can stand in for the yellow one, but it tastes sharper. Freshly minced garlic has the clearest flavor here; jarred garlic tends to taste softer and less pungent.
- Apple cider vinegar — Its gentle fruitiness brightens the rich bacon and earthy greens. Plain white vinegar can replace it one-for-one, though the finish will taste sharper and less rounded.
Build the Skillet in Stages, Then Let the Collards Soften
Render the bacon and soften the aromatics
Cook the chopped bacon in a 12-inch deep skillet over medium heat for 6–8 minutes, stirring occasionally, until the pieces are crisp. Transfer them to a plate and leave about 1 tablespoon of drippings in the skillet; too much fat can make the finished greens feel greasy. Add the diced onion and cook for 4–5 minutes, stirring, until softened. Stir in the garlic for 30 seconds, keeping it pale rather than letting it brown.
Wilt the greens into the broth
Add the collards in handfuls, stirring as each batch wilts enough to make room for the next. Don’t worry if the pile looks oversized at first; the leaves shrink quickly as they meet the heat. Once they’re all in, pour in the chicken broth and bring it to a simmer. Scrape the bottom of the skillet as you stir so the onion and bacon flavor doesn’t stay stuck there.
Cover and simmer until tender
Cover the skillet, reduce the heat to medium-low, and simmer for 30–40 minutes, stirring occasionally. Keep the heat low enough for a steady, gentle simmer rather than a hard boil. The leaves should lose their stiff bite and feel tender when you taste one. If the liquid gets low before the collards are tender, add a small splash of broth and keep the skillet covered.
Warm the peas and finish with vinegar
Stir in the drained black-eyed peas and simmer uncovered for 5 minutes, just until heated through. Stir gently so the peas stay whole. Add the apple cider vinegar, black pepper, and kosher salt, tasting before adding more salt. Crumble the reserved bacon over the skillet just before serving.
Two Simple Swaps That Change the Skillet
Make it vegetarian without losing the greens-and-peas balance
Leave out the bacon, cook the onion and garlic in olive oil, and use vegetable broth instead of chicken broth. The skillet will be lighter and won’t have bacon’s smoky, salty depth, but the collards and black-eyed peas still make a hearty combination.
Give the finish a sharper edge
Swap the apple cider vinegar for plain white vinegar in the same amount. The skillet will still get the lift it needs, but the acidity will taste more direct and less fruity. Add it at the finish so its brightness stays noticeable.
Storage and Reheating
- Refrigerator: Refrigerate leftovers in an airtight container within 2 hours and use them within 3–4 days. The collards soften further, and the broth thickens as it chills.
- Freezer: Freeze airtight portions for up to 2–3 months. Thaw them in the refrigerator overnight; the greens will be softer after thawing, but the skillet still reheats well.
- Reheating: Warm leftovers gently in a covered skillet over low heat, stirring now and then; add a splash of broth if they look dry. You can also microwave a portion in short intervals, stirring between them. Reheat leftovers to 165°F, and avoid high heat, which can break up the peas and dry the greens.
Questions That Come Up When Cooking Collards and Peas
Black-Eyed Peas and Collard Greens Skillet
Ingredients
Equipment
Method
- Cook the bacon in a 12-inch deep skillet over medium heat for 6–8 minutes, stirring occasionally, until crisp.
- Transfer the bacon to a plate and leave about 1 tablespoon of drippings in the skillet.
- Add the onion and cook over medium heat for 4–5 minutes, stirring, until softened.
- Add the garlic and cook for 30 seconds.
- Add the collard greens in handfuls, stirring as they wilt.
- Pour in the chicken broth and bring it to a simmer.
- Cover the skillet, reduce the heat to medium-low, and simmer for 30–40 minutes, stirring occasionally, until the collards are tender.
- Stir in the black-eyed peas and simmer uncovered for 5 minutes, until heated through.
- Stir in the vinegar, black pepper, and salt, then crumble the bacon over the skillet and serve.
