
Caramel pumpkin butter bars land somewhere between a pie, a blondie, and a candy bar, and that’s exactly why they disappear fast. You get a crisp shortbread base, a soft spiced pumpkin layer, and a thick salted caramel cap that settles into the top without turning the whole pan soggy. Cut cold, they slice clean. Let them sit for a few minutes, and the caramel loosens into a glossy layer that clings to the pumpkin beneath it.
What makes this version work is the contrast in textures. The shortbread base is baked first so it stays sturdy enough to carry the filling, and the pumpkin layer is mixed until smooth so it bakes into a creamy, even slab instead of a grainy custard. The caramel goes on after everything is cool, which keeps it from soaking in and turning sticky at the bottom. A pinch of flaky salt on top keeps the sweetness in check and makes the pumpkin spices taste deeper.
Below, I’ve laid out the small details that matter most: how to keep the pumpkin layer from cracking, why the caramel should be poured warm instead of hot, and the best way to cut neat bars without dragging the topping around the pan.
The shortbread stayed crisp even under the pumpkin layer, and the caramel set up enough to cut clean slices after chilling. I liked that the salt on top kept them from tasting too sweet.
Pin these caramel pumpkin butter bars for the shortbread base, spiced pumpkin layer, and salted caramel finish you’ll want to slice cold and serve slightly warm.
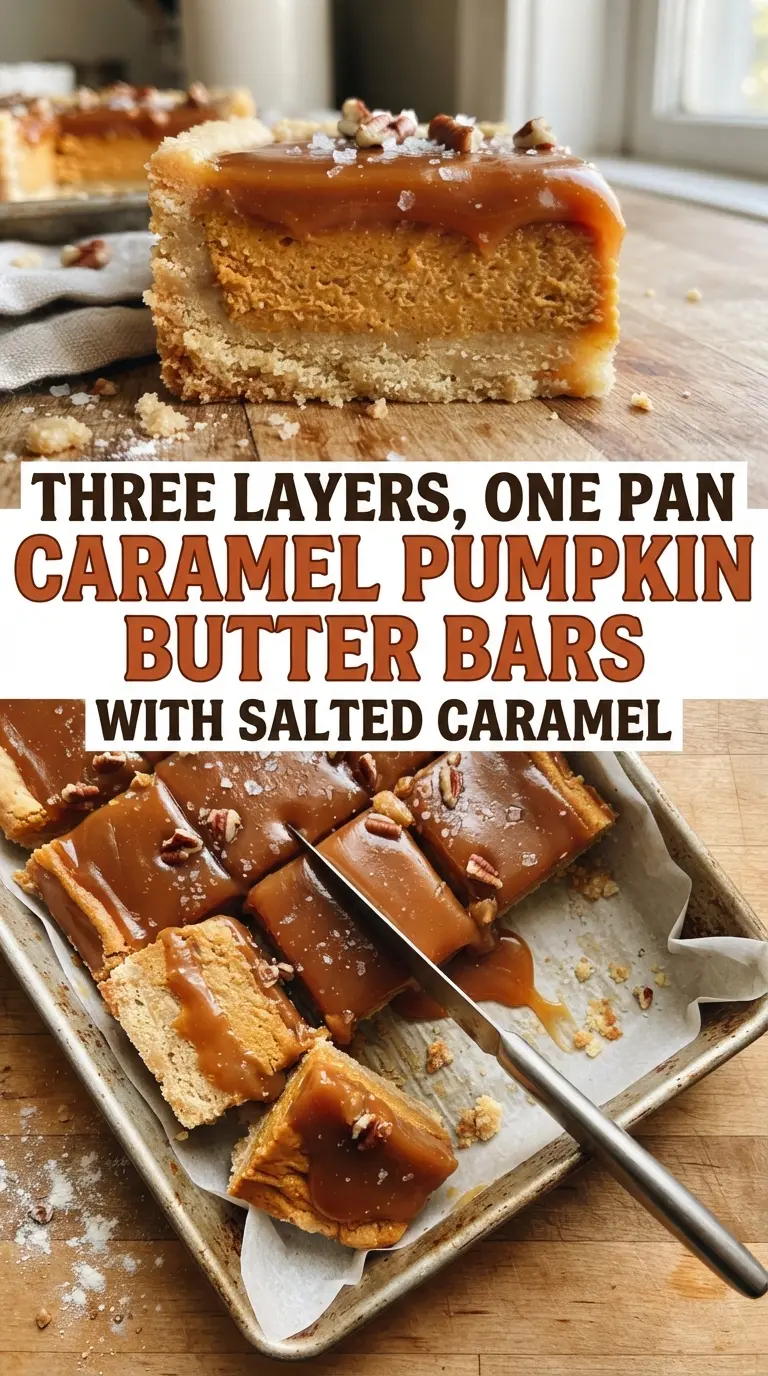
The Trick to Keeping the Shortbread Crisp Under a Soft Pumpkin Filling
The base has to be baked before the pumpkin layer goes in. That first bake sets the butter and sugar into a firm layer that can stand up to the custard-like filling. If you skip that head start, the bottom turns dense and damp instead of crisp at the edges.
The other thing that matters is doneness at the second bake. Pull the bars when the center still has a slight jiggle, not when it looks fully firm. Pumpkin filling keeps setting as it cools, and overbaking is what gives you a dry, cracked top instead of a smooth sliceable layer.
- Shortbread base — Softened butter and brown sugar create a base that bakes into a sandy, tender crust with enough structure to hold the filling. The brown sugar adds a light molasses note that works with the caramel. If your kitchen is warm and the dough feels greasy, chill it for 10 minutes before pressing it into the pan.
- Canned pumpkin purée — Use pure pumpkin, not pumpkin pie filling. The purée gives you control over the spice level and the sweetness, and it bakes into a smoother layer. If the pumpkin looks watery when you open the can, whisk it first so any separation disappears before it goes into the bowl.
- Heavy cream — This shows up in both the pumpkin layer and the caramel, and it matters because the fat keeps each layer rich and stable. Half-and-half will work in a pinch for the filling, but the caramel is less forgiving; use real cream there if you want a smooth pour. Warm it before adding it to the caramel so the sugar doesn’t seize into hard clumps.
- Eggs — They set the pumpkin layer into a custard that slices cleanly once chilled. Cold eggs can make the filling look lumpy at first, so let them sit out for a bit before mixing. Whisk until smooth, but don’t whip in a lot of air or the top can puff and crack.
Building the Layers Without Letting the Caramel Soak Through
Pressing and Pre-Baking the Base
Beat the butter and brown sugar until the mixture looks lighter and a little fluffy, then add the dry ingredients just until a crumbly dough forms. Press it firmly into the pan so there aren’t any weak spots, especially in the corners where filling likes to leak through. Bake until the edges are golden and the center looks dry to the touch. If the base still looks pale and soft, it hasn’t set enough to support the pumpkin layer.
Mixing the Pumpkin Layer Smooth
Whisk the pumpkin, sugar, cream, eggs, melted butter, spices, salt, and vanilla until the mixture is completely even and glossy. Any streaks of egg or pockets of spice will show up after baking, so scrape the bowl well and keep mixing until the filling looks uniform. Pour it over the hot crust right after the base comes out of the oven, then smooth the surface gently so it bakes evenly.
Knowing When the Filling Is Done
Bake until the edges are set and the center moves only slightly when you nudge the pan. That small wobble is what you want. If the middle sloshes, it needs more time; if the whole surface is firm and puffed, it has gone too far and will likely crack as it cools. Let the pan cool completely before adding the caramel, because even warm filling will soften the topping and blur the layers.
Cooking the Caramel to a Deep Amber
Melt the sugar in a dry saucepan over medium heat and swirl the pan instead of stirring. Once the sugar starts to color, it can go from pale gold to burnt in a minute, so stay close and watch for a deep amber shade. Add the butter first, then the warm cream slowly. The mixture will bubble hard; keep whisking until it turns smooth and glossy again. If you stir too early or dump in cold cream, the caramel can seize and turn grainy.
Make Them Gluten-Free
Swap the all-purpose flour in the shortbread base for a good 1:1 gluten-free baking blend. The crust will still hold together, though it may taste a little more tender and less crisp at the very edges. Press it firmly and let the bars chill fully before cutting so the base has time to set.
Dairy-Free Version That Still Tastes Rich
Use a plant-based butter stick in the crust and filling, plus full-fat coconut cream in place of the heavy cream. The bars will still slice well, but the caramel won’t taste exactly the same because dairy caramel has a deeper, more buttery finish. Warm the coconut cream before adding it to the sugar so it blends instead of seizing.
Want a Stronger Spice Note?
Add another 1/2 teaspoon of cinnamon or a small pinch of cardamom to the pumpkin mixture. That gives the filling a warmer, more bakery-style finish without changing the texture. Don’t add extra cloves unless you like a sharper, almost medicinal edge.
Storage and Reheating
- Refrigerator: Keep covered for up to 5 days. The caramel will firm up and the base stays crisp for the first couple of days.
- Freezer: These freeze well if you cut them first and separate the layers with parchment. Freeze in a single layer, then transfer to a container for up to 2 months.
- Reheating: Let a bar sit at room temperature for 10 to 15 minutes, or warm it briefly in your hand before serving. Don’t microwave too long or the caramel will turn loose and the shortbread can soften too much.
Questions I Get Asked About This Recipe
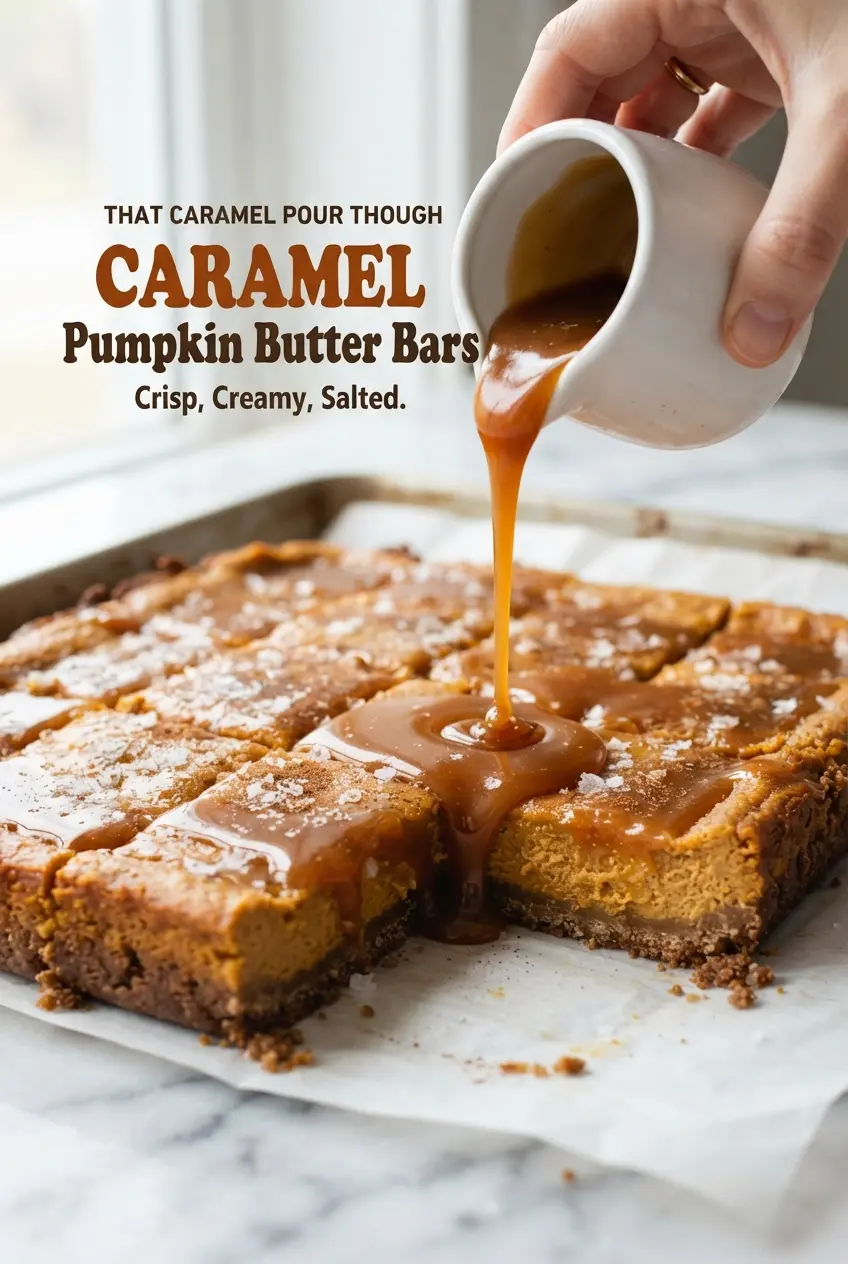
Caramel Pumpkin Butter Bars
Ingredients
Equipment
Method
- Heat the oven to 350°F and line a 9x9-inch pan with parchment, leaving an overhang on two sides for lifting bars out later.
- Beat the softened butter and packed light brown sugar for 2 minutes until light.
- Mix in the vanilla, flour, and fine salt just until a crumbly dough forms.
- Press the dough firmly and evenly into the pan, then bake 18–20 minutes until edges are golden and the center looks dry.
- Leave the oven on for the next bake.
- Whisk the canned pumpkin purée, packed light brown sugar, heavy cream, eggs, melted unsalted butter, cinnamon, ginger, nutmeg, cloves, fine salt, and vanilla until completely smooth.
- Pour the pumpkin mixture over the hot shortbread base and smooth the top.
- Bake 28–32 minutes until the edges are set and the center jiggles only slightly when you nudge the pan.
- Cool completely, about 1½ hours.
- Melt the granulated sugar in a dry saucepan over medium heat, swirling the pan but not stirring, until deep amber, 6–8 minutes.
- Add the unsalted butter and whisk until melted, then slowly pour in the warmed heavy cream while it bubbles up hard, whisking until smooth.
- Cool the caramel for 10 minutes.
- Pour the caramel over the cooled pumpkin layer, tilting the pan to spread to the edges, then sprinkle with flaky sea salt.
- Chill at least 2 hours until the caramel is set.
- Lift the bars out using the parchment and cut into 16 bars with a warm knife, wiping the blade between cuts.
