
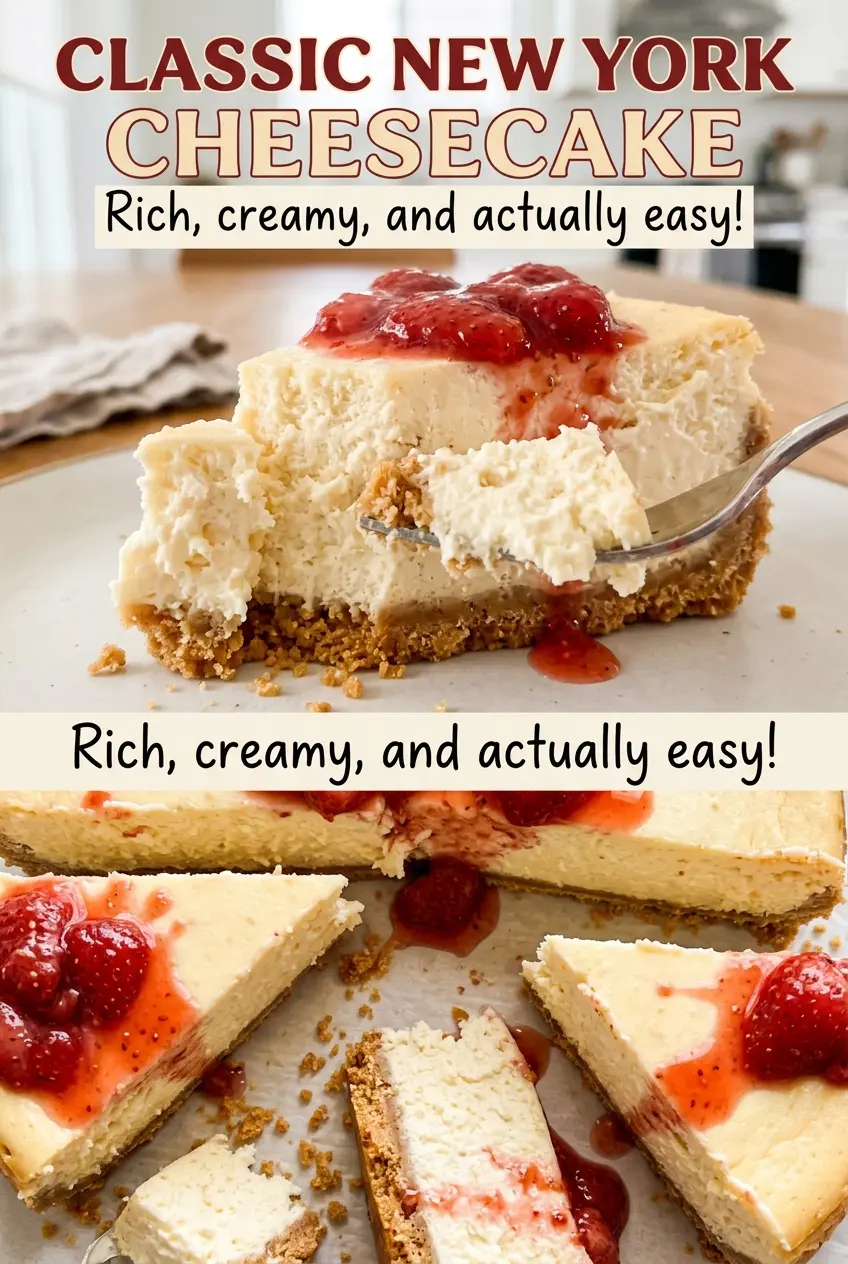
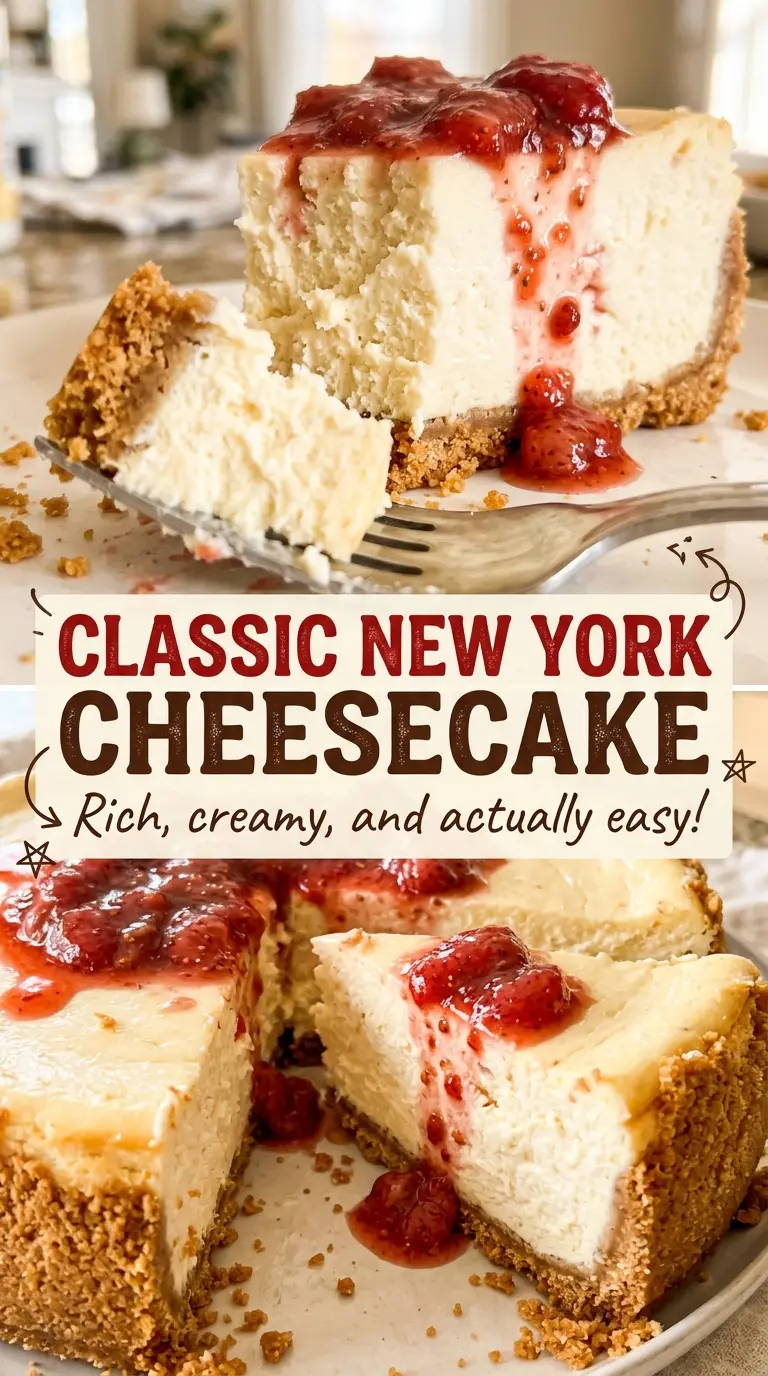
The crust is the first clue that this cheesecake is on the right track: it should hold together when pressed, with a little rise along the sides to catch the filling. When the cake comes out of the oven, the edges look settled while the center still has some softness. That’s expected, not a sign that it needs more time. Classic New York cheesecake gets its dense, creamy texture from a generous amount of full-fat cream cheese, with sour cream and a little lemon zest keeping each bite from feeling too heavy.
I mix the filling gently and give the cheesecake time to cool in stages. Those two choices matter more than chasing a perfectly firm-looking center in the oven. The crust bakes first, the filling goes in once it’s cooled, and the finished cheesecake rests in the refrigerator until it slices cleanly. The result is a tall, smooth cheesecake with a buttery graham cracker base and a bright, tangy finish.
Kitchen Note
Press the crumb mixture firmly into the bottom and about an inch up the pan sides. A loose, shallow crust is more likely to crumble when you cut the first slice.
Save this Classic New York Cheesecake for its tall, creamy filling, buttery graham crust, and gentle lemon note.
Why a Dense Cheesecake Needs a Light Hand With the Mixer
A thick cheesecake filling can seem like it needs a lot of beating, but extra air works against the close, creamy texture you want. I start by beating the softened cream cheese on medium-low until it’s smooth, then lower the speed for the sugar, flour, salt, and sour cream. This gets rid of lumps without whipping the mixture into a foamy batter.
The eggs need the same gentle treatment. Mix them in one at a time and stop as soon as each disappears into the filling; prolonged mixing can add air that makes the cake puff in the oven and settle unevenly as it cools. The gradual cool-down gives the center time to adjust instead of meeting a sudden temperature change. These small choices help the finished cake stay dense and even, rather than light and overly airy.
What the Cream Cheese, Sour Cream, and Flour Each Bring
- Full-fat cream cheese — It supplies the rich, dense body that defines this cheesecake. Use it softened to room temperature so it blends smoothly; reduced-fat cream cheese won’t give the same texture.
- Sour cream — Its tang balances the richness and keeps the filling from tasting one-note. Bring it to room temperature along with the cream cheese so it incorporates without leaving cool, stubborn streaks.
- All-purpose flour — A small amount helps give the filling structure as it bakes and cools. Measure it carefully; packing extra into the measuring cup can make the texture heavier than intended.
- Eggs and egg yolk — The eggs set the filling, while the additional yolk adds richness. Room-temperature eggs blend more readily into the cream cheese mixture than cold ones.
- Graham cracker crumbs — Fine, evenly crushed crumbs make a crust that presses into a compact layer. Store-bought crumbs are convenient; if crushing crackers yourself, aim for a fine crumb rather than large pieces.
- Unsalted butter — Melted butter binds the crumbs and gives the crust its tender, buttery bite. Melt it gently and stir it through thoroughly so there aren’t dry patches in the crumb mixture.
- Vanilla and lemon zest — Vanilla rounds out the cream cheese, while finely grated lemon zest adds a fresh edge without making the filling taste strongly of lemon. Grate only the yellow outer peel; the white pith underneath can taste bitter.
Build the Crust and Filling Without Trapping Extra Air
Set and Bake the Graham Cracker Base
Heat the oven to 350°F and line the bottom of a 9-inch springform pan with parchment paper. Stir the graham cracker crumbs with the sugar and melted butter until the crumbs look evenly moistened, then press them across the bottom and about 1 inch up the sides. Bake the crust for 10 minutes, set the pan on a rack to cool, and lower the oven temperature to 325°F. Let the crust cool before adding the filling so the layers stay distinct.
Mix Until the Cream Cheese Is Smooth
Beat the room-temperature cream cheese in a large bowl with an electric mixer on medium-low speed. Stop to scrape down the bowl as needed, especially where cream cheese can cling around the bottom and sides. When no lumps remain, add the sugar, flour, and salt on low speed, then mix in the sour cream. If the mixture still looks streaky, scrape the bowl before moving on rather than increasing the speed.
Add the Eggs Gently
Add the eggs one at a time, mixing on low just until each one is incorporated. Follow with the egg yolk, vanilla, and finely grated lemon zest, stopping once the mixture looks uniform. Don’t keep beating after it comes together; a smooth, thick filling is the goal, not a fluffy one. Pour it over the cooled crust and smooth the top.
Bake, Rest, and Chill in Stages
Bake at 325°F for 1 hour 20 minutes to 1 hour 40 minutes, until the edges are set and an instant-read thermometer in the center reads 160°F. Turn off the oven, prop the door open, and leave the cheesecake inside for 1 hour. Remove it and run a thin knife around the edge to loosen the cake from the pan, then cool it at room temperature for 1 hour. Refrigerate it in the pan for at least 8 hours before releasing the sides and serving.
Three Easy Ways to Change the Crust or Citrus Note
Use Chocolate Graham Cracker Crumbs
Replace the regular graham cracker crumbs with the same volume of chocolate graham cracker crumbs. The crust takes on a cocoa flavor that plays well with the tangy filling, while keeping the same press-in method.
Trade the Lemon Zest for Orange
Use finely grated orange zest in place of the lemon zest, keeping the same amount. Orange makes the citrus note rounder and a little sweeter, while the cream cheese and vanilla remain front and center.
Make a Gluten-Free Cheesecake
Use gluten-free graham cracker crumbs for the crust and replace the all-purpose flour with the same amount of a gluten-free 1:1 baking flour. The filling stays creamy, though the crust’s texture will depend on the brand of gluten-free crumbs you use.
Storage and Reheating
- Refrigerator: Keep the cheesecake covered in the refrigerator for up to 4 days. The crust gradually softens as it sits.
- Freezer: Freeze individual slices wrapped tightly, then thaw them in the refrigerator overnight. The texture holds up well, though the crust may soften slightly after thawing.
- Reheating: Don’t reheat cheesecake; serve it chilled. Warming it can soften the filling and make the slices harder to handle.
Questions That Come Up Before the First Slice
Classic New York Cheesecake
Ingredients
Equipment
Method
- Heat the oven to 350°F.
- Line the bottom of a 9-inch springform pan with parchment paper.
- Stir the graham cracker crumbs, sugar, and melted butter together.
- Press the mixture firmly over the pan bottom and about 1 inch up the sides.
- Bake the crust for 10 minutes.
- Set the pan on a rack to cool, then reduce the oven temperature to 325°F.
- Beat the cream cheese in a large bowl with an electric mixer on medium-low speed until smooth, scraping down the bowl as needed.
- Add the sugar, flour, and salt and mix on low speed until combined.
- Mix in the sour cream.
- Add the eggs one at a time, mixing on low speed just until each is incorporated.
- Mix in the egg yolk, vanilla, and lemon zest.
- Pour the filling over the cooled crust and smooth the top.
- Bake at 325°F for 1 hour 20 minutes to 1 hour 40 minutes, until the edges are set and the center reaches 160°F on an instant-read thermometer.
- Turn off the oven, prop the door open, and leave the cheesecake inside for 1 hour.
- Remove the cheesecake from the oven and run a thin knife around the edge to loosen it from the pan.
- Cool at room temperature for 1 hour.
- Refrigerate the cheesecake in the pan for at least 8 hours before releasing the sides and serving.
