
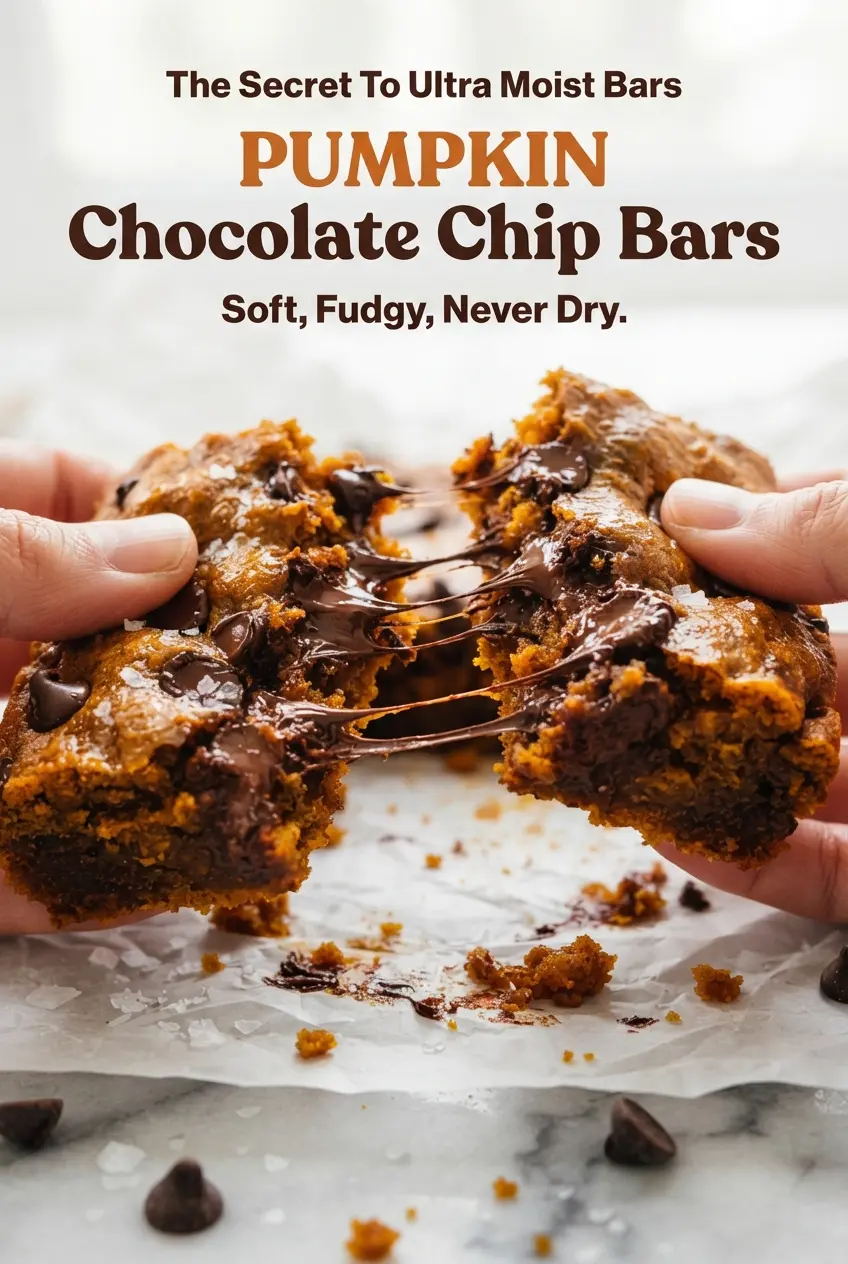
Thick pumpkin bars with a soft, fudgy center and puddles of melted chocolate are the kind of pan dessert that disappears before you realize you’ve cut into it twice. These bake up moist instead of cakey, with a crackly top and a crumb that stays tender for days, which is exactly why they earn a permanent spot in the fall baking rotation.
The texture comes from using canned pumpkin for body, plenty of brown sugar for depth, and just enough flour to hold everything together without turning the bars dense. Vegetable oil keeps the crumb soft long after they cool, and the mix of cinnamon, nutmeg, ginger, and cloves gives the bars that warm spice cake aroma without overpowering the chocolate. The trick is stopping the mixing the second the flour disappears. Overworking the batter is what makes pumpkin bars dry and bready.
Below, I’m walking through the one-bowl method, the ingredient swaps that still keep these bars tender, and the small bake-time cue that keeps the center soft instead of overdone.
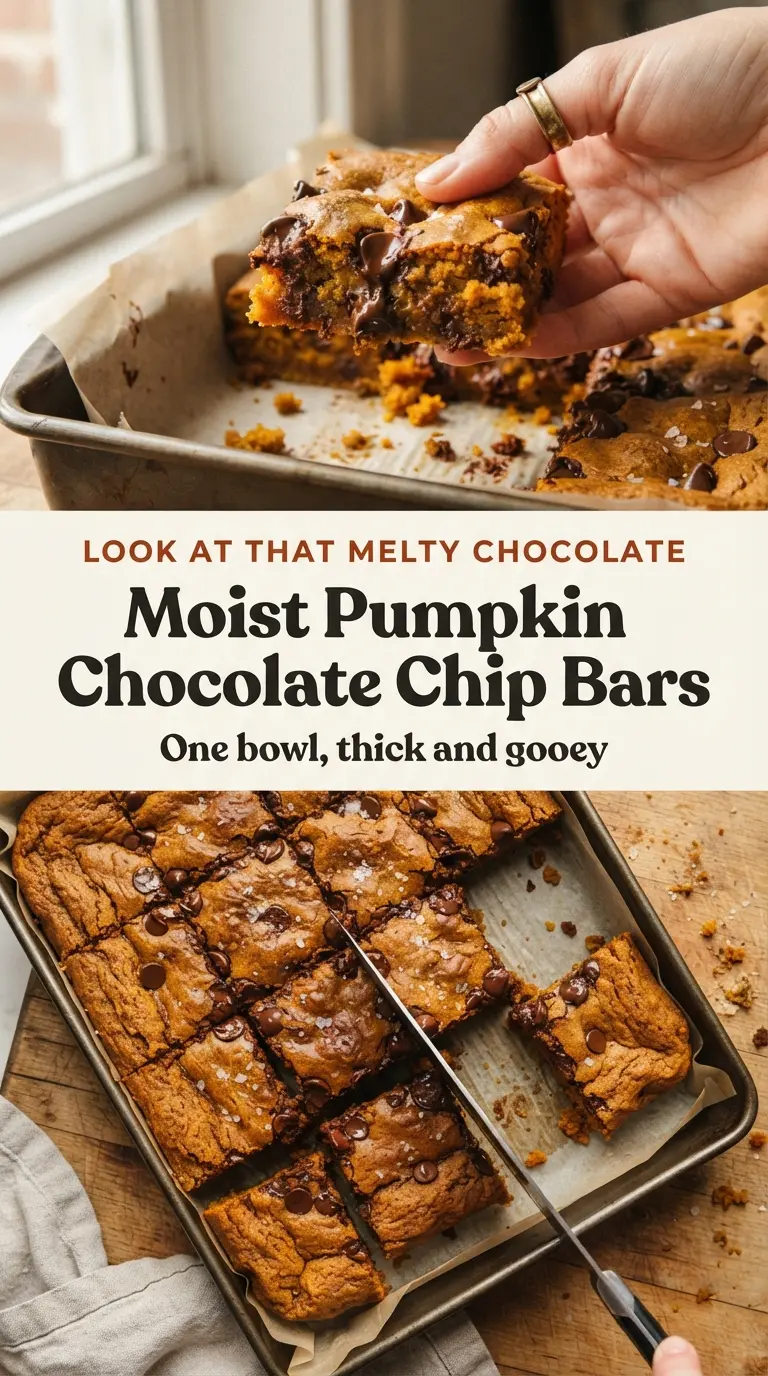
The bars came out soft and fudgy, not cakey at all, and the center set up perfectly after cooling. I loved the crackly top with the chocolate chips on top and the flaky salt made them taste bakery-level.
Save these moist pumpkin chocolate chip bars for the day you want a fudgy pumpkin dessert with a crackly top and almost no cleanup.
The Difference Between Fudgy Bars and Pumpkin Cake
Most pumpkin bars tip over into cake because the batter gets overmixed, overbaked, or both. Pumpkin brings a lot of moisture on its own, and if you keep stirring after the flour goes in, you start building structure that belongs in quick bread, not a soft bar. The goal here is a thick batter that spreads, sets at the edges, and stays a little tender in the center.
The other trap is baking until the middle looks completely done. That’s how you lose the soft crumb. Pull these when a toothpick comes out with a few moist crumbs instead of wet batter, and let the pan finish the job on the counter. The bars firm up as they cool, and that rest is part of what gives you clean slices without drying them out.
- Pumpkin purée — Use canned pumpkin purée, not pumpkin pie filling. Pie filling already has sugar and spices mixed in, which throws off the balance and makes the bars sweeter and looser than they should be.
- Vegetable oil — Oil keeps the crumb tender for days. Melted butter gives a better flavor, but it also firms up more as the bars cool, so the texture won’t stay as soft.
- Brown sugar and granulated sugar — Brown sugar adds moisture and a deeper, almost caramel note, while granulated sugar helps create that crackly top. You want both here.
- Eggs — Room-temperature eggs blend into the batter more smoothly and help it emulsify. Cold eggs can leave the mixture a little streaky before the dry ingredients go in.
- Chocolate chips — Semi-sweet chips hold their shape enough to give you pockets of melted chocolate without making the bars cloying. Milk chocolate works, but the bars will taste sweeter and softer overall.
- Flaky sea salt — This is the finish that keeps the bars from tasting flat. A little salt on top sharpens the pumpkin spice and makes the chocolate stand out more.
The One-Bowl Mixing Order That Keeps These Bars Tender
Start with the wet ingredients
Whisk the pumpkin, oil, and sugars until the mixture looks smooth and glossy, with no visible granules stuck to the sides of the bowl. That first minute of mixing helps the sugar start dissolving, which gives the bars a finer crumb. Add the eggs one at a time so the batter stays silky instead of looking broken or greasy. If it does look a little separated, keep whisking; it usually comes together once the eggs are fully incorporated.
Fold, don’t beat, once the flour goes in
Dump the flour, leaveners, salt, and spices right on top, then fold just until the dry streaks disappear. This is the point where people accidentally turn pumpkin bars into cake. A spatula does less damage than a whisk or hand mixer, and the batter should finish thick and scoopable, not pourable. Stop as soon as the flour is gone; a few tiny streaks disappear during the final mix with the chocolate chips.
Watch the center, not the clock
Spread the batter into the pan and scatter the remaining chocolate chips over the top. Bake until the edges pull a little from the parchment and the center gives you a few moist crumbs on a tester. If the toothpick comes out clean, the bars are already on the dry side. They keep setting after they leave the oven, so let the pan cool before cutting or the middle will seem too soft and the slices will smear.
How to Adapt These Bars Without Losing the Soft Center
Gluten-Free With a 1:1 Baking Blend
Swap the all-purpose flour for a cup-for-cup gluten-free baking blend that includes xanthan gum. The bars will still be soft and moist, but the crumb may be a little more delicate, so let them cool fully before lifting them from the pan.
Dairy-Free Without Any Drama
The bars are naturally dairy-free as written if your chocolate chips are dairy-free too. Check the label on the chips, since that’s usually the only place dairy sneaks in, and the texture stays unchanged because the recipe already relies on oil instead of butter.
Extra-Spiced or Milder
If you want a stronger spice note, add another ¼ teaspoon of ginger or a pinch of cardamom. For a milder bar, cut the cloves in half; cloves read loudly in pumpkin bakes, and even a small reduction makes the chocolate stand out more.
Storage and Reheating
- Refrigerator: Store in an airtight container for up to 5 days. The bars stay moist, though the chocolate chips will firm up when chilled.
- Freezer: These freeze well. Wrap individual bars tightly and freeze for up to 2 months, then thaw at room temperature.
- Reheating: Warm a bar in the microwave for 10 to 15 seconds, just until the chocolate softens. Too much heat dries the crumb and makes the edges tough.
Answers to the Questions Worth Asking
Moist Pumpkin Chocolate Chip Bars
Ingredients
Equipment
Method
- Heat the oven to 350°F. Line a 9x13-inch pan with parchment, leaving an overhang on the long sides so you can lift the bars out later.
- In a large bowl, whisk the pumpkin purée, vegetable oil, brown sugar, and granulated sugar until smooth and glossy, about 1 minute.
- Whisk in the eggs one at a time, then whisk in the vanilla until the batter looks silky and evenly colored.
- Add the flour, baking soda, baking powder, salt, cinnamon, nutmeg, ginger, and cloves directly on top.
- Fold with a spatula just until no dry streaks remain, stopping as soon as it comes together so the bars don’t turn tough.
- Fold in 1½ cups semi-sweet chocolate chips until the batter is thick and scoopable, not pourable.
- Spread the batter into the lined pan and smooth the top. Scatter the remaining ½ cup chocolate chips over the surface.
- Bake 25–30 minutes at 350°F, until the edges pull slightly from the parchment and a toothpick in the center comes out with a few moist crumbs, not fully clean.
- Sprinkle flaky sea salt over the top while hot.
- Cool in the pan at least 45 minutes, then lift out using the parchment overhang and cut into 24 bars.
- Serve slightly warm so the chocolate stays soft.
