
Cool, creamy pumpkin bars stacked over a buttery graham crust have a way of disappearing from the pan before dinner is even over. The filling stays light instead of heavy, the topping adds that soft whipped finish, and the crust gives each square enough structure to slice cleanly without crumbling apart. They set up in the fridge, which means you get a dessert that looks polished without turning on the oven.
What makes these bars work is the contrast. The crust is packed firmly so it can hold the filling, the pumpkin layer gets its body from cream cheese plus whipped cream, and the topping stays separate so the whole thing tastes like distinct layers instead of one dense pie filling. The pumpkin spices bloom best when they’re mixed straight into the cream cheese base, which keeps the flavor even from the first bite to the last.
Below, I’ll walk through the part that matters most: how to keep the filling airy without making it loose, how long they need to chill before slicing, and the small finishing step that makes the bars look as good as they taste.
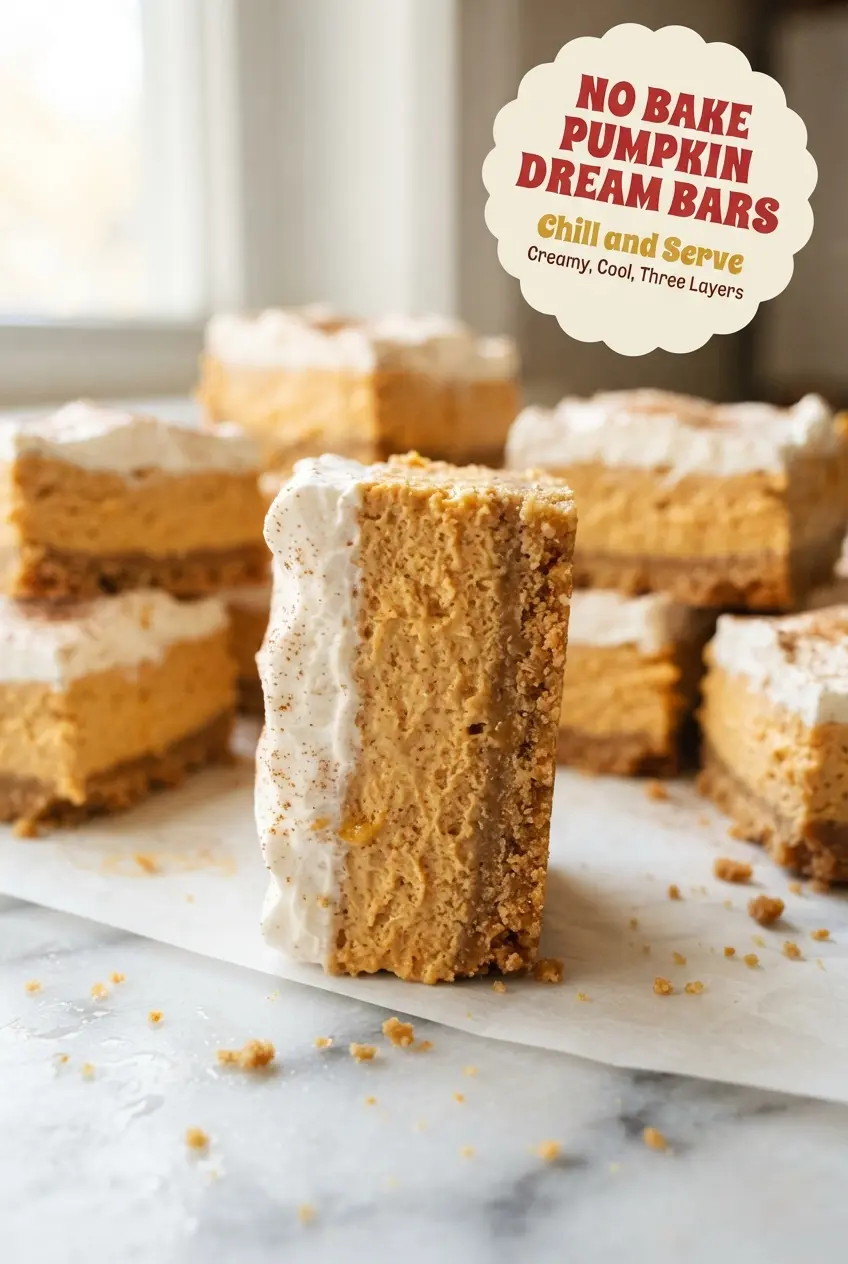
The pumpkin layer set up beautifully and sliced clean after an overnight chill. The whipped topping stayed fluffy, and the graham crust held together without getting hard or greasy.
No-Bake Pumpkin Dream Bars set up into clean, creamy layers that are made for a cold fridge chill and tidy slices.
The Trick to Keeping No-Bake Layers Light Instead of Loose
The biggest mistake with no-bake pumpkin bars is treating the filling like a quick stir-and-spread situation. If the cream cheese isn’t smooth before the pumpkin goes in, you’ll end up chasing lumps forever. If the whipped cream is overbeaten, the filling gets grainy and starts to slump once it chills.
The other place people lose the texture is the crust. A loose crumb base tastes fine, but it falls apart when you cut the bars. Press it down firmly with something flat so it compacts into a clean layer, then chill it hard before the filling goes on. That little pause gives you a crust that cuts like a proper dessert instead of collapsing under the knife.
- Room-temperature cream cheese blends into a smooth base without little hard bits left behind.
- Cold heavy cream whips faster and holds more volume, which is what keeps the pumpkin layer airy.
- Firmly packed crumbs give the bars enough backbone to lift cleanly from the pan.
What Each Ingredient Is Actually Doing in These Bars
Graham cracker crumbs bring the classic pie-like base and give the bars their structure. Fresh crumbs from whole sheets usually taste better than a dusty box of pre-crumbled crumbs, but either works if the texture is dry and fine.
Butter is what makes the crust hold together once it chills. Melted butter needs to coat every crumb, so stir until the mixture looks like wet sand and clumps when squeezed.
Cream cheese is the anchor for the pumpkin layer. There isn’t a real stand-in for the tang and body it adds, so soften it fully before beating or the filling will never turn silky.
Heavy whipping cream shows up twice and does two jobs. In the pumpkin layer it lightens the filling; on top it gives you that soft, cloudlike finish. Use the coldest cream you have and stop whipping as soon as you hit stiff or soft peaks, depending on the layer.
Canned pumpkin purée keeps the filling smooth and consistent. Use plain pumpkin purée, not pumpkin pie filling, or the bars can turn too sweet and the spice balance goes off.
Powdered sugar blends cleanly into both the filling and the topping without grit, which matters in a chilled dessert where sugar won’t cook down later.
Building the Layers Without Deflating Them
Pressing the crust first
Mix the crumbs, sugar, melted butter, and salt until every crumb is coated, then press the mixture into the pan with steady pressure. You want a dense, even layer with no loose pockets around the corners. If the crust feels sandy instead of packed, it will crumble when you lift the bars later.
Whipping the pumpkin base
Beat the cream cheese and powdered sugar until the mixture is completely smooth before anything else goes in. Add the pumpkin and spices next, and keep mixing only until the color turns uniform and deep orange. Overmixing here won’t help; once the base is smooth, stop and move on.
Folding in the whipped cream
Whip the cream to stiff peaks in a cold bowl, then fold it into the pumpkin mixture in three additions. Use a spatula and a light hand so you keep the volume you just built. If you stir instead of fold, the filling turns dense and loses the mousse-like texture that makes these bars stand out.
Finishing the top and chilling long enough
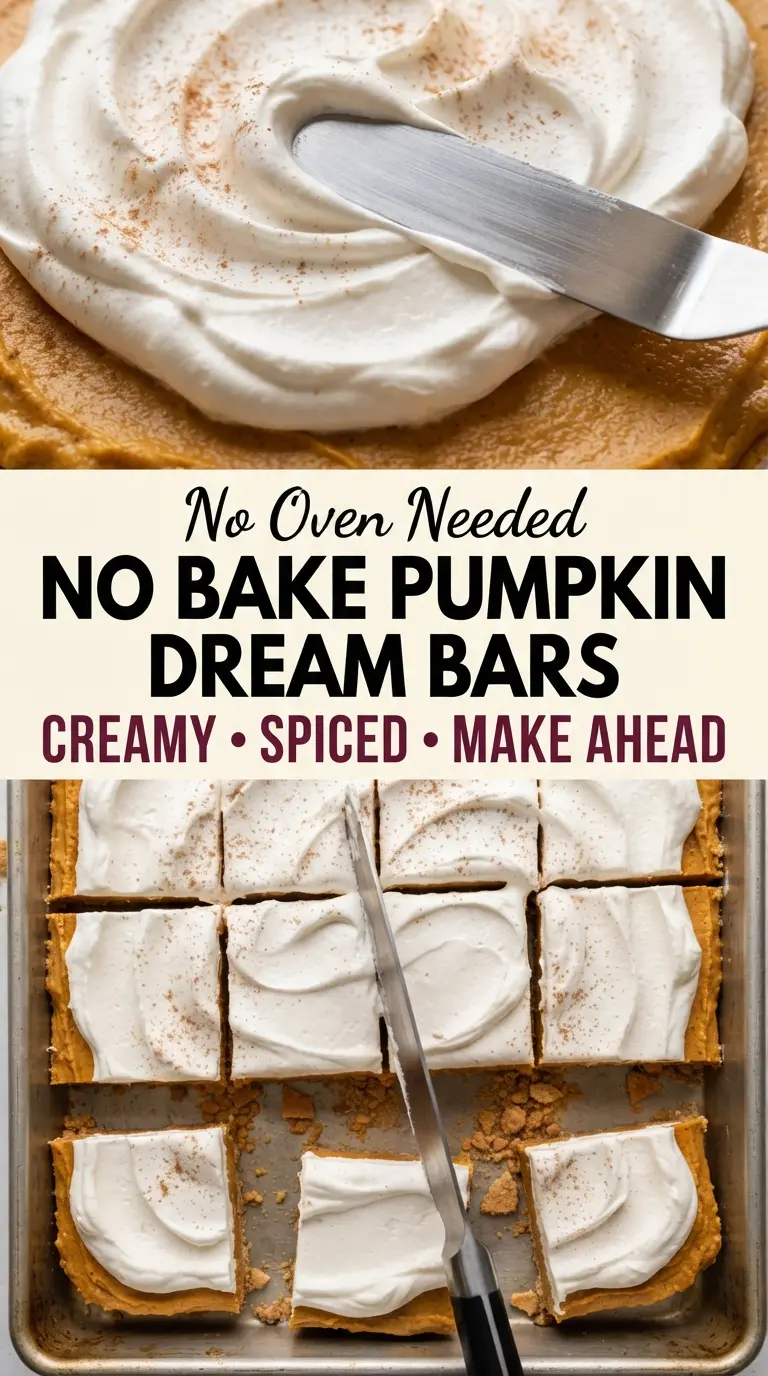
Spread the plain whipped cream over the pumpkin layer in soft swoops, then chill the bars at least 6 hours, overnight if you can. The bars need that full chill to set properly and slice cleanly. If you cut them early, the layers will squish and the filling will ooze instead of holding shape.
How to Adapt These Bars for Different Pans, Diets, and Make-Ahead Plans
Gluten-Free Graham Crust
Use gluten-free graham-style crumbs in the same amount. The bars still hold together well as long as the crumbs are fine and the butter fully coats them. The flavor stays close to the original, with just a slightly more delicate crunch.
Dairy-Free Version
Use a dairy-free cream cheese that’s meant for baking and a coconut-based whipping topping or coconut cream whipped to peaks. The texture changes a bit — it will be softer and a little less tangy — but the bars still chill into neat squares if you give them enough time in the fridge.
Mini Dessert Cups Instead of Bars
Layer the crust, pumpkin filling, and topping in small jars or cups if you don’t want to slice anything. This is the easier path for a party because the portions are built in, and you can skip the long chill needed for perfect knife cuts.
Storage and Reheating
- Refrigerator: Store covered for up to 4 days. The whipped topping will soften a little after day two, but the bars still slice well.
- Freezer: These freeze surprisingly well for up to 1 month. Freeze the cut bars on a tray first, then wrap them tightly and thaw in the fridge so the top doesn’t weep.
- Reheating: No reheating needed. Serve them cold; warming them melts the whipped layers and turns the crust greasy instead of crisp.
Answers to the Questions Worth Asking
No-Bake Pumpkin Dream Bars
Ingredients
Equipment
Method
- Line a 9x13-inch pan with parchment, leaving an overhang on the long sides so you can lift the bars out later.
- Stir the graham cracker crumbs, granulated sugar, melted butter, and fine salt together until the mixture looks like damp sand and holds together when pressed.
- Press the crumb mixture firmly and evenly into the pan, using the flat bottom of a measuring cup to pack the surface tight, then freeze for 20 minutes.
- Beat the softened cream cheese and powdered sugar for 2 minutes until completely smooth and lump-free.
- Beat in the pumpkin purée, ground cinnamon, ground ginger, ground nutmeg, ground cloves, and vanilla extract until the mixture is uniform and deeply orange.
- In a separate cold bowl, whip the cold heavy whipping cream to stiff peaks, about 3 minutes.
- Fold the whipped heavy cream into the pumpkin mixture in three additions, folding gently until no white streaks remain and the filling is light and airy.
- Spread the pumpkin cream over the chilled crust in an even layer, smoothing the top with an offset spatula.
- Whip the remaining cold heavy whipping cream with powdered sugar to soft peaks, then spread it over the pumpkin layer in gentle swoops.
- Chill the bars at least 6 hours or overnight until fully set and sliceable.
- Dust with ground cinnamon, scatter crushed graham crackers over the top, then lift out by the parchment and cut into 24 bars using a warm knife, wiping the blade between cuts.
