
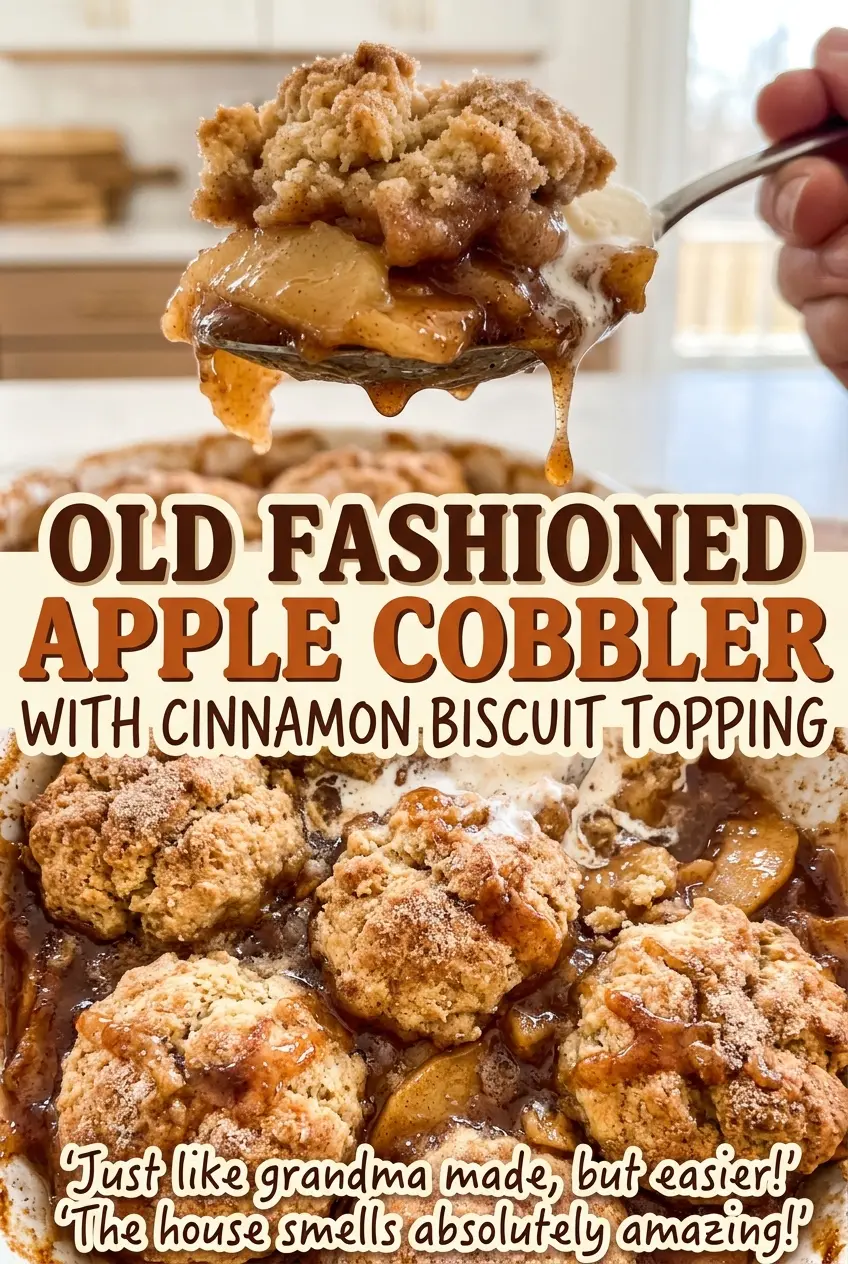
As the apples bake, their juices start bubbling up through the little spaces between the biscuits while the tops turn golden. That’s the moment this old fashioned apple cobbler with cinnamon biscuit topping starts to look right: tender fruit underneath, with soft biscuit centers and browned edges above. I use Granny Smith apples because they stay pleasantly tart against the sweet filling and hold their shape through the long bake.
The topping comes together like a simple biscuit dough, not a smooth cake batter. Cold butter gets worked into the dry ingredients until it’s pea-size, then cold milk brings everything together with just a few stirs. Leave gaps when you spoon the dough over the apples; the cobbler is meant to have fruit showing through, not a sealed lid. After baking, give it time to rest so the juices settle before you scoop into the warm cinnamon-scented filling.
Kitchen Note
I leave the cobbler alone for the full 20-minute rest, even when the apples are still steaming. The filling settles and thickens as it cools a little, so the first scoop holds together instead of running across the plate.
Save this old fashioned apple cobbler with its tart apple filling and cinnamon biscuit topping for a cozy bake any time of year.
Why the Biscuit Topping Shouldn’t Seal In the Apples
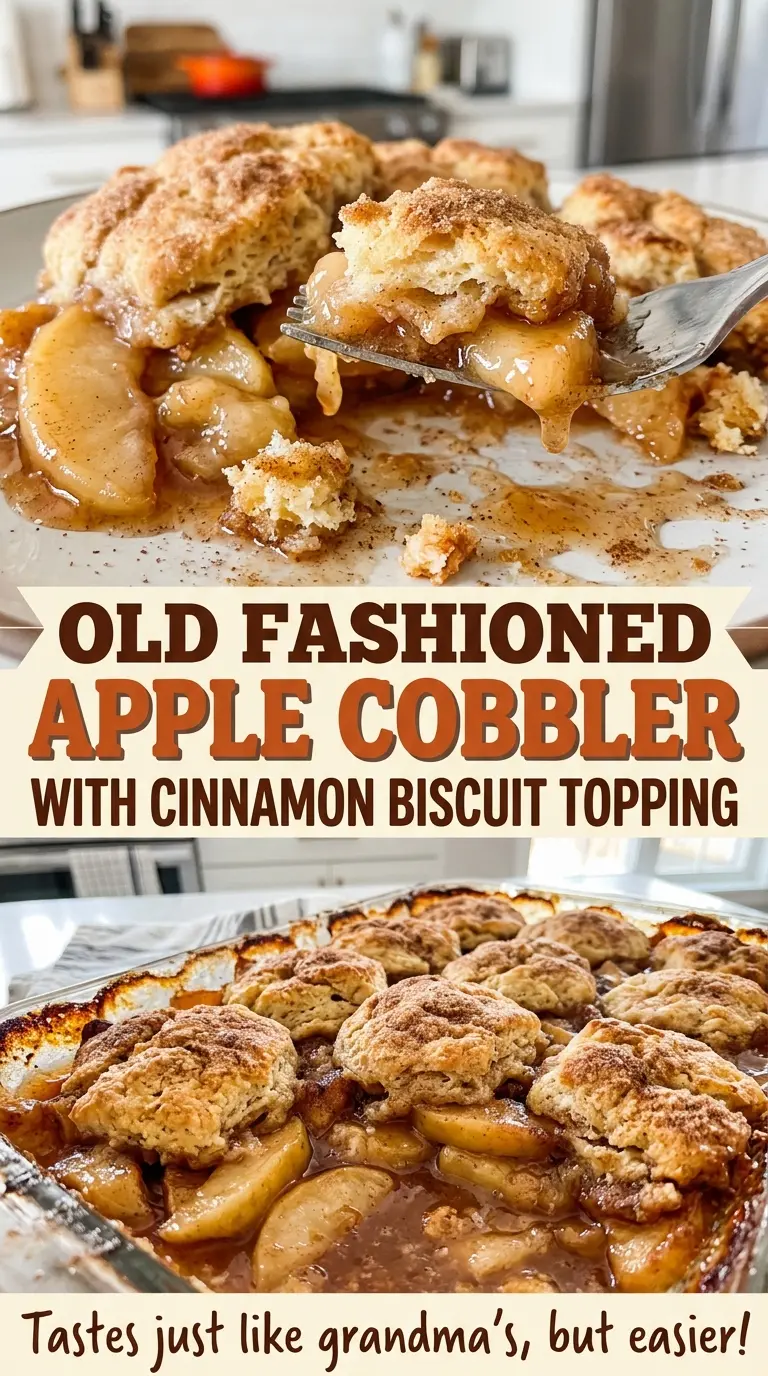
A cobbler topping isn’t supposed to blanket the fruit like a pie crust. Those small openings between the spoonfuls let steam escape and give the apple juices a place to bubble up while the biscuits bake. The result is a mix of textures: browned tops, tender dough underneath, and fruit you can see around the edges.
If you spread the dough into one continuous layer, the underside has a harder time baking through while it sits over the moist filling. Dropping it in separate spoonfuls gives the dough more exposed surface to brown, and it keeps the center from turning gummy. Don’t worry if the portions look uneven or rustic before they go into the oven; they’ll puff and spread as they bake.
The apple layer matters here, too. Spread the slices evenly in the baking dish so the topping isn’t resting on a tall mound in one spot and bare fruit in another. That even bed helps the biscuits bake at a similar pace and makes it easier to scoop fruit and topping together.
Why Granny Smiths and Cold Butter Matter in This Cobbler
- Granny Smith apples — Their tartness balances the sugar, and the slices keep some structure as they bake. Choose firm apples without soft spots. If Granny Smiths aren’t available, firm baking apples such as Braeburn are a good swap; peel, core, and slice them to the same thickness.
- Cornstarch and lemon juice — Cornstarch thickens the liquid the apples release, while lemon juice adds a little brightness and helps keep the slices from browning as you work. For a substitute, tapioca starch can thicken the filling in the same amount, though the finished juices may look a little clearer and more glossy.
- Cold butter and cold whole milk — Cold butter stays in small pieces when it’s cut into the flour, which helps the biscuit topping bake up tender instead of dense. Whole milk adds richness; plain, unsweetened oat milk works as a same-volume dairy-free swap, with a slightly less rich biscuit. Keep either liquid cold.
- All-purpose flour and baking powder — All-purpose flour gives the topping its familiar biscuit bite, and baking powder lifts the dough. A cup-for-cup gluten-free baking blend designed to replace wheat flour can work, though the biscuits may be more delicate and less stretchy. Check that the blend includes a binder such as xanthan gum.
- Sugar and warm spices — The sugar is divided between the fruit and the topping, so each part gets its own sweetness. Cinnamon ties the two layers together; nutmeg adds a quieter, rounded note to the apples. Fresh, fragrant spices make the biggest difference, while standard granulated sugar is fine.
Build the Filling and Biscuit Topping in Separate Bowls
Coat the Apples Evenly
Heat the oven to 375°F and coat a 9×13-inch baking dish with nonstick cooking spray. Toss the peeled, cored, quarter-inch apple slices with the filling sugar, cornstarch, lemon juice, cinnamon, nutmeg, and filling salt until the coating looks even. Spread the fruit in the prepared dish rather than piling it in the center. A few dry-looking spots are a sign the starch or sugar hasn’t been distributed well, so toss again before transferring the apples.
Cut Cold Butter Into the Dry Mix
Whisk the flour, baking powder, topping sugar, cinnamon, and topping salt in a medium bowl. Work in the cold butter with a pastry cutter or your fingertips until you see pieces about the size of peas. Don’t rub the butter until it disappears into the flour; those small pieces help keep the biscuit texture tender. Stir in the cold milk only until a shaggy dough forms, stopping before it becomes smooth.
Drop the Dough Over the Fruit
Spoon the dough over the apples in 8 to 10 portions, leaving small gaps between them. The pieces don’t need to be identical, but keep them spaced across the dish so the fruit and topping bake evenly. Avoid pressing the dough flat or joining the portions together. Its rough surface is what gives you browned ridges and softer centers.
Bake Until the Fruit Bubbles
Bake at 375°F for 45 to 55 minutes, until the topping is golden brown and the apple filling is bubbling. Test the fruit with a knife; it should slide into the apples with little resistance. If the topping is already golden but the apples still feel firm, keep baking until the fruit reaches that tender cue. Let the cobbler rest for 20 minutes before serving.
Two Easy Ways to Adapt the Biscuit Topping
Make It Gluten-Free
Replace the all-purpose flour with the same amount of a cup-for-cup gluten-free baking blend that contains xanthan gum or another binder. Mix the dough just until shaggy, since gluten-free biscuit dough can become crumbly if handled too much. The topping will be more delicate, but it still pairs well with the soft apple filling.
Give the Apples a Ginger Note
Add a small pinch of ground ginger to the apple mixture along with the cinnamon and nutmeg. It brings a gentle, peppery warmth without taking over the fruit. Keep the cinnamon in both layers so the topping still tastes connected to the filling.
Storage and Reheating
- Refrigerator: Cover cooled leftovers and refrigerate for 3 to 4 days. The biscuit topping softens as it sits against the fruit.
- Freezer: Freeze cooled portions in an airtight container for up to 3 months. Thaw overnight in the refrigerator; expect a softer topping after freezing.
- Reheating: Warm portions in a 350°F oven until heated through, loosely covered if the topping is already dark. Uncover near the end to help the surface crisp; microwaving is quick but leaves the biscuit softer.
Questions That Come Up When Baking Apple Cobbler
Old Fashioned Apple Cobbler with Cinnamon Biscuit Topping
Ingredients
Equipment
Method
- Heat the oven to 375°F.
- Coat a 9x13-inch baking dish with nonstick cooking spray.
- In a large bowl, toss the apples with 1/2 cup sugar, the cornstarch, lemon juice, 1 teaspoon cinnamon, nutmeg, and 1/4 teaspoon salt.
- Spread the apple mixture evenly in the prepared baking dish.
- In a medium bowl, whisk together the flour, baking powder, remaining 1/4 cup sugar, remaining 1 teaspoon cinnamon, and remaining 1/2 teaspoon salt.
- Cut in the cold butter with a pastry cutter or your fingertips until the pieces are about pea-size.
- Stir in the milk just until a shaggy dough forms.
- Drop the dough in 8 to 10 spoonfuls over the apples, leaving small gaps between them.
- Bake for 45 to 55 minutes, until the topping is golden brown and the apple filling is bubbling; a knife inserted into the apples should meet little resistance.
- Let the cobbler rest for 20 minutes before serving.
