
The chocolate in the saucepan goes from broken pieces to a dark, smooth mixture, then bubbles hard across the surface. That’s the moment when old-fashioned stovetop fudge asks for a little attention: stir while the sugar dissolves, then leave the spoon alone once the mixture boils. The thermometer takes over from there.
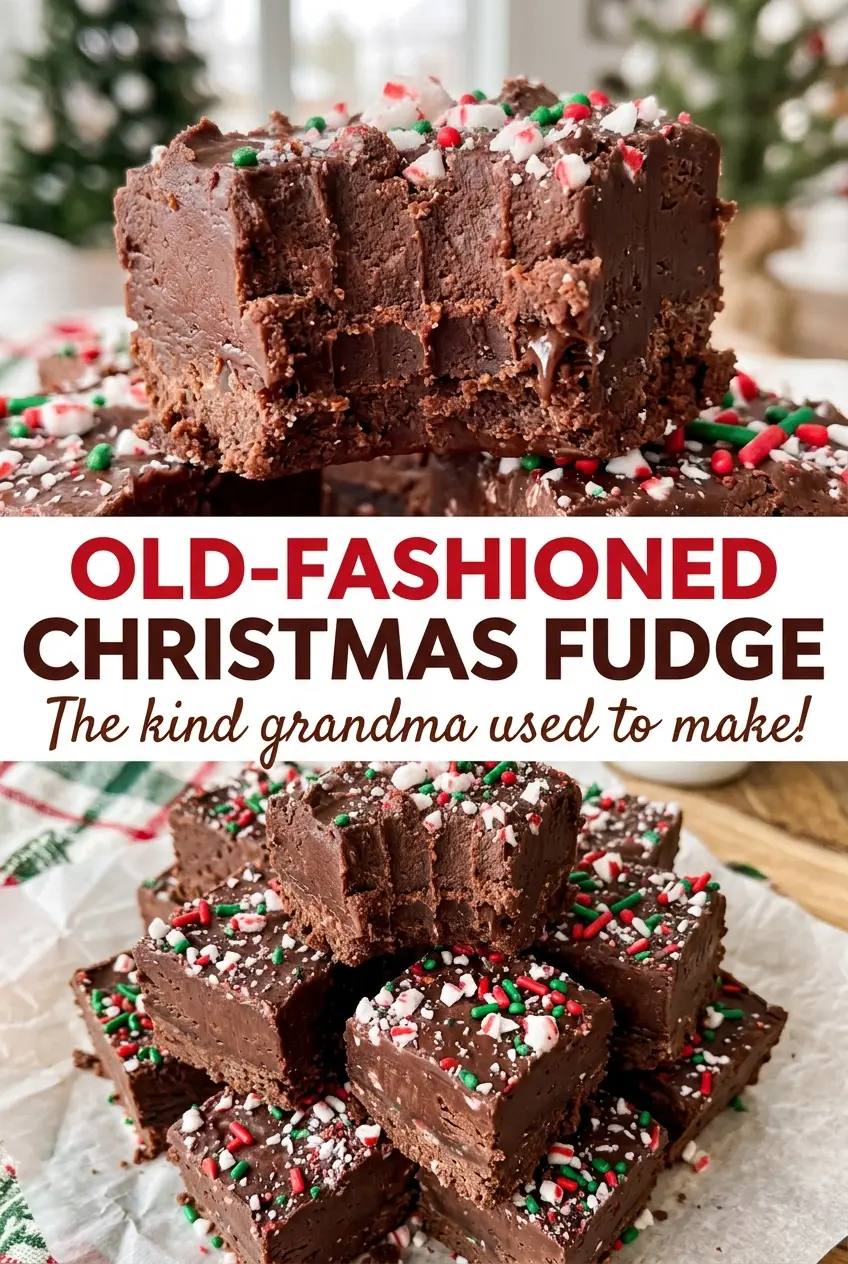
This Old-Fashioned Christmas Fudge sets into firm squares with a deep chocolate taste and walnuts tucked through each bite. I like that the ingredients are familiar, but the method gives the candy its classic texture: cook the syrup to the right temperature, let it cool without disturbance, and beat only until the shine starts to fade. The finished fudge is rich without relying on marshmallow creme, and it cuts neatly once it’s fully firm.
Kitchen Note
Once the mixture reaches 110°F, don’t rush the beating stage. The change happens quickly: the fudge thickens, and its glossy surface just begins to turn matte. Fold in the walnuts as soon as you see that shift.
Save this Old-Fashioned Christmas Fudge for a batch of smooth chocolate squares with walnuts and a classic stovetop finish.
Why the First Stirring Stops at the Boil
Grainy fudge usually starts with sugar crystals that form along the side of the pan and get pulled back into the candy. That’s why I brush down the sides with a wet pastry brush before the mixture reaches a full boil. It clears away crystals before the syrup gets too hot to disturb.
After the boil begins, stirring can encourage more crystals to form. Leave the mixture alone as it cooks to temperature, and let the candy thermometer do the checking. The light corn syrup also helps discourage crystallization, but it can’t undo rough handling at the critical stage. Use a heavy-bottomed saucepan so the heat spreads more evenly, and keep the thermometer reading steady before you take the pan off the burner. These small choices help the fudge set smooth instead of sandy.
Why Unsweetened Chocolate and Evaporated Milk Matter in This Fudge
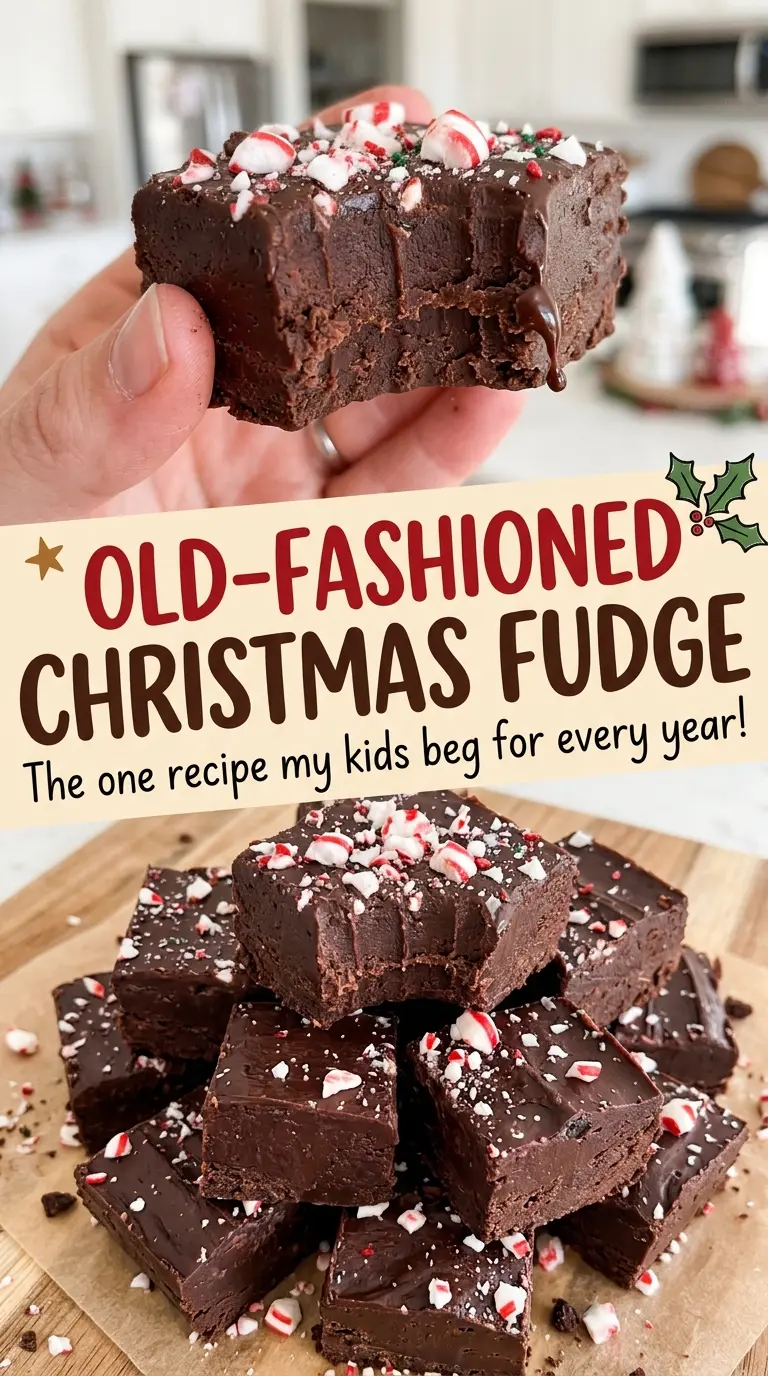
- Unsweetened chocolate — It gives the fudge a concentrated chocolate base without adding extra sugar, which matters in a candy recipe where the sugar balance is deliberate. A reasonably priced baking chocolate works; choose a bar labeled unsweetened rather than swapping in semisweet or bittersweet chocolate. Chop it so it melts evenly into the mixture.
- Evaporated milk — Its concentrated milk solids provide body without bringing in as much water as regular milk. Don’t replace it with sweetened condensed milk; that product already contains sugar and changes the candy’s proportions. Shake the can before measuring so the milk is evenly mixed.
- Light corn syrup — This helps limit unwanted sugar crystals and supports a smooth texture. It’s doing more here than adding sweetness, so I wouldn’t leave it out or swap in a different syrup. Measure it cleanly so it goes into the saucepan with the other ingredients.
- Unsalted butter and vanilla — The butter goes in after cooking, when it can melt into the hot mixture as it cools; unsalted butter keeps the salt level controlled. Use a vanilla extract you enjoy, since its aroma is noticeable against the dark chocolate. Add it at the beating stage, not during the boil.
- Walnuts — Fresh walnuts add a mild, earthy crunch that balances the dense chocolate. Since they’re folded in at the end, chop them before you start cooking so they’re ready when the fudge thickens. If walnuts aren’t your preference, leaving them out is the simplest change.
From a Full Boil to Squares That Hold Their Shape
Line the Pan Before Cooking
Lightly coat an 8-inch square pan with nonstick cooking spray, then line it with parchment, leaving an overhang on two sides. Those paper handles make it easier to lift the set fudge out later. Have the walnuts chopped and nearby before you begin the candy; there’s little time to pause once the mixture starts to thicken.
Dissolve the Sugar and Melt the Chocolate
Combine the sugar, evaporated milk, chopped unsweetened chocolate, corn syrup, and salt in a 3-quart heavy-bottomed saucepan. Cook over medium heat, stirring, until the sugar dissolves, the chocolate melts, and the mixture reaches a full boil; this takes about 5–8 minutes. If sugar crystals cling to the pan, brush them down with a wet pastry brush before the boil. The mixture should look uniform, with no visible sugar or unmelted chocolate.
Cook the Syrup to Temperature
Once the mixture boils, stop stirring and cook until the candy thermometer reads 234°F, about 8–12 minutes. Keep the thermometer positioned so you can read the mixture rather than relying on color alone. The syrup will continue bubbling as it cooks, and the temperature—not a change in appearance—is the cue to take it off the heat. Remove the pan as soon as it reaches the target.
Cool, Beat, and Fold in the Walnuts
Take the saucepan off the heat, add the butter without stirring, and leave the mixture undisturbed until it cools to 110°F, about 45–60 minutes. Add the vanilla and beat with a sturdy spoon for about 3–6 minutes, until the fudge thickens and just begins to lose its gloss. Fold in the walnuts quickly; waiting too long at this point makes the mixture harder to spread. Scrape it into the lined pan and spread it evenly.
Let the Fudge Set Before Cutting
Leave the pan at room temperature until the fudge is firm, about 2 hours. Don’t try to cut it while the middle still feels soft; warm fudge can drag and compress instead of making clean squares. Use the parchment overhang to lift the block from the pan, then cut it into squares once it holds its shape.
Two Small Changes That Actually Change the Fudge
Make It Walnut-Free
Leave out the walnuts for a smooth, chocolate-only batch; the candy still sets without them. For someone avoiding tree nuts, use a clean pan and utensils and prevent contact with walnuts or other nut residue.
Choose the Walnut Texture
Keep the listed cup of chopped walnuts, but choose a finer chop for little bits of crunch throughout or a coarser chop for more noticeable pieces. Chop them before the candy is ready to beat so you can fold them in promptly.
Storage and Reheating
- Refrigerator: Keep the squares in an airtight container for up to 2 weeks. Chilling makes the fudge firmer, so let pieces sit at room temperature before serving.
- Freezer: Freeze in an airtight container with parchment between layers for up to 3 months. Thaw the container in the refrigerator before opening it to limit condensation on the fudge.
- Reheating: Fudge doesn’t need reheating, and microwaving can melt the edges before the centers soften. Let cold pieces come to room temperature instead.
Questions That Come Up While the Fudge Cooks
Old-Fashioned Christmas Fudge
Ingredients
Equipment
Method
- Lightly coat an 8-inch square pan with nonstick cooking spray.
- Line the pan with parchment paper, leaving overhang on two sides.
- Combine the sugar, evaporated milk, chocolate, corn syrup, and salt in a 3-quart heavy-bottomed saucepan.
- Cook over medium heat, stirring, until the sugar dissolves, the chocolate melts, and the mixture reaches a full boil, about 5–8 minutes; brush any sugar crystals from the sides of the pan with a wet pastry brush.
- Once the mixture boils, stop stirring and cook until a candy thermometer reads 234°F, about 8–12 minutes.
- Remove the pan from the heat and add the butter without stirring.
- Let the mixture cool undisturbed to 110°F, about 45–60 minutes.
- Add the vanilla and beat with a sturdy spoon until the mixture thickens and just begins to lose its gloss, about 3–6 minutes.
- Quickly fold in the walnuts.
- Scrape the fudge into the prepared pan and spread it evenly.
- Let the fudge stand at room temperature until firm, about 2 hours.
- Lift it out using the parchment and cut it into squares.
