Red, white, and blue cupcakes have a way of stealing the table before anyone even takes a bite. The cake stays soft and light, the frosting pipes into tall swirls, and the three colors give every cupcake that clean, festive look people notice right away. What makes this version worth keeping is that it leans on a boxed white cake mix for reliability, then adds just enough color and texture to turn it into something that feels special instead of rushed.
The key is handling the batter in small portions so the colors stay distinct and don’t turn muddy in the oven. Gel coloring matters here because it gives strong color without thinning the batter or frosting, which is the fastest way to lose that plush cupcake texture. For the frosting, butter and powdered sugar create a pipeable base, but the cream keeps it smooth enough to swirl without cracking or dragging.
Below, I’ll walk through the color layering, the frosting setup that gives you those patriotic ribbons, and the one mistake that usually makes the final result look less sharp than it should.
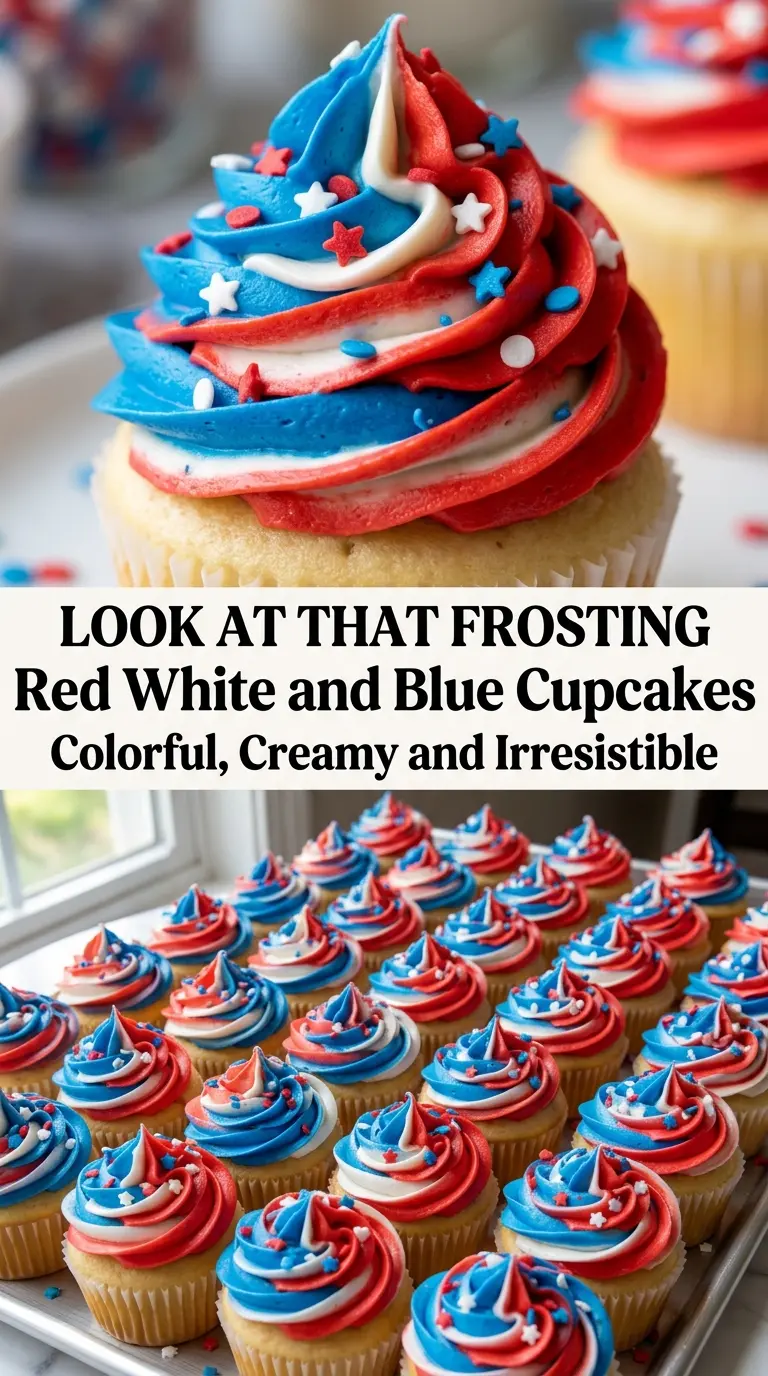
The frosting swirled beautifully in the bag and the colors stayed bright instead of bleeding together. I used star sprinkles and they looked like bakery cupcakes, but the cake was still soft the next day.
These red, white, and blue cupcakes stay picture-perfect when you pipe the three frostings side by side and keep the batter colors slightly marbled instead of fully mixed.
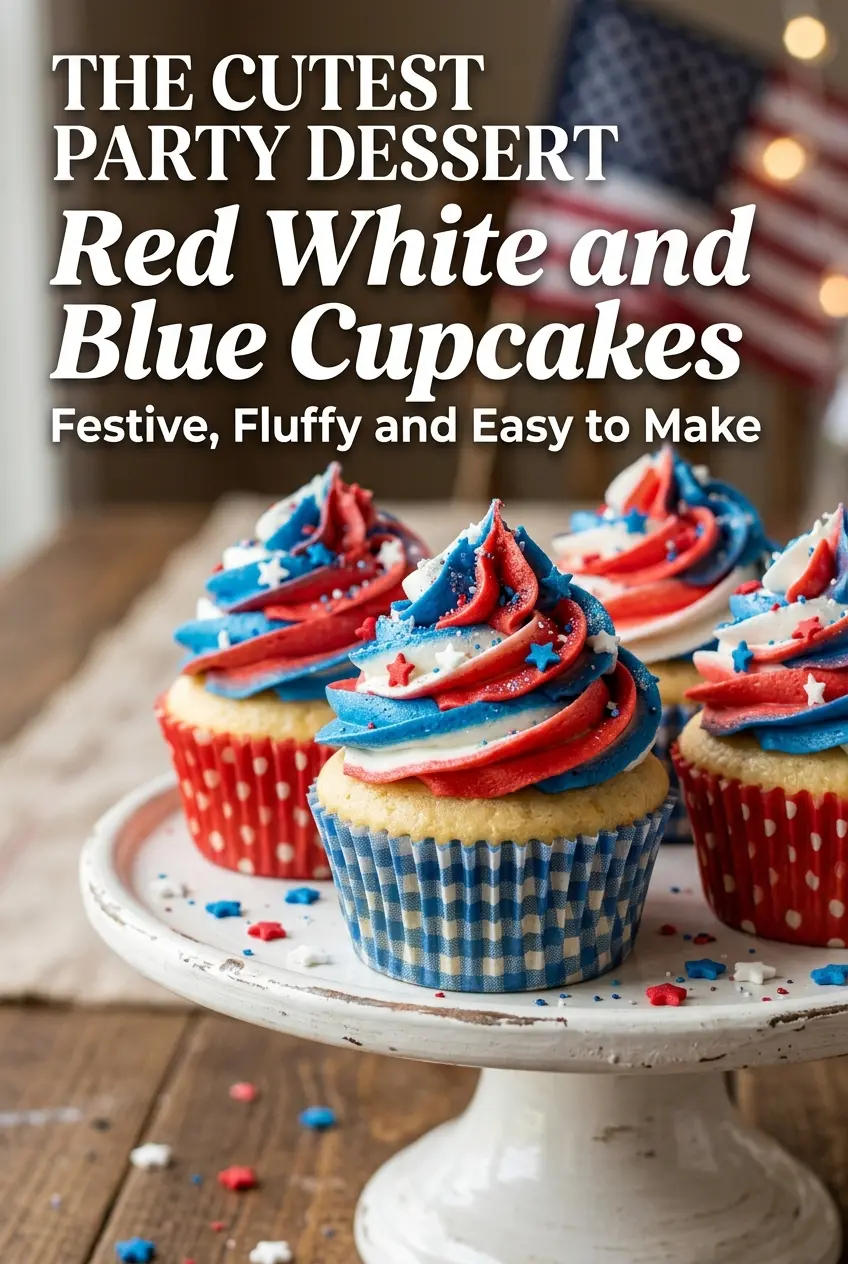
Save these patriotic cupcakes to Pinterest for your Fourth of July dessert table
The Real Trick to Keeping the Colors Clean, Not Muddy
The biggest mistake with tricolor cupcakes is overmixing once the colors go in. Stir just enough to distribute the dye, then stop. If you chase a perfectly smooth swirl in the batter, you lose the bold contrast that makes these cupcakes stand out after baking.
The frosting has the same issue. If you beat all three colors together, you end up with a pale pinkish-blue mess instead of separate ribbons. Keep each color in its own section of the piping bag, and the swirl will come out with clear bands that look intentional, not accidental. The other thing that matters is cooling the cupcakes completely before frosting them; even slightly warm cake will soften the buttercream and blur the colors.
What Each Ingredient Is Actually Doing in This Dish
- White cake mix — This gives you a light-colored base that takes gel food coloring beautifully. A yellow cake mix works, but the colors will look duller and the cupcakes will taste more buttery than vanilla-clean.
- Eggs, oil, and water — These are what keep the crumb soft and easy to bite into. Don’t swap the oil for melted butter if you want the same tender texture; butter bakes up firmer and can make the cupcakes feel heavier.
- Gel food coloring — Gel is the right choice because it gives strong red and blue without watering down the batter or frosting. Liquid coloring takes more product to show up, and that extra liquid can make the batter looser than you want.
- Unsalted butter — Softened butter creates the sturdy frosting base that can hold a star tip and keep its shape. If you use salted butter, the frosting will still work, but the finish can taste a little flat unless you reduce the salt elsewhere.
- Heavy cream — This loosens the frosting just enough to pipe smoothly. Milk works in a pinch, but the frosting won’t be quite as plush or stable.
- Patriotic sprinkles — These finish the look and hide any small imperfections in the piping. Add them right after frosting so they stick before the buttercream starts to crust.
Building the Batter and Frosting in the Right Order
Mix the Base First, Then Split the Colors
Start by mixing the cupcake batter exactly as directed on the box, then divide it into three equal bowls. Leave one plain, tint one red, and one blue. The batter should be smooth and thick enough to hold its color when you spoon it in. If it looks streaky, give it one or two more folds, but stop before it turns uniform.
Spoon the Batter Without Blending It Away
Drop small amounts of each color into the cupcake liners instead of pouring one full color at a time. That layering creates the patchy red, white, and blue look after baking. A toothpick swirl is enough to connect the colors; too much swirling turns them into purple and pink. Bake just until the tops spring back and a tester comes out clean or with a few moist crumbs.
Whip the Frosting Until It Holds Shape
Beat the butter until it looks pale and fluffy before adding the powdered sugar, cream, and vanilla. That step matters because gritty frosting usually comes from butter that never got properly aerated. Divide the finished frosting into three bowls, tint each one, then load the piping bag with the colors side by side so the swirl comes out striped. Pipe onto fully cooled cupcakes in one steady motion, then finish with sprinkles before the frosting sets.
Three Ways to Adapt These Patriotic Cupcakes
Gluten-Free Cupcakes
Use a gluten-free white cake mix with the same mix-in amounts listed on the box. The texture will be a little more delicate, so let the cupcakes cool completely before moving them. The frosting and decorating method stay exactly the same.
Dairy-Free Frosting
Swap the butter for a good dairy-free butter substitute and use a splash of unsweetened non-dairy milk instead of cream. The frosting won’t be quite as rich, but it still pipes well and holds the color bands nicely. Choose a plant-based butter that is firm when cold, not a soft tub spread.
Cupcake Swirl Instead of Full Color Layers
If you want a softer look, add only a little of each color to the batter and swirl once or twice with a toothpick. You’ll get a marbled interior instead of distinct color sections, which looks cleaner if you’re serving a larger crowd and don’t want every cupcake to look identical.
Storage and Reheating
- Refrigerator: Store frosted cupcakes in an airtight container for up to 3 days. The cake stays soft, but the frosting firms up in the fridge.
- Freezer: Unfrosted cupcakes freeze well for up to 2 months. Wrap them tightly and thaw at room temperature before decorating.
- Reheating: These aren’t meant to be reheated. Bring refrigerated cupcakes to room temperature before serving so the frosting softens and the cake tastes fresh again.
Questions I Get Asked About This Recipe
Red White and Blue Cupcakes
Ingredients
Equipment
Method
- Preheat the oven to 350°F (175°C).
- Line a 12-cup muffin pan with cupcake liners.
- Prepare cake batter according to package directions.
- Divide the batter into three bowls.
- Leave one bowl white, color one red, and one blue with gel food coloring.
- Spoon small amounts of each color into the cupcake liners, keeping the layers visible.
- Swirl gently with a toothpick to create red, white, and blue ribbons.
- Bake for 18–20 minutes at 350°F (175°C), until a toothpick in the center comes out clean.
- Cool completely before frosting to prevent melting.
- Beat the softened butter until creamy.
- Add powdered sugar, heavy cream, and vanilla extract, then mix until smooth and thick.
- Divide the frosting into three bowls.
- Leave one frosting white, color one red, and color one blue with gel food coloring.
- Place the side-by-side red, white, and blue frostings in a piping bag fitted with a large star tip.
- Pipe patriotic swirls onto the cooled cupcakes.
- Decorate with patriotic sprinkles and red, white, and blue star sprinkles, then serve.
