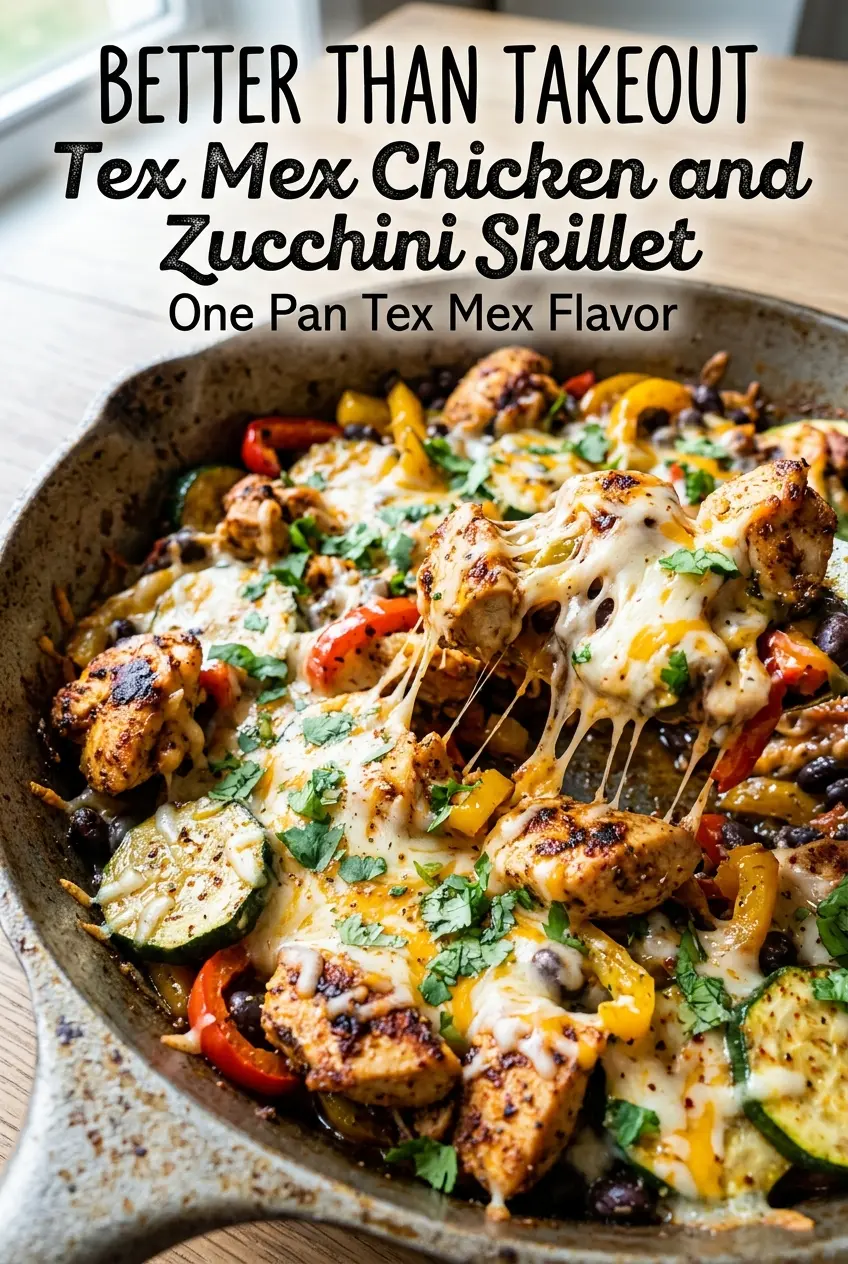
Juicy chicken, tender zucchini, and sweet peppers all land in one skillet with enough Tex-Mex seasoning to make the whole pan taste built, not dumped together. The best part is the finish: the vegetables stay just crisp enough, the chicken stays moist, and the melted cheese pulls everything into a dinner that feels larger than the effort it takes.
What makes this version work is the order. The chicken gets browned first so it picks up color before the zucchini goes in, because zucchini throws off moisture fast and can turn the pan watery if it shows up too early. Drained tomatoes help, too. Skip the extra liquid from the can and you keep the seasoning concentrated instead of washing it out.
Below, I’ve included the timing details that keep the vegetables from going soft and the cheese from turning greasy, plus a few smart swaps if you need to work with what’s already in the fridge.
The zucchini stayed tender without turning mushy, and the cheese melted into the chicken and peppers instead of sitting on top. I also liked that it came together in one pan without a lot of extra liquid at the end.
Save this Tex Mex Chicken and Zucchini Skillet for the nights when you want a cheesy one-pan dinner with big flavor and almost no cleanup.

The Difference Between Tender Zucchini and a Watery Skillet
Zucchini is the ingredient that makes this dinner feel fresh, but it’s also the one most likely to drag the whole pan down. Once it starts cooking, it releases moisture fast. If it goes in too early, the chicken loses its head start, the vegetables steam instead of brown, and the cheese has to cover up a bland, soupy base.
The fix is simple: brown the chicken first, then add the onion and garlic for a short cook, and only then bring in the zucchini, peppers, and corn. That sequence gives each ingredient a little space to develop flavor before the pan gets crowded. Draining the tomatoes matters for the same reason. You want tomato flavor, not tomato water.
- Chicken breast — Dice it evenly so it cooks at the same pace. If the pieces are too small, they dry out before the vegetables are done.
- Zucchini — Medium zucchini work best because they’re less seedy and hold their shape better than oversized ones. Cut them into thick half-moons so they stay tender instead of collapsing.
- Mexican cheese blend — This melts smoothly and gives you the stretchy, cohesive finish this skillet needs. Pre-shredded is fine here.
- Diced tomatoes — Drain them well. That step keeps the skillet from turning brothy and helps the spices cling to the chicken and vegetables.
- Corn — Frozen or canned both work. If using canned, drain it; if using frozen, add it straight from the freezer.
How to Build the Skillet So Nothing Turns Mushy
Brown the chicken before the vegetables go in
Heat the oil in a large skillet until it shimmers, then add the diced chicken in a single layer. Let it sit long enough to pick up color before stirring. The spices bloom in the fat and stick to the meat instead of disappearing into the vegetables. If the pan looks crowded, cook the chicken in two batches; crowding gives you pale chicken and extra liquid.
Add the aromatics while the pan is still hot
Once the chicken is lightly browned, stir in the onion and garlic and cook just until the garlic smells fragrant. That short window is enough to soften the onion and build the base without burning the garlic. If garlic starts to darken, lower the heat right away. Burnt garlic turns the whole skillet bitter.
Cook the zucchini just until it gives
When the zucchini, peppers, and corn go in, stir them long enough to coat in the seasoning and then let the pan do its work. You’re looking for zucchini that softens at the edges while still holding a little bite in the center. The vegetables should look glossy, not soggy. If a puddle of liquid forms, keep the heat up and cook it off before adding the tomatoes.
Finish with cheese over lower heat
After the tomatoes are warmed through, turn the heat down before adding the cheese. A gentle melt gives you a creamy top instead of an oily layer. Cover the skillet just long enough for the cheese to soften and pull together. If the heat stays too high at this stage, the cheese can separate and turn greasy.
How to Adapt This for Different Diets and Leftover Nights
Make it dairy-free without losing the finish
Leave off the cheese or use a dairy-free shredded melt that’s made for cooking. The skillet still tastes complete because the chicken, peppers, and spices carry the flavor, but you lose the creamy, binding top layer that the cheese provides. If you skip it, finish with a squeeze of lime or a little avocado for richness.
Turn it into a gluten-free dinner with no changes
This recipe is naturally gluten-free as written, as long as your chili powder and cheese blend are certified gluten-free if that matters for your kitchen. The texture and cooking time stay the same. That’s one of the reasons this skillet works so well for weeknights.
Swap in chicken thighs for a juicier result
Boneless skinless thighs bring a little more richness and stay forgiving if the pan runs hot. Cut them the same size as the breast pieces and cook until they’re just done through. The skillet will taste a touch deeper and a little less lean.
Storage and Reheating
- Refrigerator: Store leftovers in an airtight container for up to 4 days. The zucchini will soften a little more, but the flavor holds up well.
- Freezer: This freezes, but the zucchini texture turns softer after thawing. Freeze in portions for up to 2 months if texture matters less than convenience.
- Reheating: Warm it in a skillet over medium-low heat with a splash of water or broth. The common mistake is blasting it in the microwave until the chicken tightens up and the cheese turns greasy.
Answers to the Questions Worth Asking
Tex Mex Chicken and Zucchini Skillet
Ingredients
Equipment
Method
- Heat 2 tbsp olive oil in a large skillet over medium-high heat until shimmering. Add diced chicken and season with chili powder, cumin, smoked paprika, oregano, salt, and black pepper.
- Cook the chicken for 5–6 minutes, stirring occasionally, until lightly browned and cooked through. Keep the pan hot so the chicken gets color.
- Add diced onion and minced garlic to the skillet and cook for 2 minutes until fragrant and glossy. Scrape up any browned bits from the bottom.
- Stir in sliced zucchini, diced bell peppers, and corn kernels. Cook for 5 minutes until the vegetables begin to soften and look slightly glossy.
- Add drained diced tomatoes and stir well to combine. Reduce heat to medium and cook for 4–5 minutes until the mixture thickens slightly.
- Sprinkle shredded Mexican cheese blend evenly over the skillet so it covers the surface. You should see the cheese land in a single even layer.
- Cover and cook for 2–3 minutes until the cheese melts and turns smooth and bubbly. Finish by garnishing with fresh cilantro.
- Serve immediately while the chicken is hot and the cheese is melted. Add extra cilantro if you want a brighter finish.
