
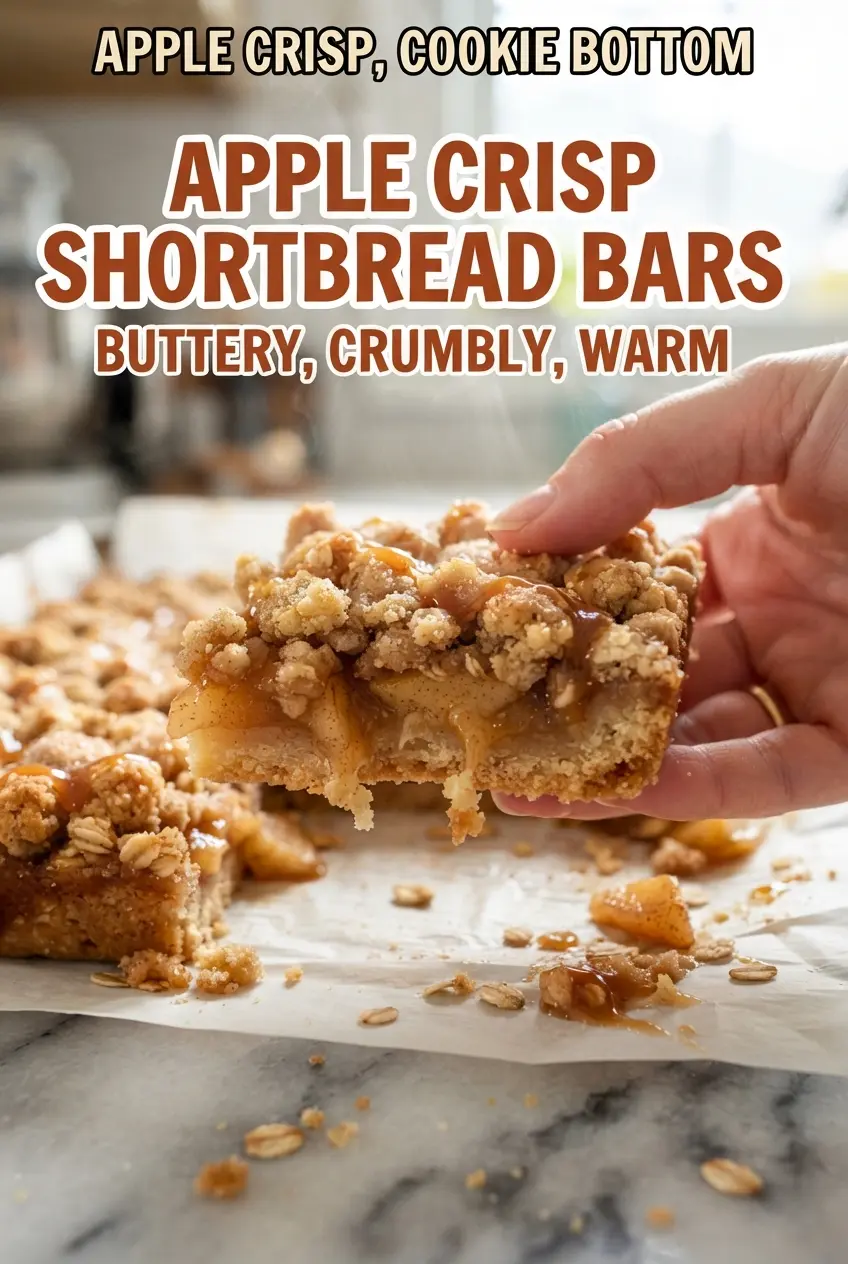
Apple crisp bars hit that sweet spot between dessert and hand-held snack: a sturdy shortbread base, soft cinnamon apples, and a craggy oat topping that bakes up deeply golden instead of sandy or dry. The best part is the texture contrast. The bottom stays crisp under the fruit, so the bars cut cleanly and never collapse into a puddle on the plate.
What makes this version work is the order of the layers and the way the apples are handled. The shortbread gets a head start in the oven, which sets the base before the fruit goes on, and the apples are tossed with a little flour so the juices thicken instead of running loose. Cold butter in the crumble matters too. Warm butter blends too smoothly and gives you a dense topping, while cold butter breaks into little pockets that bake into those crunchy clusters everyone wants.
Below, you’ll find the small details that keep the bottom crisp, how to build the crumble so it actually clumps, and a few useful swaps for when you need to work with what’s already in the kitchen.
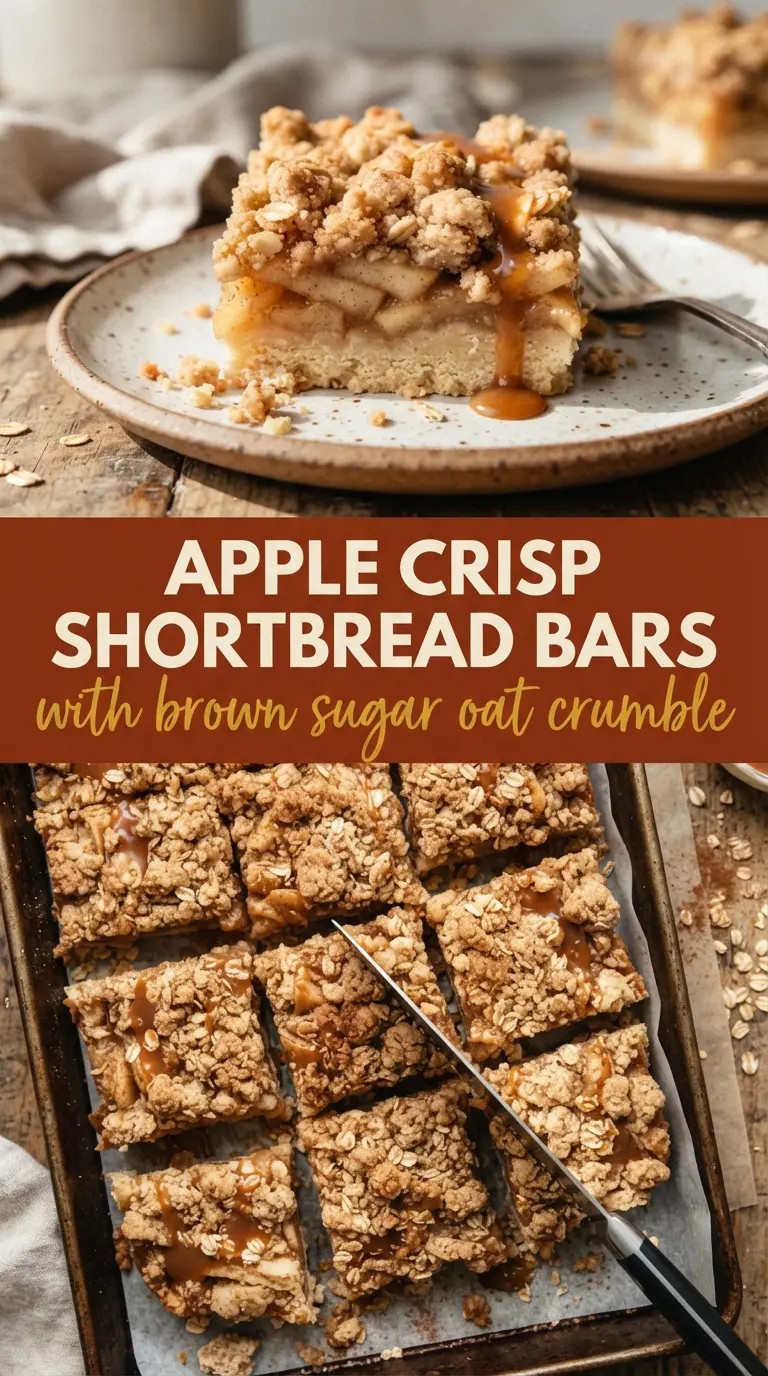
The shortbread stayed crisp under the apples and the topping baked up in those nice little clumps instead of turning sandy. I chilled the bars before cutting and they came out clean with the caramel drizzle on top.
Save these apple crisp shortbread bars for when you want clean-cut squares with a crisp bottom, soft spiced apples, and a buttery oat crumble.
The Reason the Bottom Stays Crisp Instead of Going Soggy
The mistake with fruit bars is letting the filling sit directly on a soft crust that hasn’t set yet. Apples release juice as they bake, and if the base is underbaked or too thin, that moisture seeps down and turns the bottom pasty. Here, the shortbread gets baked first until it looks dry and pale golden at the edges, which gives it a head start strong enough to handle the fruit.
The flour in the apple layer matters too. It isn’t there to make the filling thick and gummy. It catches the juices just enough to keep them in place while the bars cool, which is when the layers actually finish setting. If you cut them while they’re hot, the fruit will still slosh around and the base will seem softer than it really is.
- Shortbread pre-bake: This is the difference between a crisp bar and a damp one.
- Flour on the apples: It thickens the juice as it bakes so the filling stays neat.
- Cooling time: The bars firm up as they cool, so the first clean cut comes after at least an hour.
What Each Ingredient Is Doing in This Dish
- Unsalted butter — Softened butter in the shortbread gives you a tender, press-in base, while cold butter in the crumble creates those coarse, crunchy clusters. Salted butter will work in a pinch, but the flavor gets harder to control; if you use it, reduce the added salt a little.
- Powdered sugar — This keeps the shortbread fine and crumbly instead of sandy or gritty. Granulated sugar can work, but the texture gets less delicate and more cookie-like.
- Granny Smith apples — They hold their shape and bring enough tartness to balance the caramel and brown sugar. If you swap in a sweeter apple, the bars will taste softer and sweeter, so pair it with a little extra lemon juice.
- Old-fashioned oats — These give the topping structure and chew. Quick oats will work, but the crumble gets denser and less craggy.
- Lemon juice — It keeps the apples bright and helps the flavor stay lively under all that butter and sugar. Don’t skip it unless your apples are especially tart.
Building the Layers Without Crushing the Texture
Setting the Shortbread Base
Beat the softened butter and powdered sugar until it looks light and creamy, then add the flour just until the dough turns crumbly. If you keep mixing after the flour goes in, the base gets tough instead of short and tender. Press it into the pan firmly and evenly so there are no thin spots, because thin corners brown too fast and get brittle before the center finishes.
Working the Apples and Crumble
Toss the sliced apples with the brown sugar, flour, cinnamon, nutmeg, and lemon juice right before assembly. If you do this too early, the sugar pulls water out of the apples and leaves you with a wet bowl instead of a coated filling. For the crumble, use your fingertips to rub the butter into the dry ingredients until you get pea-sized clumps and a few larger bits; that mix of sizes is what bakes into a topping with real texture.
Baking Until the Juices Bubble Thickly
Spread the apples over the hot crust in a tight layer, then scatter the crumble on top without packing it down. Bake until the topping is deep golden and you can see thick bubbles at the edges, not just clear juice. Clear, fast bubbles mean the apples still need time; thick, slow bubbles mean the flour has done its job and the filling is set.
How to Adapt These Bars Without Losing the Texture
Gluten-Free Version
Swap the all-purpose flour in both the shortbread and crumble for a 1:1 gluten-free baking blend that includes xanthan gum. The bars will still hold together well, but the shortbread may be a little more fragile when warm, so let it cool fully before lifting it from the pan.
Dairy-Free Swap
Use a high-quality plant butter that behaves like regular butter in baking, not a tub spread. The flavor stays close to the original, though the crumble may brown a touch faster, so watch the last 10 minutes closely.
Different Apple Choices
You can blend Granny Smith with Honeycrisp or Braeburn for a softer, sweeter filling, but keep at least half the apples tart and firm. All-soft apples break down too much and turn the layer jammy instead of sliceable.
Storage and Reheating
- Refrigerator: Store covered for up to 5 days. The topping softens a bit in the fridge, but the bars still slice cleanly.
- Freezer: These freeze well. Wrap individual bars tightly and freeze for up to 2 months, then thaw in the fridge before serving.
- Reheating: Warm bars in a 300°F oven for 8 to 10 minutes. Skip the microwave if you want the crumble to stay crisp, since it turns the topping soft and steamy.
Answers to the Questions Worth Asking
Apple Crisp Shortbread Bars
Ingredients
Equipment
Method
- Heat the oven to 350°F, then line a 9x13-inch pan with parchment and leave an overhang on the long sides for lifting. The parchment should sit flat with clean edges so the bars release easily.
- Beat the softened unsalted butter and powdered sugar for 2 minutes, until light and creamy. You should see the mixture lighten visibly and look fluffy.
- Mix in the vanilla extract, all-purpose flour, and fine salt just until a crumbly dough forms. Stop as soon as the dough comes together so it stays tender after baking.
- Press the dough firmly and evenly into the pan, smoothing the surface. Bake for 18–20 minutes at 350°F until the edges are pale golden and the center looks dry.
- Leave the oven on while you prepare the apple layer. The base should be hot when you add the apples.
- Toss the peeled and thinly sliced Granny Smith apples with packed light brown sugar, all-purpose flour, ground cinnamon, ground nutmeg, and lemon juice until every slice is coated. Let the mixture sit so the sugar starts to dissolve and lightly clings to the apples.
- Rub the old-fashioned rolled oats, all-purpose flour, packed light brown sugar, ground cinnamon, cold unsalted butter, and fine salt together with your fingers until it forms coarse clumps the size of peas and small marbles. The texture should look shaggy and chunky rather than powdery.
- Spread the apple slices over the hot shortbread base in a tight, even layer, overlapping slightly so there are no gaps. The fruit should cover the entire surface.
- Scatter the oat crumble over the apples and squeeze some into larger clusters as you go for craggy texture. Aim for an even blanket with visible clumps.
- Bake at 350°F for 38–45 minutes, until the topping is deep golden and apple juices bubble thickly at the edges. The bars are ready when the center looks set and the crumble holds shape.
- Cool in the pan for at least 1 hour so the fruit layer sets and the shortbread firms up. The surface should feel firm when touched lightly.
- Lift out using the parchment overhang, then drizzle with warm caramel sauce and sprinkle with flaky sea salt. Cut into 24 bars once the bars are fully cooled for clean edges.
