
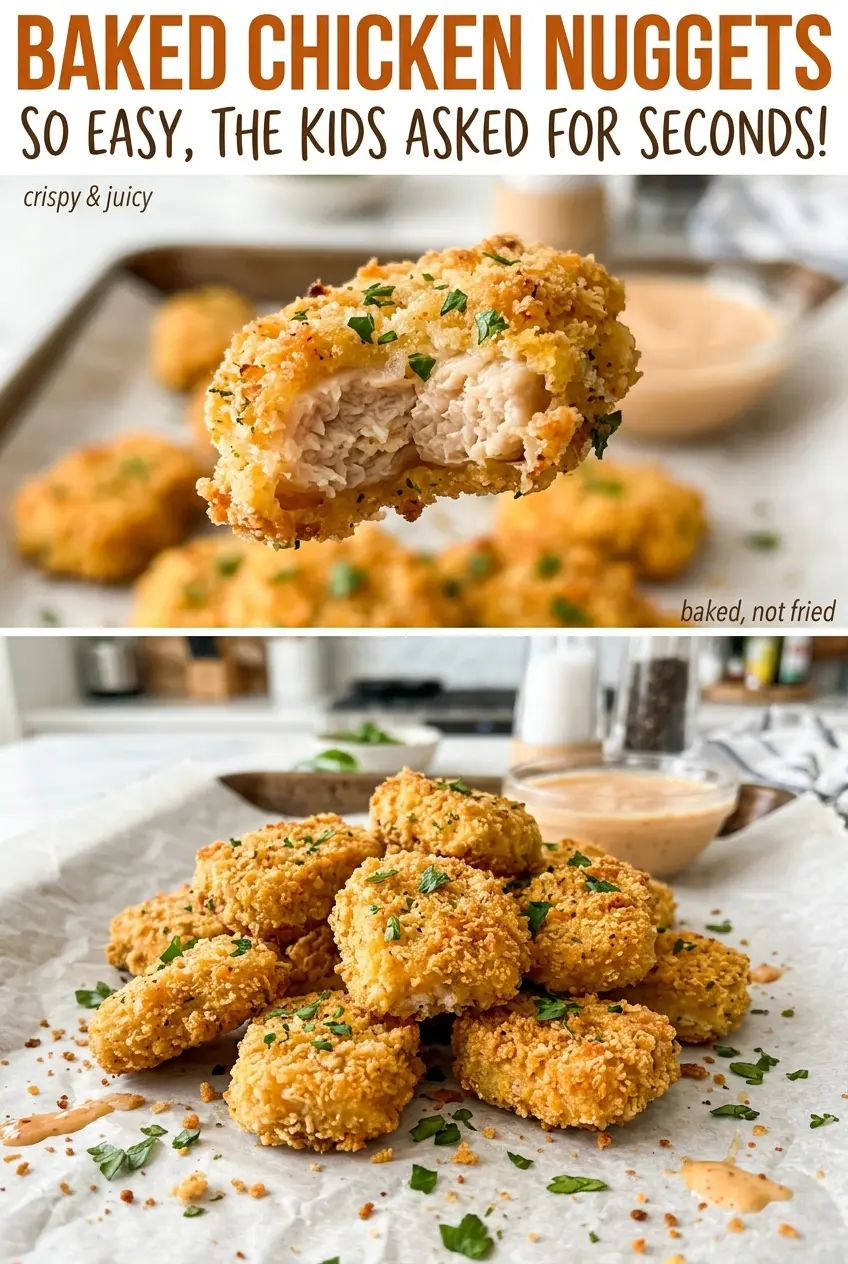
The panko turns golden in the skillet before the chicken ever reaches the oven, and that’s the first clue these nuggets won’t come out pale and soft. I toast the crumbs in olive oil, then bake the coated chicken on a wire rack so hot air can reach the bottoms instead of trapping steam underneath. These baked chicken nuggets get their crunch from that two-part approach, not from deep-frying.
The pieces are small enough to cook quickly, so the coating needs a head start on color. Toasting the panko gives it one, while the rack helps the chicken cook evenly on both sides. A quick turn halfway through the bake finishes the crust, and a thermometer takes the guesswork out of knowing when the thickest pieces are ready. The result is a crisp, golden outside around tender chicken.
Kitchen Note
When you bread the chicken, use one hand for the flour and panko and the other for the egg. It keeps wet egg from turning the dry coating into clumps on your fingers halfway through the batch.
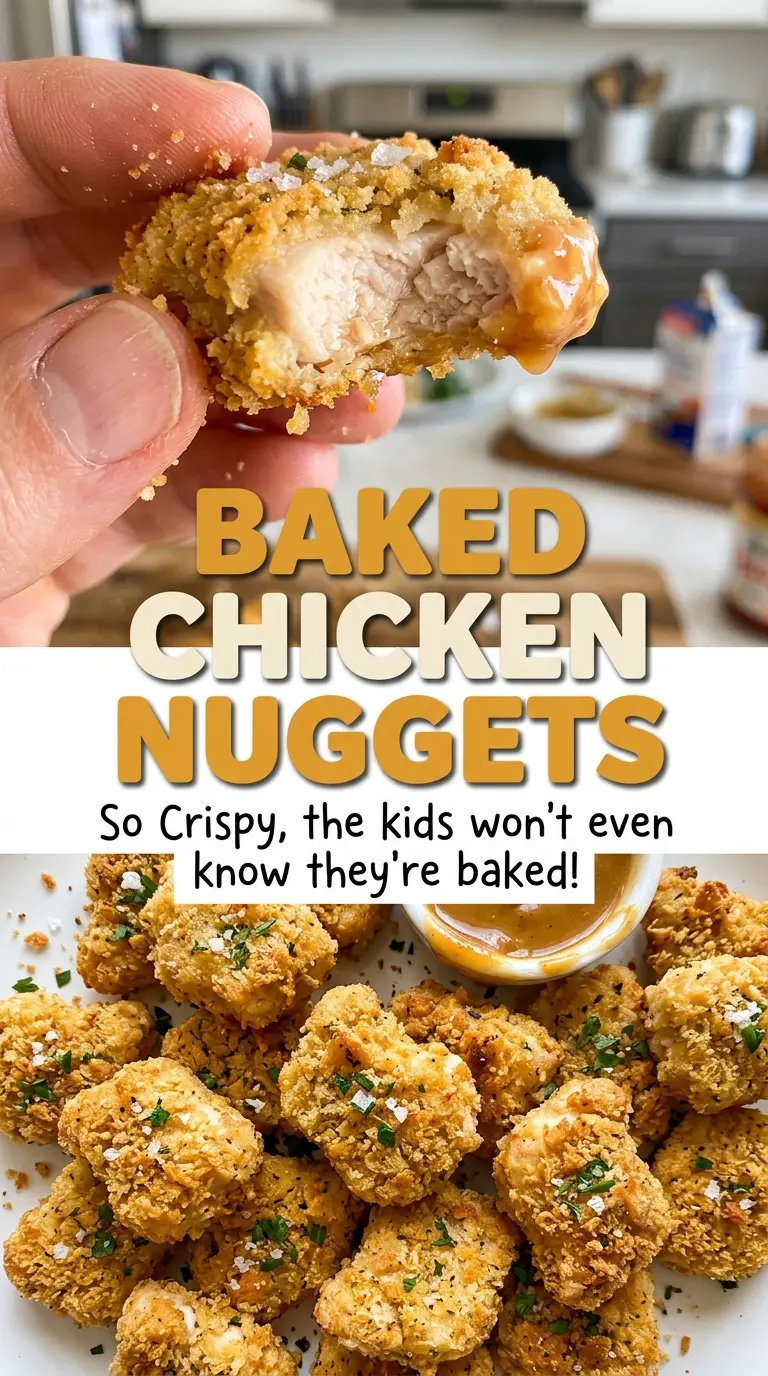
Save these baked chicken nuggets for a crunchy, oven-baked dinner with a crisp panko coating and tender chicken inside.
Why These Nuggets Need a Rack, Not Just a Hot Oven
A hot oven browns the top of a nugget, but the bottom sits close to the pan and can soften where moisture gathers. Setting a wire rack over the parchment-lined baking sheet lifts each piece above that damp surface. Hot air moves underneath as well as around the sides, which helps the coating stay crisp all the way around.
The rack also gives the nuggets a place to drain any moisture released during baking instead of letting it pool against the crust. Lightly coating the rack with cooking spray helps keep the breading from sticking when you turn the pieces. A second light coat on the chicken after turning helps the newly exposed side brown, too. It’s a small setup change, but it’s what makes an oven-baked crust feel crisp rather than merely dry.
Why Panko Gets Toasted Before It Touches the Chicken
- Panko breadcrumbs — Their light, flaky shape makes a craggy crust that stays less dense than one made with fine breadcrumbs. Toasting them in olive oil starts the browning before the short oven bake. Regular plain breadcrumbs work in a pinch, but the coating will be finer and less airy.
- Olive oil — The oil helps the panko brown evenly in the skillet. A neutral cooking oil can stand in at the same amount if you don’t want an olive flavor; use an oil suitable for stovetop cooking.
- Chicken breasts — Boneless, skinless breasts are easy to cut into similarly sized pieces, which helps the nuggets finish at about the same time. Boneless, skinless chicken tenderloins work too; cut them into roughly 1-inch pieces just as you would the breasts.
- Flour, garlic powder, paprika, and black pepper — The flour gives the egg something dry to cling to, while the seasonings flavor the coating itself. Use fresh, dry spices; old garlic powder can taste flat here because the seasoning is spread across every piece.
- Eggs and water — The eggs bind the flour and crumbs to the chicken, and a little water loosens them into a coating that’s easier to dip into. Whisk until no streaks of egg white remain so each piece gets an even layer.
From Golden Crumbs to Crisp, Cooked-Through Nuggets
Set Up the Rack and Preheat
Heat the oven to 425°F and line a rimmed baking sheet with parchment paper. Set a wire rack on top, then coat the rack lightly with cooking spray. This raised surface gives the nuggets room for air to circulate underneath as they bake. Keep the pan ready before you start breading so the coated chicken can go straight onto the rack.
Toast the Panko Until Evenly Golden
Warm the olive oil in a large skillet over medium heat, then add the panko. Stir often for 4 to 6 minutes so the crumbs color evenly rather than darkening in patches. Look for a consistent golden shade; pale crumbs haven’t developed the same toasted color, while dark spots can turn bitter. Transfer the toasted panko to a shallow bowl.
Build the Coating in Three Dips
Cut the chicken into roughly 1-inch pieces. In one shallow bowl, stir together the flour, kosher salt, garlic powder, paprika, and black pepper; in another, whisk the eggs with the water, and keep the toasted panko in a third. Coat each piece in seasoned flour, dip it in egg, then press it into the panko so crumbs cover the surface. Arrange the nuggets in a single layer on the prepared rack and lightly spray the tops.
Turn Once and Check the Thickest Pieces
Bake for 8 minutes, then turn the nuggets and lightly coat the other sides with cooking spray. Return them to the oven for another 6 to 10 minutes. The coating should look golden, and the thickest pieces should reach 165°F at the center. Start checking toward the shorter end of that second bake; smaller pieces can finish before the largest ones.
Two Easy Changes for Different Pantry Needs
Make the Coating Gluten-Free
Replace the panko with gluten-free panko and the all-purpose flour with a gluten-free all-purpose flour blend, using each in the same amount. The coating may be a little more delicate depending on the crumb brand, but the same flour-egg-crumb order gives it a good hold.
Give the Crust a Smokier Edge
Swap the regular paprika for smoked paprika in the seasoned flour. The nuggets keep the same crisp texture, but the coating picks up a deeper, woodsy flavor. Keep the other seasonings unchanged so the smoke doesn’t crowd out the garlic and pepper.
Storage and Reheating
- Refrigerator: Store leftovers in an airtight container for 3 to 4 days. The coating softens as it sits.
- Freezer: Freeze cooked nuggets in a single layer until firm, then transfer them to an airtight freezer container for up to 2 to 3 months. The crust may lose a little crispness after thawing.
- Reheating: Warm them in a 400°F oven until hot throughout, turning once if needed. Avoid stacking or microwaving if you want to keep the coating from turning soft.
Questions That Come Up While Making Baked Chicken Nuggets
Baked Chicken Nuggets
Ingredients
Equipment
Method
- Heat the oven to 425°F.
- Line a rimmed baking sheet with parchment paper.
- Set a wire rack on top and coat the rack lightly with cooking spray.
- Heat the olive oil in a large skillet over medium heat, add the panko, and cook for 4 to 6 minutes, stirring often, until evenly golden.
- Transfer the toasted panko to a shallow bowl.
- Cut the chicken into roughly 1-inch pieces.
- Stir the flour, salt, garlic powder, paprika, and black pepper together in a second shallow bowl.
- In a third shallow bowl, whisk the eggs with the water until combined.
- Coat each chicken piece in the seasoned flour, dip it in the egg, then press it into the toasted panko.
- Arrange the nuggets in a single layer on the prepared rack and lightly coat the tops with cooking spray.
- Bake for 8 minutes, turn the nuggets, and lightly coat the other sides with cooking spray.
- Bake for another 6 to 10 minutes, until golden and the thickest pieces reach 165°F.
