
Flaky tilapia and garlic herb butter are a good match when you want dinner to taste polished without turning on a frying pan. The fish stays tender in the oven, the butter drips into the baking dish and turns into a quick pan sauce, and the lemon keeps the whole thing from feeling heavy. What you get is mild fish with enough brightness and savory depth to keep every bite interesting.
The part that makes this version work is restraint. Tilapia cooks fast, and if you drown it in butter too early or bake it too long, the texture goes from delicate to dry in a hurry. Drying the fillets first helps the butter cling instead of sliding off, and the mix of fresh garlic, lemon zest, parsley, and thyme gives the fish a clean herbal finish instead of a blunt buttery one.
Below, I’ve included the timing cues that matter most, the ingredient swaps that still keep the dish balanced, and the one reheating method that won’t leave you with rubbery fish. The details are simple, but they’re the difference between plain baked fish and a dinner you’d happily make again next week.
The fish came out flaky and moist, and the garlic-lemon butter pooled in the bottom of the dish just like the photo promised. I baked it for 12 minutes and it was perfect with rice and asparagus.
Pin this baked tilapia with garlic herb butter for an easy fish dinner that stays flaky, lemony, and full of flavor.
The Reason Tilapia Stays Dry in the Oven
Tilapia is mild and delicate, which is part of the appeal, but that same tenderness means it overcooks fast. Most dry fish isn’t the fault of the butter or the seasoning. It happens because the fillets were left in the oven until they looked “done” from the outside, even though the center had already crossed into chalky territory.
The fix is to use the oven for what it does best here: gentle, even heat. Patting the fish dry helps the butter and seasoning stick, and baking it in a single layer keeps the fillets from steaming each other. Pull it as soon as it flakes at the thickest point and still looks moist in the center. The carryover heat finishes the job while you spoon the butter from the pan back over the fish.
What Each Ingredient Is Actually Doing in This Dish
- Tilapia fillets — This recipe depends on thin, quick-cooking fillets. If yours are thicker than average, give them the full baking window and check the center with a fork instead of relying on color alone.
- Unsalted butter — Butter carries the garlic and herbs and creates the sauce in the pan. Salted butter works in a pinch, but cut back the added salt so the seasoning doesn’t turn sharp.
- Fresh garlic — Garlic gives the butter its backbone. Jarred garlic can work, but it tastes flatter and slightly harsher after baking. Mince it finely so it softens in the butter instead of landing in raw little bursts.
- Lemon juice and zest — Juice gives the sauce brightness, while zest brings the citrus aroma that lemon juice alone can’t provide. If you only have bottled juice, use it sparingly and lean harder on fresh parsley to keep the dish lively.
- Fresh parsley and thyme — These herbs keep the butter from tasting one-note. Dried parsley won’t do much here, but dried thyme can step in if that’s what you have. Use it lightly, because dried herbs concentrate fast in melted butter.
How to Bake the Fish So the Butter Stays Silky
Getting the Pan Ready
Coat the baking dish with olive oil before the fish goes in. That small step helps the fillets release cleanly and keeps the butter from grabbing onto the pan before it has a chance to pool around the fish. Arrange the tilapia in one layer with a little space between pieces so the heat can move evenly. If the fillets overlap, the edges steam and the centers cook unevenly.
Mixing the Garlic Herb Butter
Stir the melted butter with the garlic, lemon, herbs, and spices until everything looks evenly suspended. The butter should smell bright and garlicky, not grainy or separated. If your melted butter is scorching hot, let it cool for a minute before adding the garlic so it doesn’t taste bitter. Spoon most of it over the fillets and save the rest for the dish.
Watching for the Finish Line
Bake at 400°F until the fish turns opaque and flakes easily at the thickest point, usually 10 to 14 minutes. The exact time depends on thickness, so check early if your fillets are on the thin side. If the fish flakes but still looks translucent in the center, give it another minute or two. As soon as it comes out, spoon the pan butter over the top so the herbs and citrus settle into the surface instead of staying behind in the dish.
Make It Dairy-Free with Olive Oil
Swap the butter for a good olive oil and add an extra teaspoon of lemon juice for brightness. You won’t get the same rich pan sauce, but you’ll still get a clean, herb-forward finish that works well with the mild fish. This version is lighter and a little less plush, which is a fair trade if dairy isn’t on the table.
How to Use Cod or Haddock Instead
Cod and haddock hold up well with the same butter mixture, but they’re often thicker than tilapia. Add a few extra minutes of baking time and check for easy flaking at the center. The flavor stays mild, but the texture becomes meatier and a little more substantial.
For a Low-Carb Plate That Still Feels Complete
Serve the fish over sautéed spinach, cauliflower mash, or roasted asparagus instead of rice or potatoes. The garlic herb butter works as a built-in sauce, so you don’t need much else on the plate. That makes this recipe easy to keep low in carbs without changing the core method.
Storage and Reheating
- Refrigerator: Store leftovers in an airtight container for up to 2 days. The fish stays edible after that, but the texture starts to dry out.
- Freezer: Freezing isn’t ideal for this dish. Cooked tilapia can turn watery and soft after thawing, and the butter sauce loses its clean texture.
- Reheating: Warm it gently in a 275°F oven, covered loosely with foil, just until heated through. High heat is the mistake here; it tightens the fish and leaves it tough before the center is warm.
Answers to the Questions Worth Asking
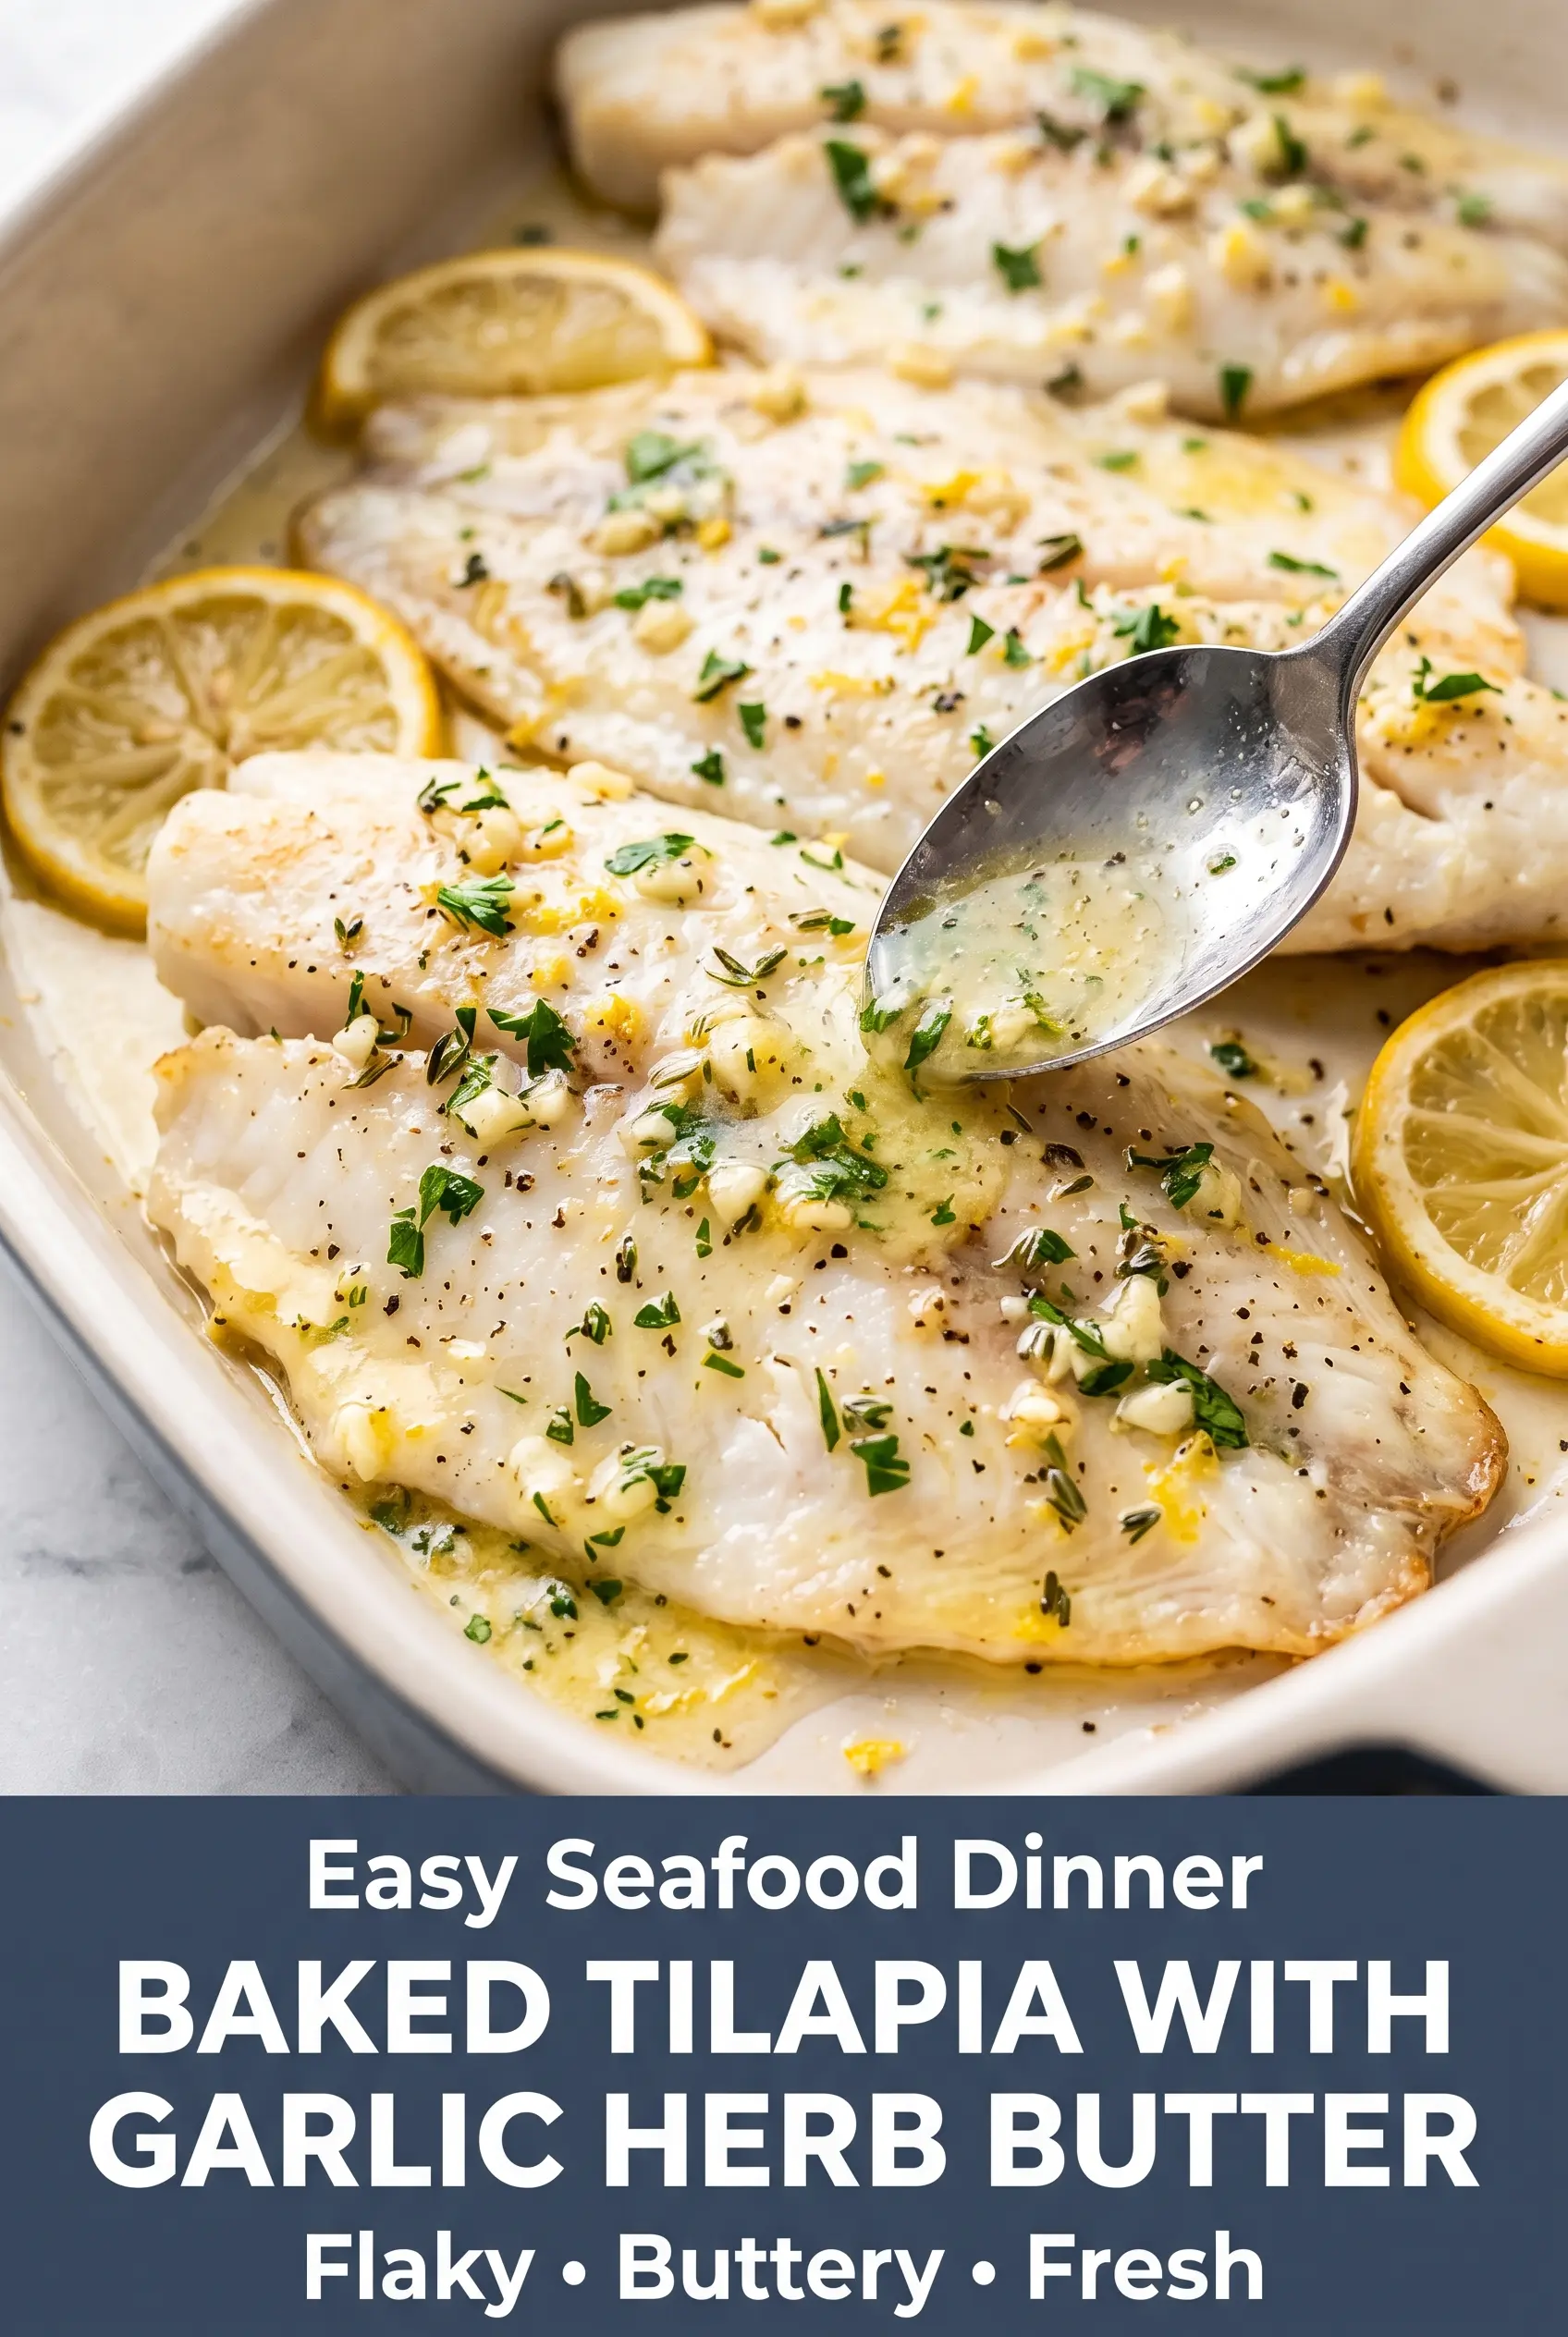
Baked Tilapia with Garlic Herb Butter
Ingredients
Equipment
Method
- Preheat the oven to 400°F and lightly coat a large baking dish with olive oil.
- Pat the tilapia fillets dry with paper towels, then arrange them in a single layer in the baking dish.
- Combine melted butter, garlic, lemon juice, lemon zest, parsley, thyme, oregano, kosher salt, black pepper, and smoked paprika until evenly mixed.
- Spoon the garlic herb butter generously over each tilapia fillet.
- Arrange thin lemon slices around the fish without covering the fillets.
- Bake at 400°F for 10–14 minutes, until the fish is opaque and flakes easily (internal temperature should reach 145°F).
- Spoon the garlic herb butter from the baking dish over the cooked tilapia.
- Finish with fresh parsley and serve immediately with lemon wedges.
