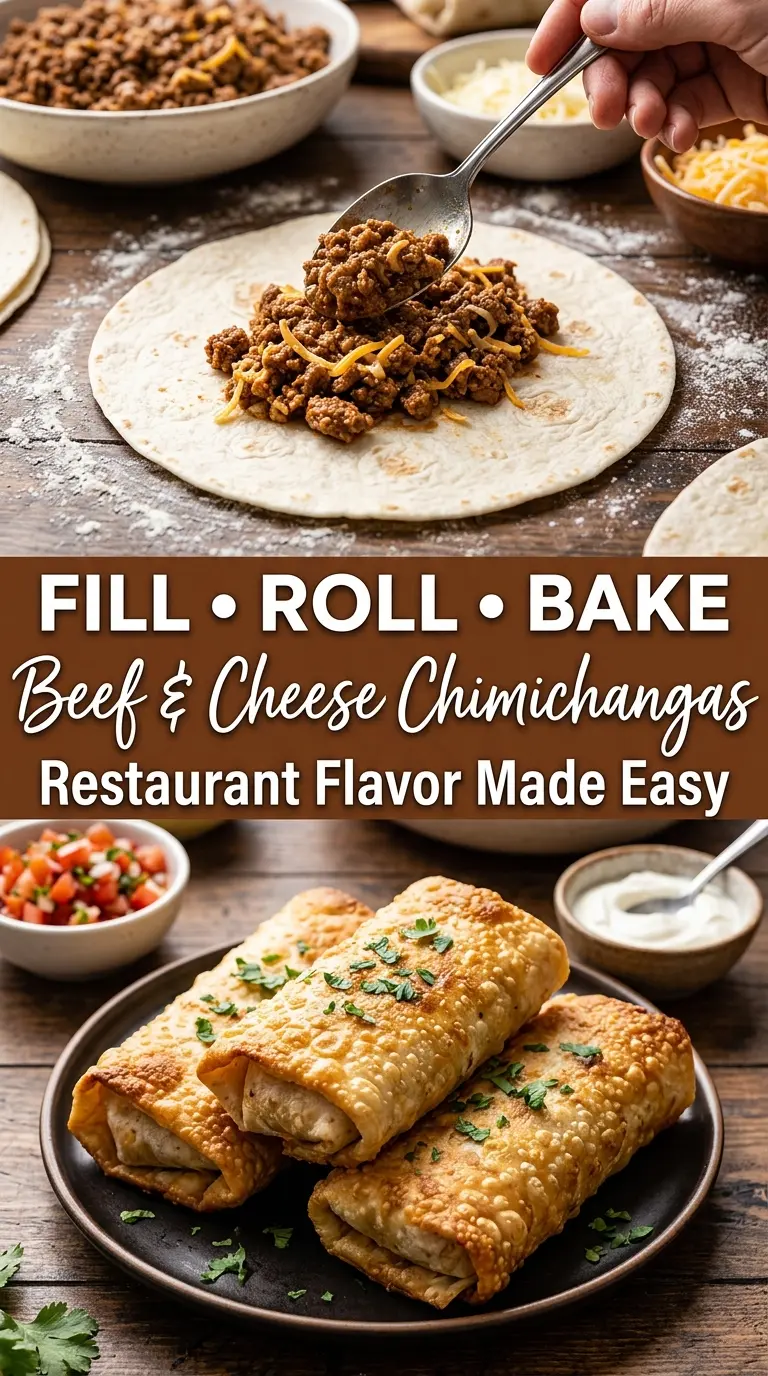
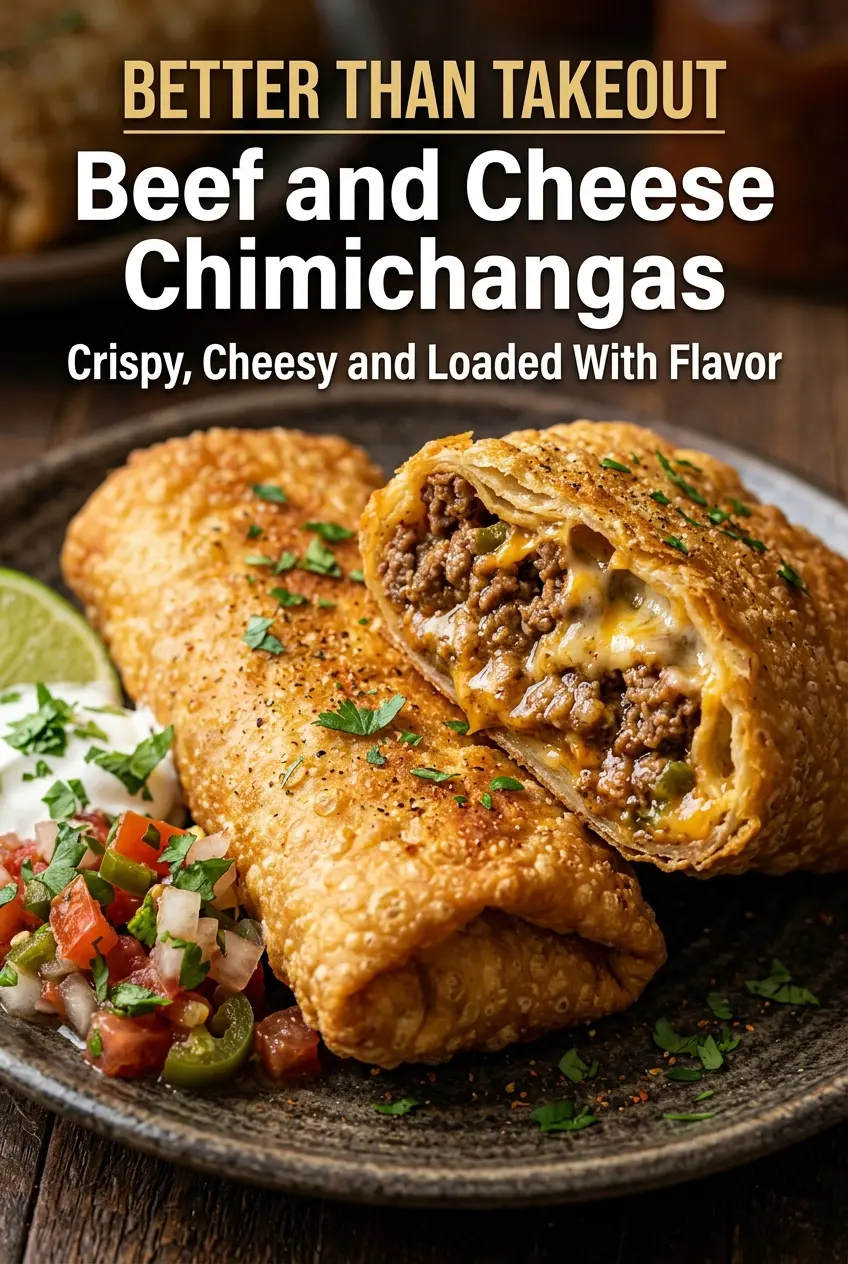
Beef and cheese chimichangas hit that sweet spot between crisp and hearty: a golden tortilla shell that shatters when you bite into it, with seasoned beef and melted cheese tucked inside. The filling stays savory and a little saucy instead of dry, which is what keeps these from feeling like just another folded tortilla dinner. Baked until crisp and finished with a little extra cheese, they bring the restaurant-style payoff without the grease of deep-frying.
The key is keeping the beef mixture moist but not loose. A small amount of tomato sauce gives the filling enough body to hold together while it bakes, and stirring some of the cheese into the hot meat helps it cling to every bite. I also like using both cheddar and Monterey Jack: cheddar brings the sharp flavor, while Jack melts into those stretchy pockets that make chimichangas so satisfying.
Below, I’ll walk through the part that matters most for getting them crisp instead of soggy, plus the best way to fold and bake them so they hold together in the oven. There’s also a few practical swaps if you want to adjust the filling or prep them ahead.
The filling stayed tucked inside, the tortillas crisped up beautifully, and the mix of cheddar and Monterey Jack melted into every bite. I’ve had chimichangas fall apart before, but these baked up neat and golden.
Save these baked beef and cheese chimichangas for the nights when you want crisp tortillas, melty filling, and a dinner that feels straight from the skillet-to-oven playbook.
The Trick to Crisp Chimichangas Without Splitting Them Open
The biggest mistake with chimichangas is overfilling them. That gives you a torn tortilla, leaking cheese, and a soggy seam before they ever reach the oven. A tighter roll with a modest amount of filling bakes up better and eats better. You want each tortilla packed enough to feel generous, but not so full that the ends have to fight to stay closed.
The other part that matters is where the moisture lives. The beef mixture should be saucy enough to taste rich, but not wet enough to puddle on the tortilla. Let the tomato sauce simmer for those few minutes so it thickens slightly before the cheese goes in. If you spoon in filling that’s still loose, the tortillas soften instead of crisping, and the seam has a harder time sealing.
Baking seam-side down does the heavy lifting here. That first few minutes in the oven sets the roll before you even think about flipping or moving them. Once the tortilla starts to dry and color, it holds its shape much better.
What Each Ingredient Is Actually Doing in This Dish
- Lean ground beef — This is the backbone of the filling. Lean beef keeps the inside hearty without leaving a pool of grease that softens the tortillas. If you use a fattier grind, drain it well before adding the seasonings.
- Onion and garlic — These build the savory base that makes the filling taste cooked, not just mixed together. Dice the onion small so it softens fast and disappears into the beef instead of giving you crunchy bits in every bite.
- Taco seasoning, cumin, and paprika — Taco seasoning brings the salt and spice blend, while cumin adds that earthy Tex-Mex note and paprika rounds things out. If your taco seasoning is salt-heavy, hold back a touch and taste before adding more.
- Tomato sauce — This gives the filling moisture and body. Tomato paste is too concentrated unless you thin it, and salsa can be too watery depending on the brand, which makes the tortillas slack instead of crisp.
- Cheddar and Monterey Jack — Cheddar gives sharp flavor, and Monterey Jack melts smoothly for that stretchy, molten center. Shredding your own cheese melts better than bagged shreds, which are coated to prevent clumping.
- Flour tortillas — Use the large burrito-size ones so you have room to fold without tearing. Smaller tortillas are harder to seal and usually split once the filling warms up in the oven.
- Butter or oil spray — This is what helps the outside turn deeply golden. A light coating is enough; too much fat can make the bottom greasy instead of crisp.
Building the Filling and Folding It So Nothing Leaks
Cooking the Beef Base
Start by browning the ground beef with the onion in a large skillet over medium heat. You want the beef fully cooked and the onion soft, not browned hard at the edges. If there’s a lot of grease in the pan, drain it off before adding the seasonings, because excess fat is one of the main reasons chimichangas turn soft in the oven.
Seasoning and Thickening the Mixture
Stir in the garlic for just 30 seconds, then add the taco seasoning, cumin, paprika, and tomato sauce. Let that simmer until the sauce thickens and coats the meat instead of running around the pan. This is the point where the filling stops smelling like plain taco meat and starts tasting like something meant to be wrapped and baked.
Adding the Cheese at the End
Take the pan off the heat before stirring in half the cheese. The residual heat melts it enough to bind the filling without turning it greasy or stringy. If you stir cheese into a pan that’s still ripping hot, it can separate and get oily, which makes the filling harder to roll neatly.
Rolling and Baking
Spoon the filling into the center of each tortilla, then fold the sides in before rolling from the bottom up. That side fold is what keeps the cheese from escaping at the edges. Set each one seam-side down on the baking sheet, brush or spray the tops lightly, and bake until the tortillas are crisp and the edges are a deep golden brown. If they’re pale, they’ll still taste fine, but they won’t have the crunch that makes chimichangas worth making.
What to Change When You Want a Different Result
Make Them a Little Spicier
Add a pinch of cayenne or use a spicy taco seasoning. You can also fold in diced green chiles for heat that tastes bright rather than blunt. That keeps the filling balanced instead of just hot.
Make Them Gluten-Free
Use certified gluten-free tortillas and check that your taco seasoning is gluten-free too. Gluten-free tortillas can be less flexible, so warm them briefly before filling or they’re more likely to crack when you roll them.
Swap in Ground Turkey or Chicken
Ground turkey or chicken works well if you season it generously and don’t skip the tomato sauce. Those leaner meats need the extra moisture, or the filling can taste dry once baked. The texture stays lighter, but the chimichangas still crisp up the same way.
Make Them Ahead for Dinner Later
You can cook the filling a day ahead and refrigerate it before rolling. Chilling the mixture actually helps because it firms up and stays put inside the tortillas. Roll and bake just before serving for the best crisp edges.
Storage and Reheating
- Refrigerator: Store leftovers in an airtight container for up to 3 days. The tortillas soften a bit, but the flavor holds up well.
- Freezer: They freeze well after baking. Wrap each chimichanga tightly, then freeze in a single layer before transferring to a bag so they don’t stick together.
- Reheating: Reheat in a 375°F oven or air fryer until hot and crisp again. The biggest mistake is microwaving them straight through, which steams the tortilla and wipes out the crunch.
The Things That Trip People Up With This Dish
Beef and Cheese Chimichangas
Ingredients
Equipment
Method
- Preheat oven to 400°F (200°C) and set out a baking sheet for the chimichangas.
- Heat a large skillet over medium heat and cook the lean ground beef with the small onion until browned, stirring as needed for even color.
- Add the cloves garlic, and cook for 30 seconds until fragrant, then keep the heat at medium.
- Stir in taco seasoning, cumin, paprika, and tomato sauce until evenly combined.
- Simmer for 3 minutes until the mixture thickens slightly, then remove from heat.
- Stir in half of the shredded cheddar cheese and half of the shredded Monterey Jack cheese (if using both), so the filling becomes creamy.
- Spoon the beef and cheese filling into the center of each large flour tortilla.
- Fold the sides inward and roll tightly into chimichangas so they hold together.
- Place seam-side down on a baking sheet and brush lightly with melted butter or spray with olive oil.
- Bake for 20–25 minutes until golden and crispy.
- Sprinkle the remaining shredded cheddar cheese and shredded Monterey Jack cheese over the chimichangas during the last 5 minutes if desired.
- Serve the baked chimichangas immediately with sour cream, salsa, guacamole, chopped cilantro, and diced tomatoes as desired.
