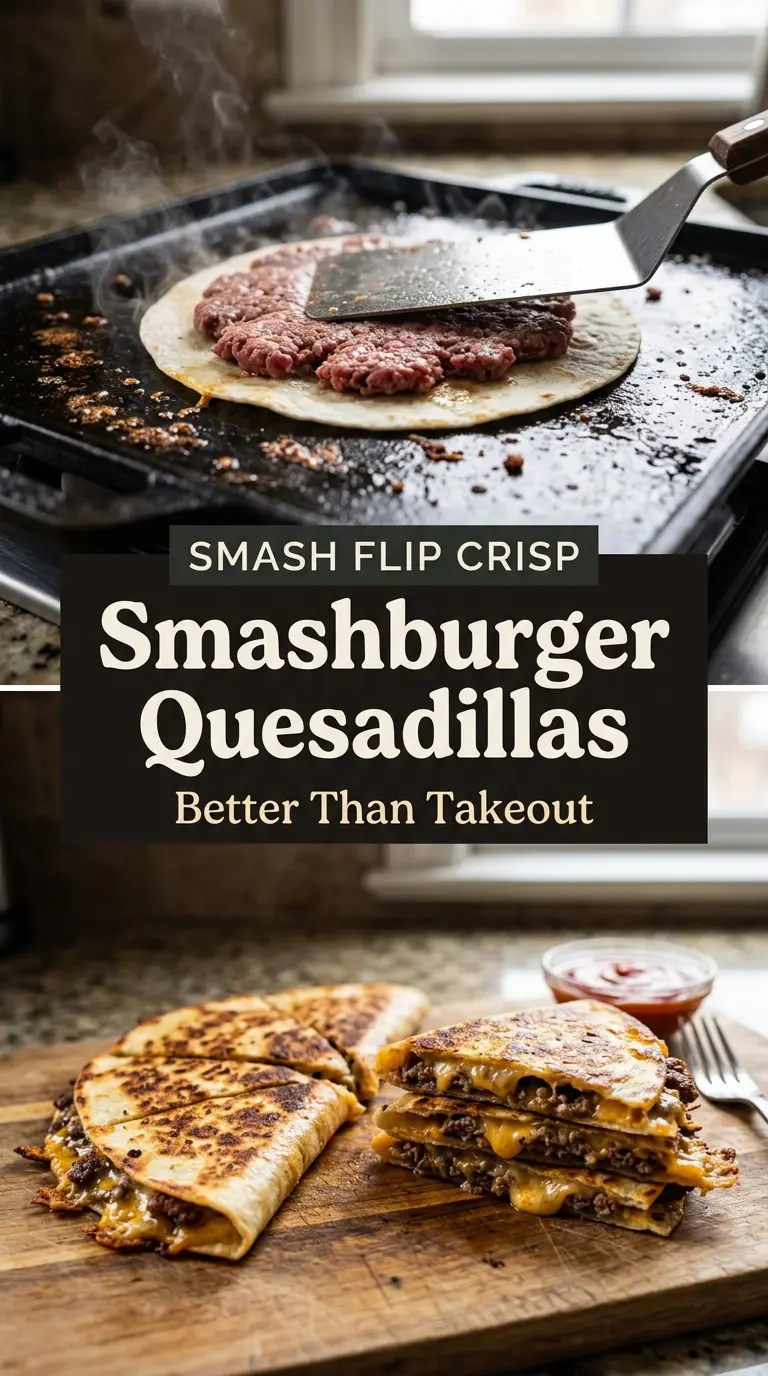
Smashburger quesadillas give you everything people love about a good burger, wrapped in a crisp, cheesy tortilla that eats like a fast dinner and lands like comfort food. The beef gets pressed thin so it browns hard and fast, the cheese melts into the meat instead of sliding off it, and the tortilla turns shatter-crisp at the edges while staying sturdy enough to hold the filling. That contrast is what makes this version worth repeating.
The trick is treating the tortilla like the bun and the skillet like a griddle. The beef needs enough contact with the pan to brown before the tortilla overcooks, which is why medium-high heat matters here. A little seasoning on the meat goes a long way, but the burger sauce pulls the whole thing back toward familiar cheeseburger territory without making it soggy.
Below, you’ll find the small timing details that keep the cheese from leaking and the tortilla from scorching, plus a few swaps if you want to make these with what you already have on hand.
The beef got that real smashburger crust and the tortillas stayed crisp instead of turning greasy. I added the onions with the cheese and they softened just enough without getting mushy. My kids asked for these again the next night.
Save these smashburger quesadillas for the nights when you want burger flavor, crispy tortillas, and one pan to wash.
The Smash That Gives You Burger Crust Without Making the Tortilla Greasy
The biggest mistake with recipes like this is letting the beef sit in a thick layer. You want it pressed thin enough that it browns before it steams, which gives you those deep savory edges that taste like a proper smashburger. If the meat is piled too thick, the tortilla gets soft before the filling has a chance to develop any crust.
The other trap is heat management. Too low and the beef releases juice, turning the quesadilla floppy. Too high and the tortilla scorches before the cheese melts. Medium-high heat gives the beef enough aggression to brown while still leaving you time to fold, crisp, and finish the cheese without burning the outside.
- Lean ground beef — Lean beef holds together better on the tortilla and gives you a cleaner sear. An 80/20 blend works too, but you’ll need to drain a little more grease after cooking if your skillet starts to look oily.
- Flour tortillas — Standard flour tortillas crisp evenly and fold without cracking. Use burrito-size tortillas if yours are small; the beef layer needs enough surface area to stay thin.
- Cheddar and Monterey Jack — Cheddar brings the burger sharpness, while Monterey Jack melts into the meat and helps everything hold together. If you swap cheeses, keep at least one good melter in the mix or the filling turns dry and clumpy.
- Burger seasoning — This is what pushes the whole dish from generic beef quesadilla into burger territory. If you don’t have a blend, use a little extra salt plus garlic and onion powder, then finish with pickles and sauce to bring the flavor back into focus.
- Burger sauce — Mayo, ketchup, mustard, and relish give you the tangy, creamy finish the filling needs. The relish matters more than people think; it cuts through the cheese and keeps each bite from tasting flat.
- Butter — Butter helps the tortilla brown with a richer flavor than oil alone. A thin coating is enough; too much and the quesadilla fries before the cheese fully melts.
Building the Beef Layer So It Browns Before the Tortilla Burns
Mixing the sauce first
Stir the burger sauce together before you turn on the pan so it has time to settle while you cook. The relish softens the sharp edges of the mustard and ketchup, and a rested sauce tastes more cohesive than one stirred right before serving. Keep it thick enough to spoon, not pour, or it will slide right out of the quesadilla.
Pressing the beef thin
Divide the beef into equal portions and press each one into a thin layer on one side of the tortilla. The meat should cover the surface in an even sheet, leaving a small border around the edge so it doesn’t squeeze out when you fold. Uneven thickness is what causes one side to burn while the other side stays gray.
Cooking the first side hard and fast
Lay the tortilla beef-side down in a hot skillet and press gently so the meat makes full contact with the pan. After 3 to 4 minutes, the beef should be browned with crisp edges and the tortilla should release easily. If it sticks, give it another 30 seconds; forcing the flip tears the beef layer and leaves half of it behind.
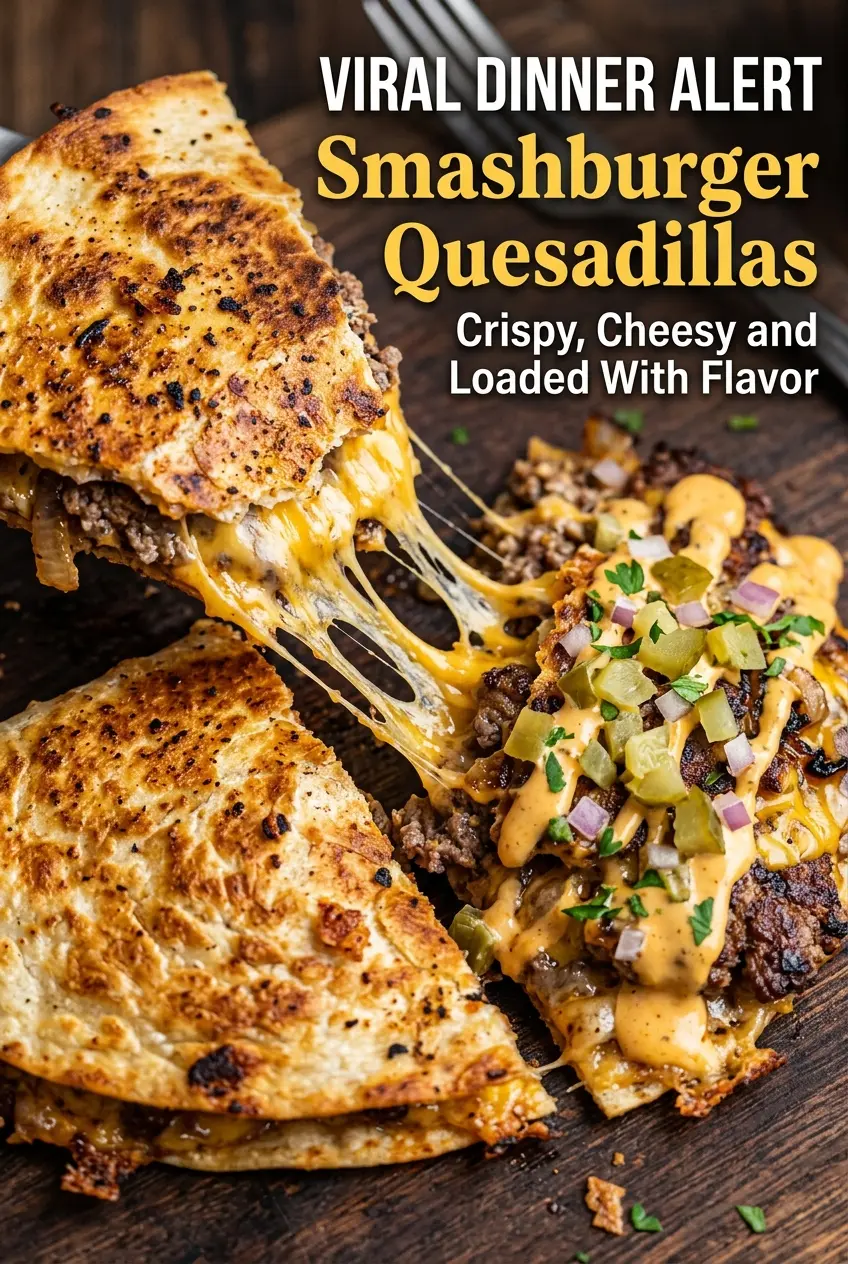
Folding with the cheese in the middle
Once you flip the tortilla, scatter the cheeses and onions over one half, then fold it over and let it cook until the outside turns golden and the cheese melts through the center. The filling should soften and bind before the tortilla darkens too much. If the pan is too hot at this stage, lower it slightly so the cheese has time to melt without burning the outside.
Make It With What You Have
Gluten-free version: Use sturdy gluten-free tortillas that can hold up to flipping. They crisp faster than flour tortillas, so lower the heat slightly and watch for the edges to turn deeply golden instead of dark brown.
Lighter, less greasy finish
Use a leaner beef or drain the skillet: If your beef gives off a lot of fat, spoon off the excess before adding the cheese. That keeps the tortilla crisp instead of slick and helps the burger sauce stay bright instead of muddy.
Swap the cheese blend
Cheddar, pepper jack, or American: Pepper jack adds heat, American gives you the smoothest melt, and extra cheddar makes the burger flavor sharper. Just keep one cheese with good meltability so the filling holds together when you cut it.
Storage and Reheating
- Refrigerator: Store leftovers in an airtight container for up to 3 days. The tortilla softens a little, but it still reheats well.
- Freezer: These freeze better uncut, wrapped tightly, for up to 2 months. Reheat from frozen in a skillet or oven rather than microwaving so the tortilla can crisp again.
- Reheating: Warm in a dry skillet over medium heat for the best texture, pressing lightly so the outside re-crisps. Microwaving heats the filling fast but turns the tortilla soft, which is the main mistake people make with leftovers like this.
Questions I Get Asked About This Recipe
Smashburger Quesadillas
Ingredients
Equipment
Method
- Stir mayonnaise, ketchup, yellow mustard, and pickle relish together until smooth; set aside.
- Divide lean ground beef into 4 equal portions.
- Press one beef portion thinly onto one side of a flour tortilla.
- Sprinkle the beef-side with garlic powder, onion powder, salt, black pepper, and burger seasoning.
- Heat a large cast iron skillet over medium-high heat.
- Place the tortilla beef-side down and smash gently.
- Cook for 3–4 minutes until the beef is browned.
- Flip the tortilla over.
- Add cheddar cheese, Monterey Jack cheese, and diced onions to half the tortilla.
- Fold the tortilla in half and cook for 2–4 minutes until crispy and golden.
- Repeat with the remaining tortillas, butter, and beef portions.
- Slice the quesadillas and serve with burger sauce and desired optional toppings, such as shredded lettuce, diced pickles, and diced tomatoes.
