
These fudgy pumpkin brownies land in that sweet spot between a true brownie and a dense pumpkin chocolate slab: glossy on top, soft in the center, and just sturdy enough to cut into thick squares without crumbling apart. The pumpkin doesn’t make them cakey here. It keeps the middle plush and almost molten while the cocoa and melted chocolate stay in charge.
The part that matters most is the way the sugar gets whisked into the warm chocolate and butter. That step builds the shiny, crackly top brownies should have. Pumpkin purée goes in after the eggs, which keeps the batter smooth instead of separated, and a small amount of flour is all you need once the cocoa, spice, and chocolate chips are doing their work.
Below, I’ll walk through the part that keeps these brownies fudgy instead of dry, plus the small swap that makes them work well for a gluten-free version if you need it.
The top came out shiny and crackly, and the centers stayed fudgy instead of turning cakey. I followed the parchment trick and lifted the whole batch out cleanly after cooling.
Save these fudgy pumpkin brownies for the kind of bake that comes out with a crackly top, gooey center, and melty chocolate chips every time.
The Crackly Top Comes From the Sugar, Not Just the Oven
Brownies with pumpkin can go wrong fast if the batter is mixed like cake batter. Extra moisture from the pumpkin is not the problem by itself. The problem is overmixing once the flour goes in, which builds structure and pushes the texture toward cakey instead of fudgy.
Whisking the sugar into the warm chocolate mixture does more than sweeten the batter. It dissolves the sugar enough to help form that thin, shiny crust on top. If you skip that step or rush through it, the surface will bake up dull and matte instead of crackly. The brownies still taste good, but they lose the part that makes them look and eat like brownies.
- Warm chocolate and butter — This needs to be smooth and glossy before the sugar goes in. If the chocolate is still lumpy, the batter won’t emulsify cleanly and the brownies can bake unevenly.
- Pumpkin purée — Use plain canned pumpkin, not pumpkin pie filling. Pie filling is already sweetened and spiced, which throws off both the flavor balance and the texture.
- Cocoa powder — Natural unsweetened cocoa gives the brownies their deep chocolate edge. Dutch-process cocoa also works, but the flavor will be smoother and a little less sharp.
- Chocolate chips — Half go inside for little pockets of melted chocolate, and the rest stay on top so the finished brownies look dense and glossy. Semi-sweet chips are the right middle ground here because they keep the brownies from tipping too sweet.
What Each Ingredient Is Doing in the Pan
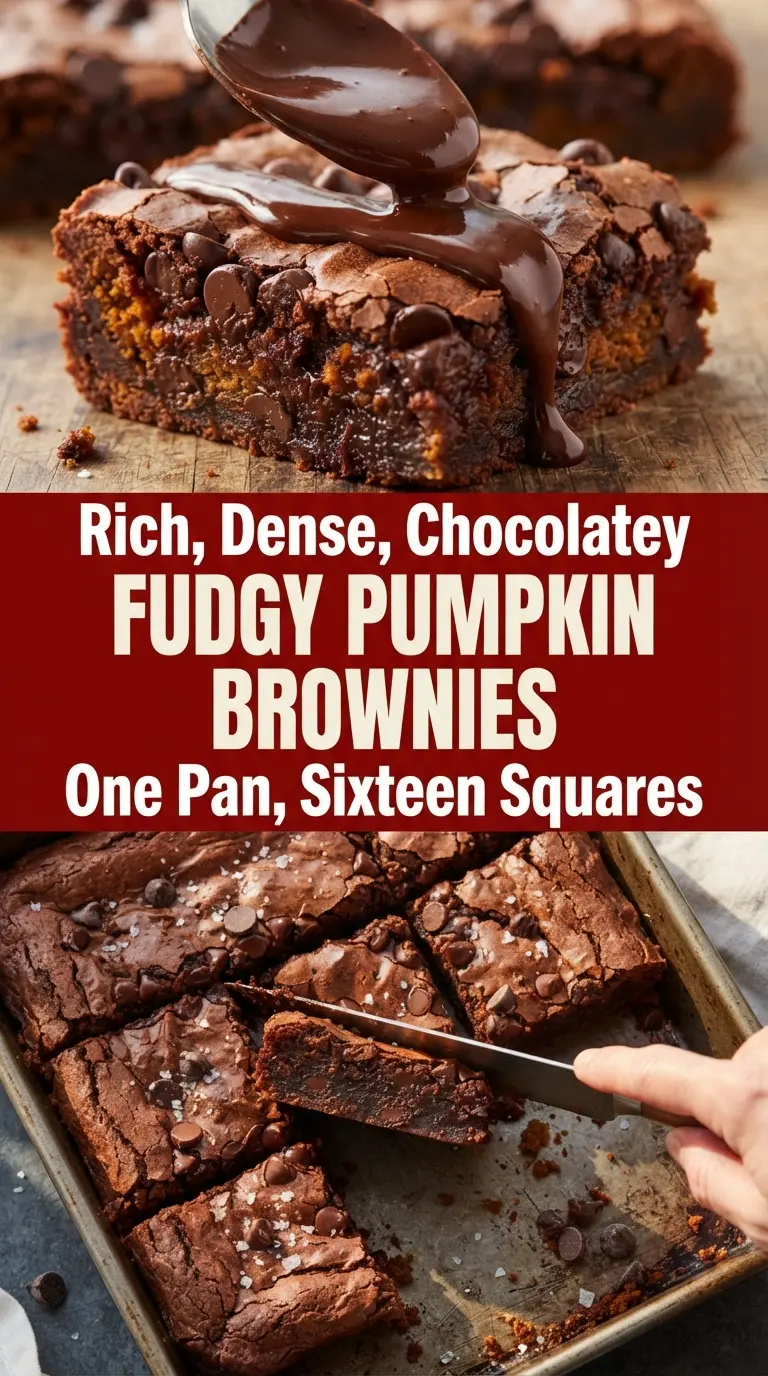
- 4 ounces semi-sweet chocolate — This gives the brownies a dense, truffle-like base that cocoa alone can’t deliver. If you only use cocoa powder, the texture will be drier and less rich.
- Butter — Butter carries the chocolate and helps the brownies set with that tender, fudgy bite. If you use margarine, the flavor drops off and the texture gets softer in a less satisfying way.
- Pumpkin purée — This is the ingredient that keeps the center plush without making the brownies feel heavy. Drain it only if it looks unusually watery, but don’t cook it down; you want the moisture in the batter.
- Eggs — Eggs bind the batter and help the brownies rise just enough to hold their shape. Room-temperature eggs blend faster and keep the chocolate mixture smooth instead of seizing.
- Flour and baking powder — The flour gives the brownies their structure, while the tiny amount of baking powder adds just enough lift to keep the crumb from turning gummy. Too much of either and you lose the fudgy center.
- Cinnamon and nutmeg — These don’t make the brownies taste like pumpkin pie. They round out the cocoa and make the chocolate taste warmer and deeper.
Building the Batter So It Stays Fudgy
Melt the chocolate gently
Combine the chopped chocolate and butter in short bursts and stir between each round until the mixture is completely smooth. If you overheat it, the chocolate can seize or look grainy, and that texture shows up in the finished brownies. You want a fluid, glossy base that pours easily from the bowl.
Whisk the sugar into the warm chocolate
Stir the sugar in while the chocolate mixture is still warm, then whisk until it thickens and turns glossy. That extra minute matters. It helps dissolve the sugar enough to give you the crackly top that looks like the brownies came from a bakery pan.
Fold only until the flour disappears
Once the dry ingredients go in, switch to a spatula and stop as soon as the last streaks of flour are gone. If you keep folding after that, the brownies will set up more like cake than fudge. The batter should look thick, dark, and a little heavy when it’s ready for the pan.
Bake for set edges and a soft center
Pull the pan when the top is crackly and a toothpick near the edge comes out with thick crumbs. The middle should still look slightly underbaked. That carryover heat is what finishes the center without drying it out, so don’t wait for a clean toothpick or you’ll miss the fudgy texture entirely.
Dairy-Free Version
Use a good dairy-free butter stick and dairy-free chocolate that melts smoothly. The brownies stay rich and fudgy, though the chocolate flavor can read slightly sweeter depending on the brand you choose.
Gluten-Free Swap
Replace the all-purpose flour with a 1:1 gluten-free baking blend that includes xanthan gum. The brownies will still be dense and glossy, but they may need an extra minute or two in the oven because some blends hold moisture a little differently.
Extra-Spiced Batch
Add another 1/4 teaspoon cinnamon and a pinch of cloves if you want the pumpkin to show up more clearly. Keep the cloves light, though, or they can push the brownies into pie-spice territory and cover the chocolate.
Storage and Reheating
- Refrigerator: Store in an airtight container for up to 5 days. The texture firms up in the fridge, so let slices sit out for a few minutes before serving if you want that soft center again.
- Freezer: These freeze well. Wrap individual squares tightly and freeze for up to 2 months, then thaw at room temperature.
- Reheating: Warm a square in the microwave for 10 to 15 seconds. Too long and the chocolate chips turn oily and the center loses its fudgy texture.
Questions I Get Asked About This Recipe
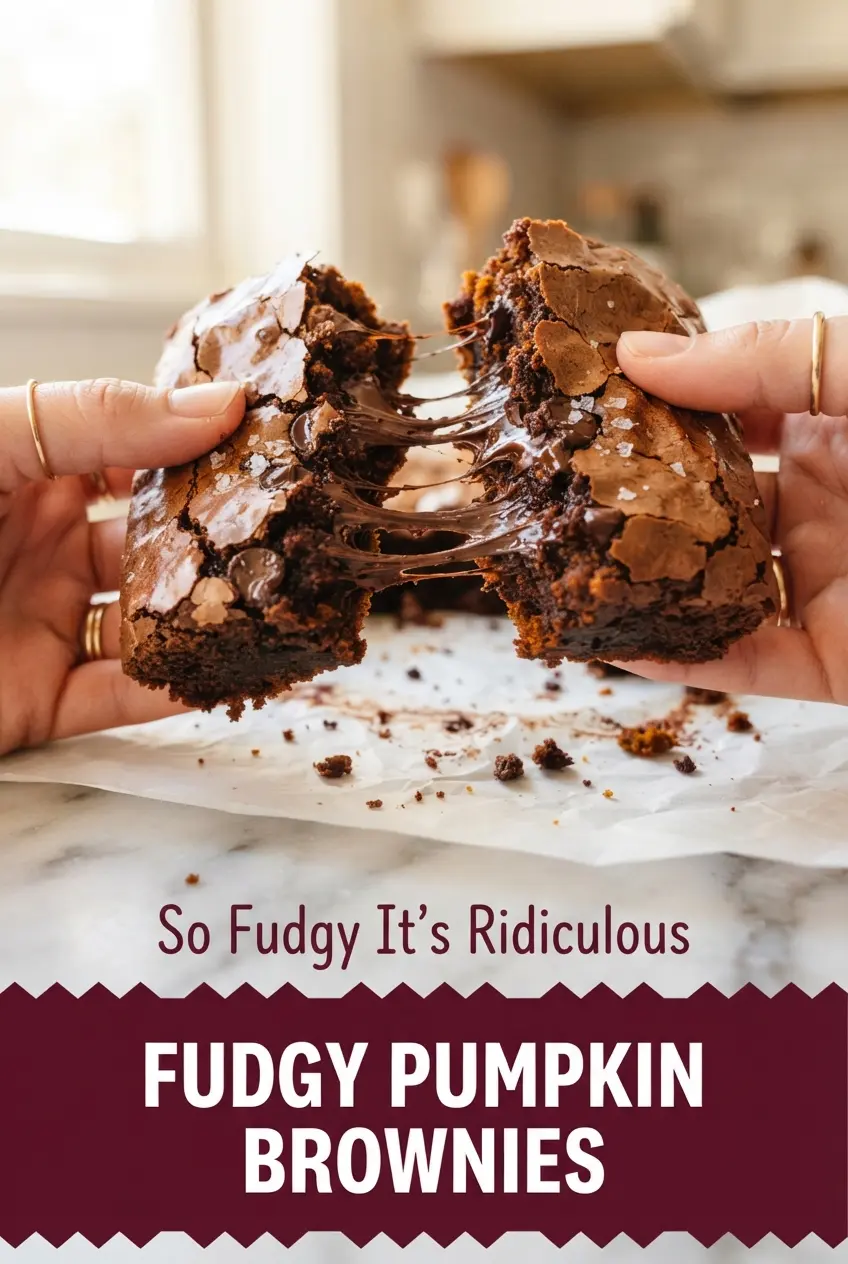
Fudgy Pumpkin Brownies
Ingredients
Equipment
Method
- Heat the oven to 350°F. Line a 9x9-inch pan with parchment, leaving an overhang on two sides so you can lift the brownies out later.
- Melt the chopped semi-sweet chocolate and unsalted butter together in a heatproof bowl in 20-second microwave bursts, stirring between each, until glossy and smooth.
- Whisk the granulated sugar into the warm chocolate mixture until thick and shiny, about 1 minute, so the batter forms a crackly-top foundation.
- Whisk in the large eggs one at a time, mixing until smooth after each addition.
- Whisk in the canned pumpkin purée and vanilla extract until the batter is smooth and deeply colored.
- Sift the all-purpose flour, unsweetened cocoa powder, ground cinnamon, ground nutmeg, fine salt, and baking powder over the batter.
- Fold with a spatula just until the last dry streaks disappear, stopping the moment it comes together to avoid cakey brownies.
- Fold in ¾ cup of the semi-sweet chocolate chips until evenly distributed.
- Spread the batter into the lined pan, smooth the top, and scatter the remaining ¼ cup semi-sweet chocolate chips over the surface.
- Bake 30–35 minutes at 350°F, until the top is set and crackly and a toothpick inserted 2 inches from the edge has thick, fudgy crumbs.
- Sprinkle with flaky sea salt while hot so it clings to the shiny surface.
- Cool in the pan at room temperature for at least 1 hour so the centers set, with the surface staying crackly.
- Lift the brownies out by the parchment and cut into 16 squares with a warm knife, wiping the blade between cuts for clean edges.
