
The beans turn bright green under the lid, and a little steam curls out when you lift it. That quick covered cook is what gets them tender without taking away their fresh bite. I make these garlic butter green beans when I want a side that feels finished but doesn’t need a second pan or a long list of ingredients.
The order matters: the beans cook with water first, then the garlic goes into melted butter for a brief sizzle. That keeps the garlic fragrant instead of leaving it in the skillet for the whole bean-cooking time. Once everything’s tossed together, each bean has a light buttery coating, a little garlic, and just enough pepper to keep the flavor lively.
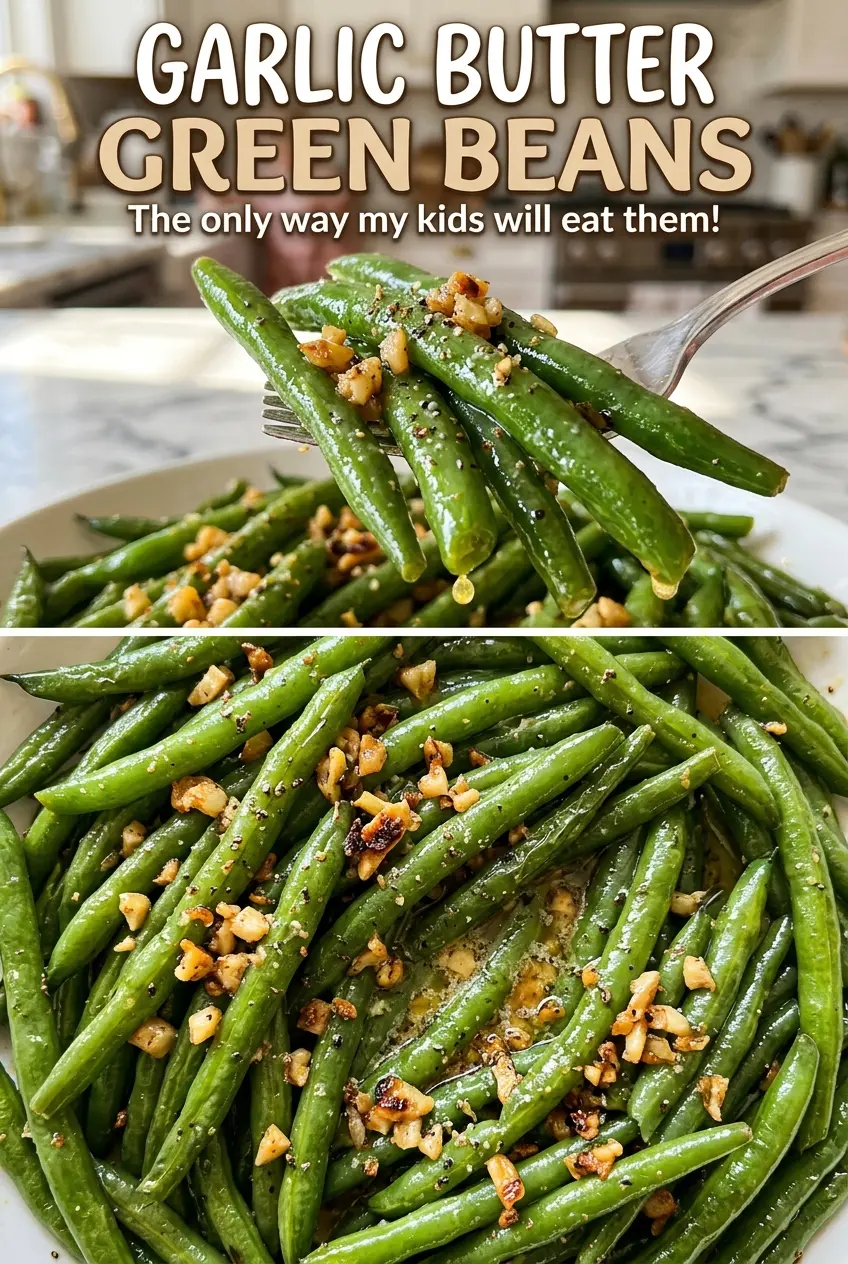
Use fresh beans and serve them while they’re still glossy and crisp-tender, with minced garlic clinging in the folds.
Kitchen Note
The 12-inch skillet gives the beans room to cook in a shallow layer instead of piling high. Keep the lid close at hand so you can cover the pan right away and hold in the steam.
Save these garlic butter green beans for a simple skillet side: crisp-tender beans, fragrant garlic, and a glossy butter finish.
Why These Beans Steam First and Meet the Garlic Butter Second
Green beans need a little moisture to soften evenly, but they don’t need to sit submerged in a pot of water. Cooking them covered with a small amount of water creates steam in the skillet; the beans turn vivid green as they move toward crisp-tender. That brief, covered stage also leaves the pan ready for the buttery finish without asking the garlic to withstand the entire cooking time.
Garlic tastes its best here when it gets a short turn in warm butter. Add it too early and it spends several minutes cooking alongside the beans, which can take it past fragrant and into harsh or browned territory. Separating the cooking into two parts gives the green beans time to soften, then gives the garlic a quick moment to perfume the butter. The finish stays clean: the beans remain the main event, and the garlic butter coats rather than overwhelms them.
This is a small timing choice, but it’s what makes the skillet taste balanced instead of like beans with overcooked garlic. You get a tender bite, fresh green flavor, and a buttery coating that doesn’t feel heavy.
What the Green Beans, Butter, and Garlic Each Bring

- Fresh green beans — Fresh beans are what give this quick skillet method its crisp-tender result. Choose beans that feel firm and snap cleanly rather than looking limp or wrinkled. Trim the ends before they go into the skillet; canned beans are already soft, and frozen beans release extra moisture, so neither behaves the same way in this covered cook.
- Unsalted butter — Butter carries the garlic across the beans and gives the finish its rounded, rich taste. Unsalted butter also lets the measured kosher salt season the dish without stacking extra salt from the butter. A fresh block is a good choice, but there’s no need for a specialty brand here.
- Garlic — Fresh cloves, minced just before cooking, bring a sharper and more fragrant note than prepared dried garlic. Mince it evenly so the small pieces warm quickly in the butter. Keep it nearby before you start; the garlic cooks for only a short time once it hits the pan.
- Kosher salt and black pepper — These season the beans without competing with the garlic. Kosher salt is the specified salt here; fine table salt packs more densely by volume, so it isn’t a direct volume-for-volume swap. Freshly ground or pre-ground black pepper both work, depending on what you have.
How to Cook the Beans Before the Garlic Butter Finish
Steam the Beans Until Bright Green
Put the trimmed green beans and water in a 12-inch skillet, then cover it and set it over medium-high heat. Cook for 4 to 6 minutes, watching for the beans to turn bright green and become crisp-tender. The lid holds the steam in, so resist lifting it repeatedly to check. If the beans are still quite firm at the first check, cover them again and let them cook through the rest of the window.
Drain the Skillet Before Adding Butter
When the beans have reached that crisp-tender stage, carefully drain away any water left in the skillet. Take care with the hot pan and escaping steam. Leaving water behind can thin the butter coating and make the finished beans wet rather than glossy. Return the drained skillet to the burner over medium heat.
Let Garlic Fragrance the Butter
Add the butter and wait for it to melt, then stir in the minced garlic. Cook for 30 seconds, just until the garlic smells fragrant; it should not need to brown. The short cooking time keeps its flavor lively, so don’t leave it unattended while you reach for the seasoning. Toss the beans through the butter and garlic, then season with the kosher salt and black pepper.
Small Changes That Keep the Skillet Simple
Cut the Beans into Shorter Pieces
For easier forkfuls, trim the beans and cut them into shorter lengths before cooking. Keep the same ingredients and covered skillet method, but start checking for crisp-tender texture at the early end of the cooking window since smaller pieces may soften sooner. The result is easier to portion, though the beans won’t have the same long, whole-bean look.
Make the Garlic Pieces a Little Coarser
Keep the same cloves, but mince them less finely for more noticeable little pieces of garlic in each serving. Coarser pieces distribute less evenly than a fine mince, so stir carefully when they cook in the butter and toss the beans well at the end. The overall flavor stays familiar, with a slightly more pronounced garlic bite.
Storage and Reheating
- Refrigerator: Store cooled leftovers in an airtight container for 3 to 4 days. The beans soften as they sit, and the butter firms when chilled.
- Freezer: Freeze in an airtight container for up to 2 to 3 months. They’ll be safe to eat but noticeably softer after thawing, so freezing is best when texture matters less.
- Reheating: Warm them gently in a skillet over medium heat, stirring until hot. Avoid prolonged cooking; the beans are already tender, and extra time can make them limp.
Questions That Come Up When Cooking These Green Beans
Garlic Butter Green Beans
Ingredients
Equipment
Method
- Place the green beans and water in a 12-inch skillet and cover.
- Cook over medium-high heat for 4 to 6 minutes, until bright green and crisp-tender.
- Carefully drain any remaining water.
- Return the skillet to medium heat and add the butter.
- When the butter is melted, stir in the garlic and cook for 30 seconds, until fragrant.
- Toss the beans to coat and season with the salt and pepper.
