Buttery tart crust, juicy nectarines, and a crumb topping that bakes up crisp at the edges are what make this tart worth keeping in rotation. The fruit softens into a glossy filling, the top turns sandy and golden, and every slice holds together cleanly enough to plate without a fight. It looks like a bakery dessert, but the technique is straightforward once you know where the texture comes from.
The crust stays tender because the butter goes in cold and the dough gets just enough water to come together. The filling doesn’t need much more than ripe nectarines, a little sugar, and cornstarch to catch the fruit juices before they run everywhere. The crumb topping brings the whole thing into balance: it adds structure, a little caramel note from the brown sugar, and that nubby finish people always go back for.
Below, I’ve included the part that matters most when you’re baking with stone fruit: how to keep the tart from turning wet in the center, how to tell when the fruit is soft enough, and what to do if your nectarines are a little firmer than ideal.
The nectarines baked down into the sweetest jammy layer and the crumb stayed crisp even after cooling. I also liked that the tart shell held up underneath all that juicy fruit instead of getting soggy.
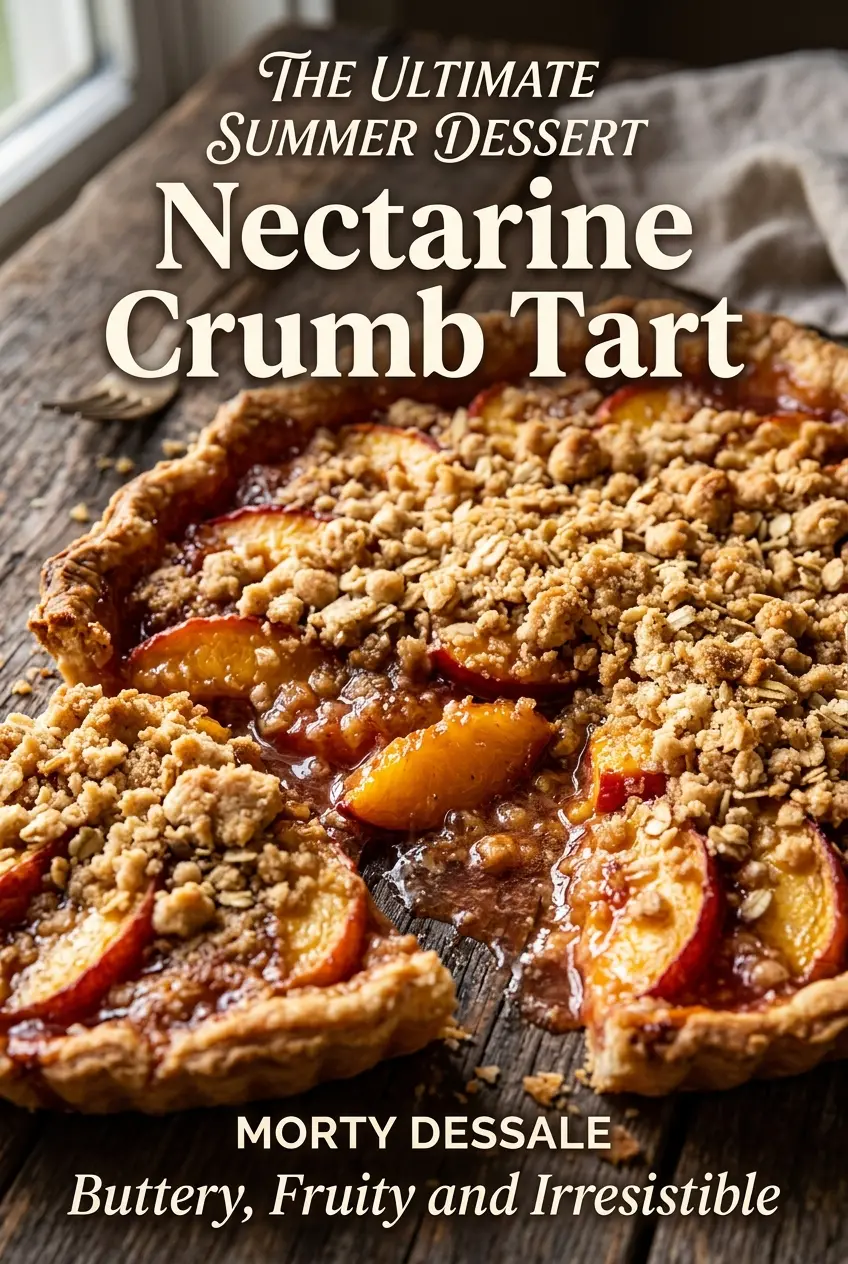
Nectarine Crumb Tart has that buttery crust, jammy fruit, and crisp topping that makes it easy to save for dessert night.

The Secret to Keeping Nectarine Tart from Going Watery
The biggest risk with a fruit tart like this isn’t flavor. It’s juice. Nectarines release a lot of liquid as they bake, and if the filling is left unthickened or the fruit is piled too loosely, the bottom crust can end up soft before the tart is set. Cornstarch handles that juice without making the filling pasty, but it only works if the fruit is tossed evenly so every slice gets a light coating.
The other piece people miss is oven heat. A tart shell needs enough time to set and brown before the fruit turns to collapse. If the edges of the crumb are browning too quickly while the center still looks loose, the tart needs a little more time in the oven rather than a higher temperature. A clean slice comes from letting the tart cool fully, not from cutting into it while the filling is still bubbling.
- Cold butter in the crust — Those little pieces of butter create steam as they bake, which is what gives the tart shell a flaky, tender bite instead of a dense, cookie-like base.
- Cornstarch — This thickens the nectarine juices as they bake. Flour can work in a pinch, but it turns the filling heavier and less clear.
- Brown sugar in the crumb — It adds a deeper, almost caramel note and helps the topping bake into clumps instead of a dry dusting.
- Ripe nectarines — You want fruit that yields slightly when pressed but still slices cleanly. Overripe nectarines collapse into mush; firm ones need a few extra minutes in the oven.
Building the Tart in the Right Order
Mixing the Crust Without Warming the Butter
Combine the flour and sugar first, then cut in the cold butter until you have uneven pieces about the size of peas and some smaller sandy bits. Those bigger pieces are what give the crust layers, so don’t keep working it until it looks uniform. Add the egg yolk and ice water just until the dough holds together when pinched. If it feels sticky before it even gets to the pan, the butter warmed up too much and the crust will bake up tough.
Blind-Baking Lightly, Not Fully
Press the dough into the tart pan and chill it before baking so the sides don’t slump. For this tart, the shell only needs a short head start; you want it set and pale gold, not fully browned. A partially baked crust gives the fruit a sturdier base and keeps the bottom from turning gummy under the juices. If the dough shrinks while it chills, press it back up the sides before it goes into the oven.
Layering the Nectarines and Crumb
Toss the sliced nectarines with sugar, cornstarch, vanilla, and cinnamon until every piece looks lightly coated, then arrange them evenly in the shell. Don’t dump the juice that pools in the bowl unless the fruit looks especially dry; a small amount helps the filling bake into a cohesive layer. Scatter the crumb topping over the fruit in clumps rather than dusting it evenly. Those little mounds brown better and give the tart its best texture contrast.
Baking Until the Center Sets
Bake until the crumb is deep golden and the fruit is bubbling at the edges and in the center, not just around the sides. That bubbling is your sign the cornstarch has activated. If the top is getting dark before the filling bubbles, tent it loosely with foil for the last stretch. Let the tart cool on a rack until the filling firms up; cutting too early is the fastest way to lose the neat slices.
How to Adapt This Tart When the Fruit or Pantry Changes
Peach or Apricot Swap
Peaches work almost exactly the same way, and apricots bring a sharper, brighter edge. Use the same method and keep the cornstarch in place, since all three fruits leak juice as they bake. If the fruit is extra juicy, add another teaspoon of cornstarch so the filling sets cleanly.
Gluten-Free Crumb and Crust
A good 1:1 gluten-free flour blend works for both the tart shell and the crumb topping. The crust may be a little more delicate when you press it into the pan, so chill it well before baking. The flavor stays the same, but the texture will be slightly more tender and less structured than the original.
Dairy-Free Version
Use a firm plant-based butter that bakes well and stays cold, not a soft tub spread. The crust and crumb both depend on cold fat for structure, so the substitute needs to behave like butter in the oven. The finished tart will still be crisp and golden, though the flavor will be a little less rich.
Storage and Reheating
- Refrigerator: Store covered for up to 3 days. The crust softens a bit as it sits, but the flavor stays excellent.
- Freezer: Freeze slices tightly wrapped for up to 1 month. Thaw in the refrigerator; the crumb topping will be a little less crisp after freezing, but the tart still works well.
- Reheating: Warm slices in a 300°F oven for 10 to 12 minutes. The oven brings back more texture than the microwave, which tends to make the crust soggy and the topping soft.
Questions I Get Asked About This Tart
Nectarine Crumb Tart
Ingredients
Equipment
Method
- Preheat oven to 375°F (190°C) and set out a 9-inch tart pan (place on a sheet pan for easier handling).
- Combine all-purpose flour and granulated sugar for the crust in the tart pan. Keep the mixture dry and evenly distributed.
- Cut in cold unsalted butter until the mixture looks like coarse crumbs with no large butter chunks. Aim for an even, sandy texture.
- Add egg yolk and ice water and mix until the dough just comes together. Stop when it forms, so the crust stays tender.
- Press the dough into a 9-inch tart pan, covering the bottom and up the sides evenly. Use firm, even pressure.
- Chill the crust for 15 minutes to firm it up before filling. You’ll get cleaner slices and less shrinking.
- Toss nectarines with granulated sugar, cornstarch, vanilla extract, and cinnamon until every slice is coated. Let the mixture sit briefly so juices start to thicken.
- Arrange nectarines evenly in the tart shell in a single, snug layer. Spread them so the tart bakes with balanced topping coverage.
- Combine all-purpose flour, brown sugar, cinnamon, and cold unsalted butter for the crumb topping until clumpy. Keep butter cold to prevent a paste-like topping.
- Sprinkle crumb mixture over the nectarines in an even layer. Leave small gaps so the fruit bubbles through.
- Bake for 40–45 minutes at 375°F (190°C) until golden and bubbly. Watch for active bubbling around the edges and center.
- Cool the tart before slicing. Resting helps the filling set and reduces runniness.
- Serve plain or with vanilla ice cream. Add ice cream only at serving time for best texture.
