
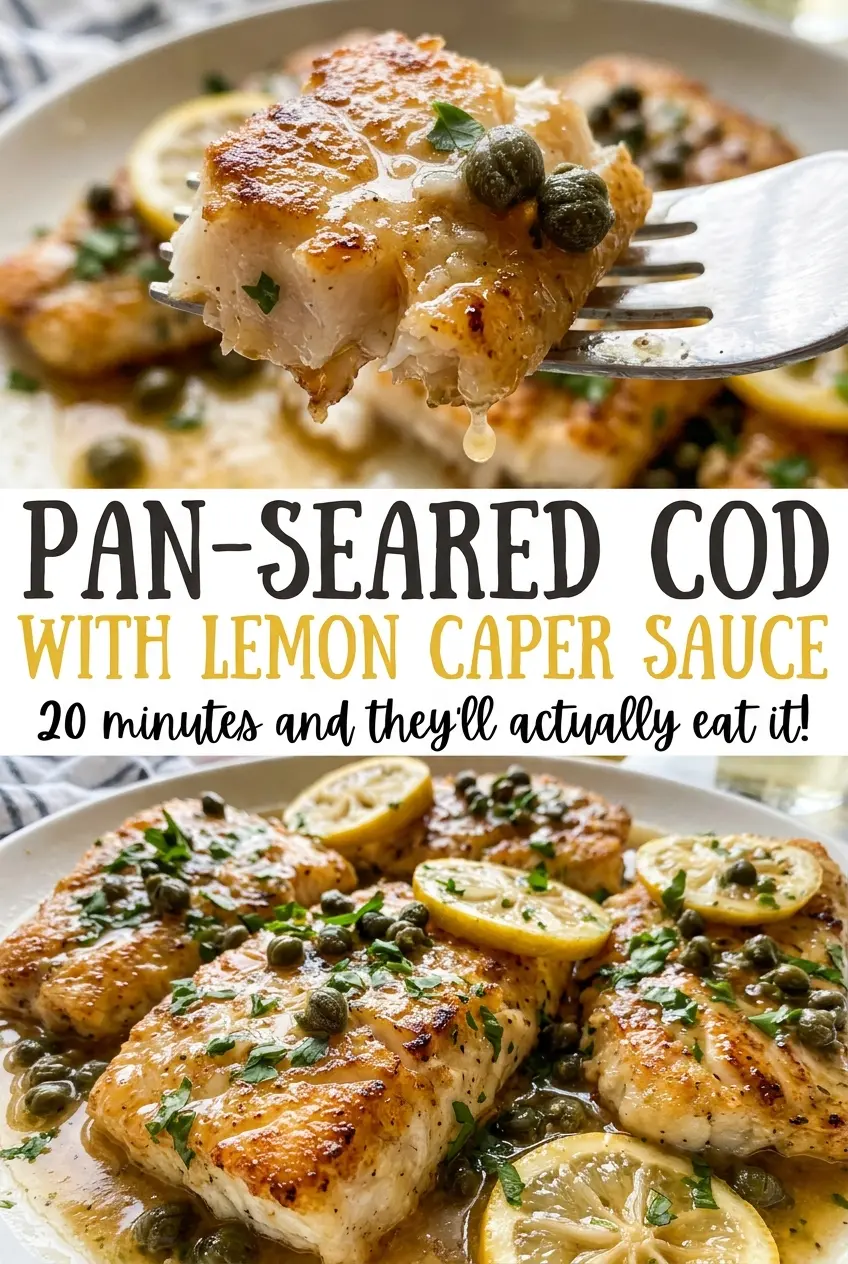
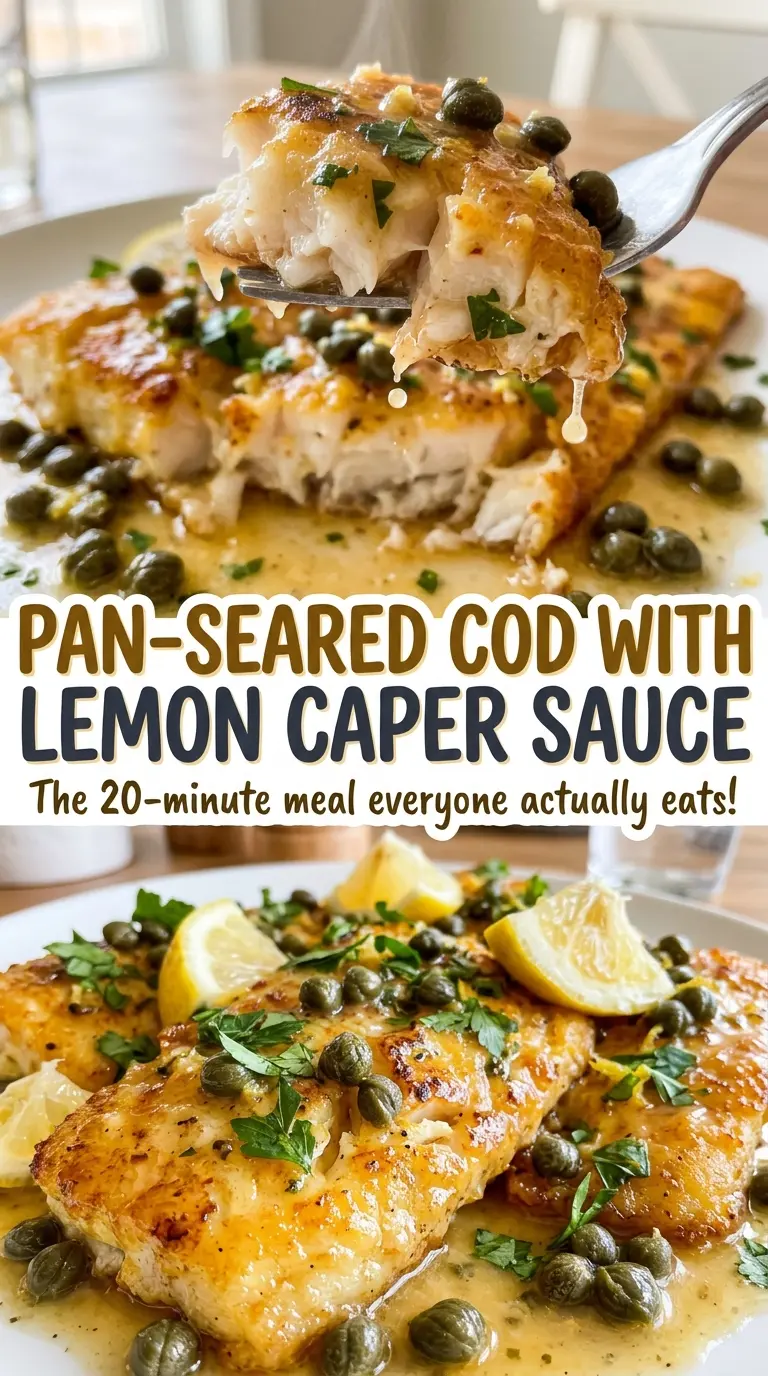
When cod hits a hot skillet, the surface should sizzle right away; if the pieces are damp or packed together, they steam instead of developing that thin golden crust. I dry the fillets well, dust them lightly with flour, and give each piece enough room to brown. That small bit of prep makes a big difference in Pan-Seared Cod with Lemon Caper Sauce, especially because the fish cooks quickly.
The sauce comes together in the same skillet, so the browned bits left behind become part of its savory base. I simmer broth with shallot, then take the pan off the heat before whisking in butter, lemon, capers, and parsley. The finished sauce is bright and buttery without hiding the mild, flaky cod underneath.
Kitchen Note
Take the skillet completely off the heat before adding the finishing butter. The residual warmth is enough to melt it into the broth, and whisking then gives the sauce a smooth, glossy texture instead of an oily layer.
Save this pan-seared cod with lemon caper sauce for a quick fish dinner with golden fillets and a bright, buttery finish.
Why a Thin Flour Dusting Helps Cod Brown Without a Heavy Crust
Cod is lean and delicate, so a thick coating can overwhelm it before the center has time to cook. The flour here is meant to be a whisper-thin layer, not breading. It gives the outside a surface that browns in the skillet while leaving the fish itself soft and flaky. Shake away any loose flour; patches of excess tend to turn pasty rather than crisp.
Drying the fillets first matters just as much. Moisture on the surface has to evaporate before browning can begin, and crowded pieces trap steam around one another. That’s why I sear in batches instead of squeezing everything into the pan. A little space lets the oil stay in contact with the fish and gives the crust a chance to set before you turn it.
Think of the flour as a helper, not armor. The cod should still be the main event, with a light golden exterior that holds together when you lift it and a tender center beneath. If the coating looks thick and chalky before it goes into the skillet, tap off more; the sauce will cling better to a delicate crust than to a layer of loose flour.
What the Cod, Flour, and Butter Each Bring to This Skillet
- Cod — Its mild taste leaves room for the lemon and capers, while the thick fillets stay in distinct flakes after searing. Pieces cut to a similar thickness cook more evenly; if cod isn’t available, haddock is a close mild-fish substitute, though its thinner pieces may finish sooner.
- All-purpose flour — A light coating helps the outside brown and gives the sauce something to cling to. A fresh bag isn’t necessary, but sift or whisk out any lumps so they don’t stick to the fish. For a gluten-free version, use a cup-for-cup gluten-free flour blend for dredging.
- Olive oil and unsalted butter — Olive oil handles the hot sear, while butter gives the finished sauce its rounded, silky feel. Standard olive oil works well; save a delicate finishing oil for another use. Unsalted butter lets the capers and seasoning stay in balance.
- Shallot and chicken broth — Shallot softens quickly and adds a mild, savory base without taking over the fish. Low-sodium broth leaves room to adjust the seasoning yourself; vegetable broth works if you want to keep the dish free of chicken broth, with a slightly different savory note.
- Lemon, capers, and parsley — Fresh lemon juice tastes brighter here than bottled juice, and drained capers bring the briny pop that keeps the butter from feeling heavy. Parsley adds a fresh finish. Choose capers you enjoy straight from the jar; there’s no need for a premium brand, but drain them well so excess brine doesn’t thin the sauce.
The Three Stages That Keep the Cod Tender and the Sauce Glossy
Dry, Season, and Dredge for a Clean Sear
Blot both sides of the cod with paper towels, then season with kosher salt and black pepper. Lightly dredge each piece in flour and shake off the excess so the coating stays fine. Heat the olive oil in a 12-inch skillet over medium-high heat until it shimmers. If the oil looks still and dull, give it a little longer; adding fish before it’s hot can leave the coating pale and prone to sticking.
Sear in Batches Until the Centers Turn Opaque
Lay the fillets in the skillet without crowding and leave them undisturbed for 3 to 4 minutes per side. The first side should be golden before you turn it, and the fish should release more easily once its crust has formed. Cook until the thickest part reaches 145°F and looks opaque, then transfer the cod to a plate. If the pieces vary in thickness, check each one rather than assuming they’ll all finish at the same moment.
Reduce the Broth Before Finishing the Sauce
Lower the heat to medium, melt 1 tablespoon of butter in the skillet, and stir in the minced shallot for about 1 minute. Add the chicken broth and scrape up the browned bits as it simmers for 2 to 3 minutes, until reduced by about half. Those browned bits dissolve into the broth and give the sauce more depth. If the broth hasn’t reduced enough, let it simmer a little longer before moving on to the butter and lemon.
Whisk in the Bright Finish and Spoon It Over
Take the skillet off the heat and whisk in the remaining butter, fresh lemon juice, drained capers, and chopped parsley. The sauce should look glossy, with the capers and herbs scattered through it. Return the cod to plates rather than simmering it in the sauce; the fish is already cooked, and extra heat can dry its delicate flakes. Spoon the sauce over the fillets just before serving.
Three Simple Ways to Adapt the Lemon Caper Cod
Make the Dredge Gluten-Free
Use a cup-for-cup gluten-free flour blend in place of the all-purpose flour, keeping the same light dusting and shaking off the excess. The fish will still brown, though the crust may have a slightly different texture depending on the blend. Check that the blend is intended for general baking and cooking rather than a thickening-only product.
Trade Capers for Green Olives
For a softer, less sharp briny flavor, replace the capers with an equal amount of finely chopped green olives. Drain the olives well before adding them with the butter and lemon. They’re less punchy than capers, so the sauce will taste rounder and a little more olive-forward.
Make the Sauce Dairy-Free
Use a firm, dairy-free butter substitute in place of the unsalted butter. Choose one made for cooking, not a soft spread, and whisk it in off the heat as you would regular butter. The result will be less rich and may not look quite as silky, but the lemon and capers still give the sauce its bright, savory character.
Storage and Reheating
- Refrigerator: Refrigerate leftovers in an airtight container within 2 hours and use within 3 to 4 days. The cod’s crisp coating will soften, and the sauce may thicken.
- Freezer: I don’t recommend freezing the finished dish. The cod tends to dry out after thawing, and the butter sauce can separate.
- Reheating: Warm gently in a covered skillet over low heat with a small splash of chicken broth, just until heated through. Avoid high heat or a hard simmer, which can toughen the fish and break the sauce.
Questions That Come Up When Cooking Cod in a Skillet
Pan-Seared Cod with Lemon Caper Sauce
Ingredients
Equipment
Method
- Pat the cod dry and season both sides with the salt and pepper.
- Lightly dredge each piece in the flour and shake off the excess.
- Heat the olive oil in a 12-inch skillet over medium-high heat until shimmering.
- Sear the cod in batches without crowding the skillet for 3 to 4 minutes per side, until golden and opaque and the thickest part reaches 145°F; transfer to a plate.
- Reduce the heat to medium and melt 1 tablespoon of the butter in the skillet, then cook the shallot for about 1 minute, stirring.
- Add the chicken broth and simmer for 2 to 3 minutes, scraping up the browned bits, until reduced by about half.
- Remove the skillet from the heat and whisk in the remaining 3 tablespoons butter, lemon juice, capers, and parsley.
- Spoon the sauce over the cod and serve.
