
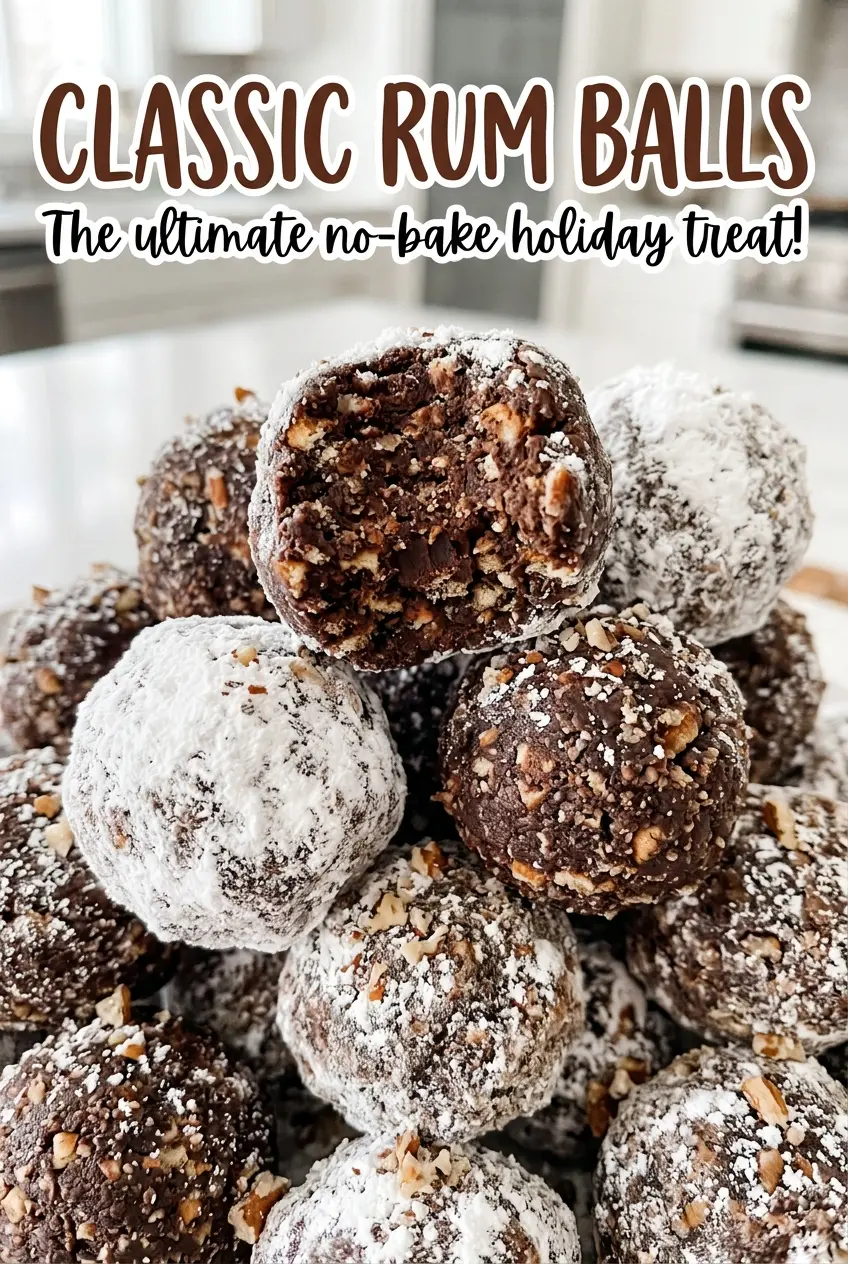
When you press the crumb mixture between your fingers, it should clump together instead of falling back into the bowl. That small cue makes these Classic Rum Balls easy to roll without adding extra liquid or ending up with sticky hands. I like how the vanilla wafer crumbs keep the centers tender while the dark rum brings a warm, unmistakable flavor.
The mixture gets a short chill before shaping, then the finished balls rest in the refrigerator before serving. That longer wait is worth planning for: it gives the rum time to settle into the crumbs, and the coating turns into a soft, sweet shell around each bite. The result is a no-bake treat with a tender center and a light dusting of sugar.
Kitchen Note
A level tablespoon portion keeps the rum balls close in size and helps the batch yield 36. I use a flat scoop rather than packing the mixture into the spoon, so the portions stay light and easy to roll.
Save these Classic Rum Balls for a make-ahead treat with tender pecan centers and a delicate confectioners’ sugar coating.
Why the 24-Hour Chill Changes More Than the Flavor
It’s easy to think of the final refrigerator rest as a waiting period you can skip once the balls look finished. I don’t skip it. These are made from dry crumbs and aren’t baked, so time in the refrigerator gives the rum and corn syrup a chance to distribute through the mixture after shaping. The centers become more cohesive, and the rum tastes more settled rather than sharp.
The sugar coating also changes as the balls rest. It softens where it meets the surface, so the outside won’t stay powdery and fluffy in quite the same way as confectioners’ sugar straight from the bag. That’s normal. The coating becomes a fine sweet layer, while the center stays compact and tender. Plan the batch a day ahead when you can; the finished texture is worth waiting for.
What the Crumbs, Rum, and Corn Syrup Each Contribute

- Vanilla wafer crumbs — These are the foundation, so crush them finely; coarse pieces leave the mixture harder to shape and make the finished texture uneven. A store brand works well. The vanilla note should be gentle, not strongly flavored.
- Confectioners’ sugar — The sugar in the mixture dissolves into the damp crumbs, while the final coating gives the outside its soft sweetness. Granulated sugar won’t give you the same smooth coating or fine texture, so stick with confectioners’ sugar for both jobs.
- Unsweetened cocoa powder — Cocoa keeps the mixture chocolatey without making it overly sweet. A basic unsweetened cocoa is fine; sweetened cocoa mixes add sugar and other ingredients that change the balance.
- Pecans — Finely chopped pieces add a mild, buttery crunch. Use fresh-tasting nuts, since stale pecans can bring a bitter edge to a no-bake mixture where their flavor stays noticeable.
- Dark rum — Dark rum gives the balls their defining warm, rounded flavor. Choose one you enjoy sipping, but there’s no need for an expensive bottle; a reliable everyday rum works well.
- Light corn syrup — This helps bind the crumbs and keeps the mixture pliable enough to roll. It doesn’t need to be a specialty brand, and its mild flavor won’t compete with the rum or cocoa.
How to Mix, Chill, and Coat Rum Balls Without a Mess
Start with Evenly Fine Crumbs
Stir the vanilla wafer crumbs, the portion of confectioners’ sugar for the mixture, cocoa powder, and finely chopped pecans together in a large bowl. Break up any cocoa lumps as you stir so the color is distributed evenly. The mixture should look consistent, with pecan pieces spread throughout rather than gathered at the bottom. Uneven dry ingredients can leave some balls sweeter or more cocoa-heavy than others.
Stir in the Rum and Binder
Add the dark rum and light corn syrup, then stir until the crumbs are evenly moistened. At first, the mixture may look loose and sandy; keep stirring so the liquid reaches the crumbs around the sides and bottom of the bowl. Press a little mixture between your fingers to check that it holds together. If it crumbles apart, continue mixing before moving on.
Chill Until the Mixture Is Firm
Cover the bowl and refrigerate the mixture for 30 minutes. It should feel firmer and less sticky when you pinch off a piece, but it still needs to be pliable enough to roll. If it sticks heavily to your hands, give it a little more time in the refrigerator rather than adding extra crumbs. Keeping the bowl covered also prevents the surface from drying while it chills.
Shape and Coat the Balls
Scoop even portions and roll them between your palms until the surfaces are round and smooth. If the mixture starts sticking to your hands, pause and chill it briefly; pressing harder can make the balls dense. Roll each one through the remaining confectioners’ sugar until coated, then arrange them in an airtight container. Handle the coating gently so it stays on the outside rather than getting pressed into the surface.
Let the Finished Balls Rest
Refrigerate the covered container for at least 24 hours before serving. The balls will firm up as they rest, and the rum flavor will mellow into the crumb mixture. Keep them in the airtight container so they don’t pick up refrigerator odors. The coating may look less powdery after resting, but that’s part of the finished texture.
Simple Swaps That Change the Rum Balls in Useful Ways
Use Gluten-Free Vanilla Wafer Crumbs
Choose plain gluten-free vanilla wafers and crush them finely in place of the regular wafers. The flavor stays close to the original, though different brands absorb liquid a little differently, so judge the mixture by whether it holds together when pressed.
Trade Dark Rum for Bourbon
Use the same amount of bourbon in place of the dark rum. The balls keep their warm spirit flavor, but bourbon brings a drier, oakier note and makes the rum-ball character less pronounced.
Make the Binder with Honey
Replace the light corn syrup with the same amount of honey. The mixture will have a subtle floral sweetness and may feel a touch softer, so give it the full chill before shaping.
Storage and Reheating
- Refrigerator: Keep the balls in an airtight container for up to 2 weeks. The sugar coating gradually softens against the surface.
- Freezer: Freeze them in a single layer until firm, then transfer to an airtight container for up to 2 months. Thaw in the refrigerator; the coating may look less powdery afterward.
- Reheating: No reheating is needed. Serve chilled, and avoid warming them because the soft coating can smudge.
Questions That Come Up When Making Classic Rum Balls
Classic Rum Balls
Ingredients
Method
- In a large bowl, stir together the wafer crumbs, 1 cup of the confectioners' sugar, cocoa powder, and pecans.
- Stir in the rum and corn syrup until the mixture is evenly moistened and holds together when pressed.
- Cover and refrigerate for 30 minutes, until firm enough to roll.
- Scoop tablespoon portions.
- Roll the portions between your palms into balls.
- Roll the balls in the remaining 1/2 cup confectioners' sugar to coat.
- Arrange the rum balls in an airtight container.
- Refrigerate for at least 24 hours before serving.
