
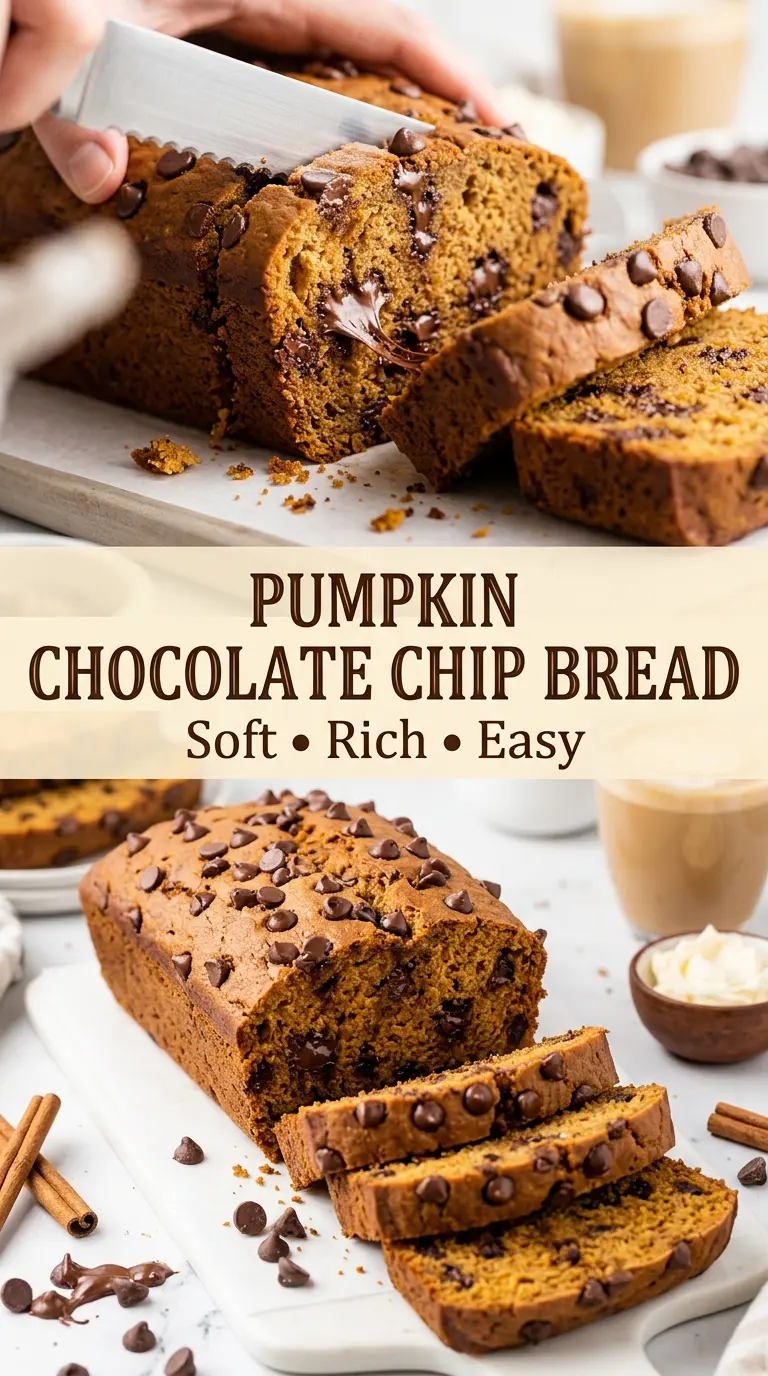
Pumpkin chocolate chip bread lands in that sweet spot between snack cake and quick bread: deeply moist, gently spiced, and studded with pockets of melted chocolate that keep every slice from tasting one-note. The crumb stays soft for days, and the top bakes up with just enough structure to slice cleanly without feeling dry. It’s the kind of loaf that disappears fast because it works for breakfast, an afternoon coffee break, or a late-night slice straight from the pan.
What makes this version work is the balance. Pumpkin purée brings moisture and body, but sour cream adds a little tang and keeps the crumb tender instead of heavy. Oil, not butter, gives the loaf a softer texture that stays that way after it cools. Tossing the chocolate chips with a little flour helps them stay suspended instead of sinking into the bottom, which is one of the easiest ways to make a loaf look and eat better.
Below, you’ll find the mixing order that keeps the bread from turning dense, plus the small finishing touch that gives the top a bakery-style look. If you’ve ever had pumpkin bread bake up gummy in the center or end up bland, this method fixes both problems without any extra fuss.
The loaf came out so moist and the chocolate chips stayed evenly spread all the way through. I added the foil tent at the end and the top baked up perfectly without getting too dark.
Pumpkin Chocolate Chip Bread with a soft crumb and chocolate chips that stay right where you want them
The Reason Pumpkin Loaves Turn Dense Before They’re Done
Pumpkin bread goes heavy for one of two reasons: too much mixing or too much moisture trapped in the batter. Pumpkin purée already carries a lot of water, so once the flour goes in, the batter needs only a few folds to come together. Keep mixing after that point and you build toughness instead of tenderness. The loaf still rises, but the crumb turns tight and a little rubbery instead of soft and sliceable.
The other mistake is underbaking the center because the top looks finished. Pumpkin chocolate chip bread often browns early from the sugar and chocolate, while the middle is still catching up. That’s why the foil tent matters. It protects the top while the heat finishes the center, and it keeps you from pulling the loaf too soon and ending up with a gummy middle.
- Pumpkin purée — Use plain pumpkin purée, not pumpkin pie filling. The filling has added sugar and spices, which throws off both the flavor and the texture.
- Sour cream — This is what gives the loaf a plush, bakery-style crumb. Plain Greek yogurt works in a pinch, but it adds a little more tang and a slightly tighter texture.
- Vegetable oil — Oil keeps the loaf moist longer than butter does. Melted butter can be used, but the bread won’t stay soft quite as long once it cools.
- Chocolate chips — Semisweet chips work best here because they balance the pumpkin spice without making the loaf overly sweet. Tossing them in flour before folding them in helps stop them from sinking to the bottom.
Mixing the Batter Without Beating the Moisture Out of It
Getting the Pan Ready First
Preheat the oven and prepare the loaf pan before you touch the batter. This loaf depends on a clean transfer from bowl to pan, and a lined pan makes it easy to lift the bread out without tearing the sides. If the batter sits around while you fuss with the pan, the leaveners start working before the loaf even goes in the oven.
Combining the Dry and Wet Ingredients
Whisk the dry ingredients until the spice is evenly distributed, then whisk the wet ingredients until the sugar breaks down and the mixture looks smooth. You’re not trying to whip air into it. You’re trying to avoid streaks of pumpkin and brown sugar that would leave pockets in the finished loaf. The batter should look thick but spreadable, like a heavy muffin batter.
Folding in the Chocolate Chips
Once the dry and wet mixtures come together, stop mixing as soon as you no longer see dry flour. Toss the chocolate chips with flour first, then fold them in gently. If the batter is beaten hard at this stage, the loaf turns tough and the chips break through to the bottom. A few streaks of flour disappearing during the final folds is fine; they’ll finish blending as the bread bakes.
Knowing When the Loaf Is Done
Start checking near the lower end of the bake time. The top should be set and lightly domed, with a deep golden color around the edges and melted chocolate peeking through. A toothpick inserted into the center should come out clean or with a few moist crumbs attached, not wet batter. If the top is browning faster than the middle can bake, lay a loose sheet of foil over it and leave it alone until the center catches up.
Three Ways to Make This Pumpkin Chocolate Chip Bread Work for Your Kitchen
Dairy-Free Version
Swap the sour cream for unsweetened dairy-free yogurt with a thick consistency. The loaf still stays tender, though the crumb will be a touch less rich. Use a dairy-free semisweet chocolate chip so the whole bread stays dairy-free.
Gluten-Free Adjustment
Use a 1:1 gluten-free flour blend that includes xanthan gum. The loaf will be a little more delicate when warm, so let it cool completely before slicing. Without that full cool-down, the center can crumble even if the bake is done.
Muffin-Style Bake
Portion the batter into a lined muffin tin and bake until the centers spring back when touched and a tester comes out with moist crumbs. You’ll get more edges, more chocolate in each bite, and a shorter bake time. The texture lands a little closer to dessert than breakfast bread.
Storage and Reheating
- Refrigerator: Store in an airtight container for up to 5 days. The crumb stays moist, but the chocolate chips will firm up a bit when chilled.
- Freezer: This bread freezes well. Wrap the fully cooled loaf or individual slices tightly in plastic wrap, then foil, and freeze for up to 3 months.
- Reheating: Warm slices in the microwave for 10 to 15 seconds or in a low oven until just heated through. Don’t overheat it or the bread will dry out before the chocolate softens.
Answers to the Questions Worth Asking
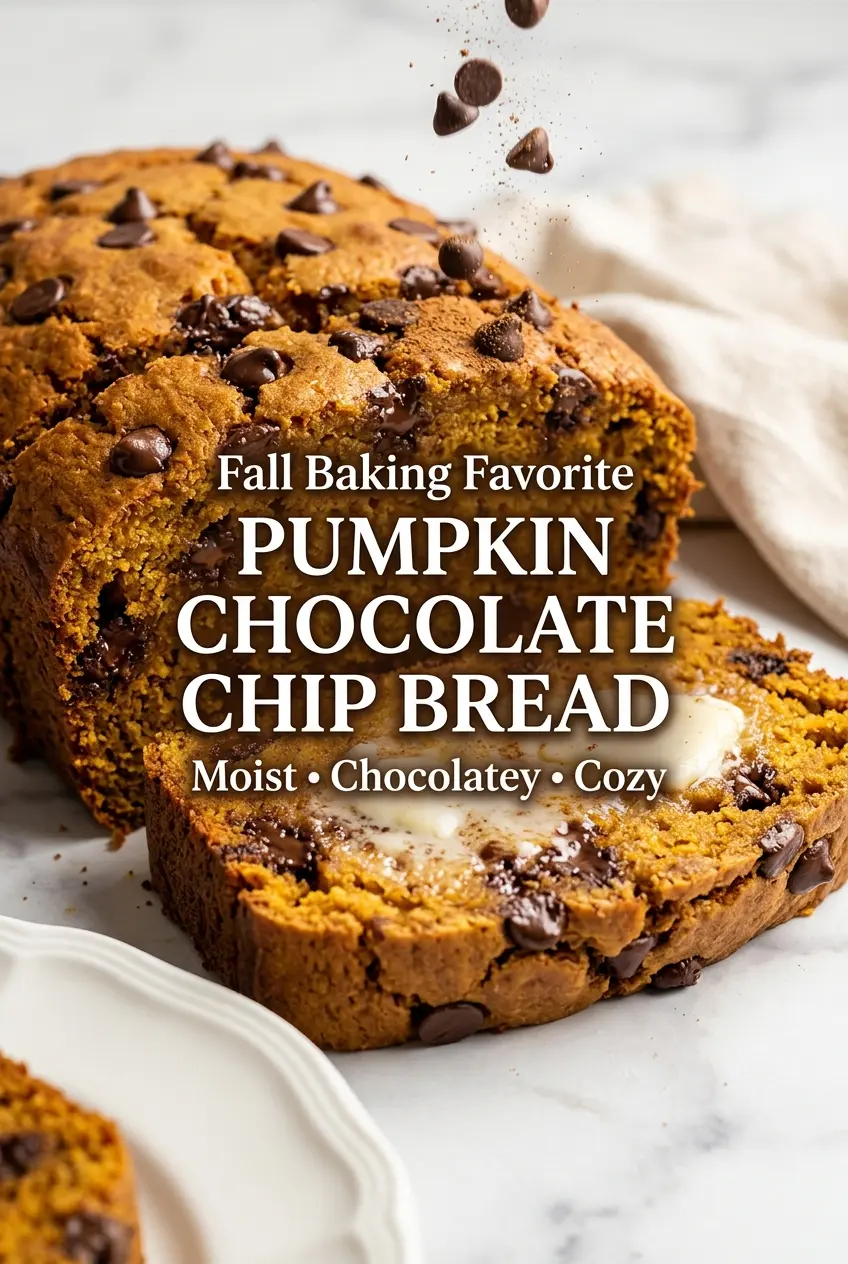
Pumpkin Chocolate Chip Bread
Ingredients
Equipment
Method
- Preheat the oven to 350°F (175°C). Grease a 9×5-inch loaf pan and line it with parchment paper.
- In a large bowl, whisk together the flour, baking soda, baking powder, pumpkin pie spice, cinnamon, and salt.
- In another bowl, whisk together the pumpkin purée, eggs, granulated sugar, brown sugar, vegetable oil, sour cream, and vanilla until smooth and creamy.
- Fold the wet ingredients into the dry ingredients until just combined.
- Toss the chocolate chips with 2 tablespoons of flour, then gently fold them into the batter.
- Pour the batter into the prepared loaf pan and smooth the top.
- Sprinkle the remaining chocolate chips and coarse sanding sugar evenly over the top.
- Bake for 55–65 minutes, or until a toothpick inserted into the center comes out clean or with a few moist crumbs attached.
- If the loaf browns too quickly, loosely tent with foil during the final 15 minutes.
- Cool the bread in the pan for 15 minutes before transferring it to a wire rack.
- Slice once completely cooled and serve plain or lightly warmed with butter.
