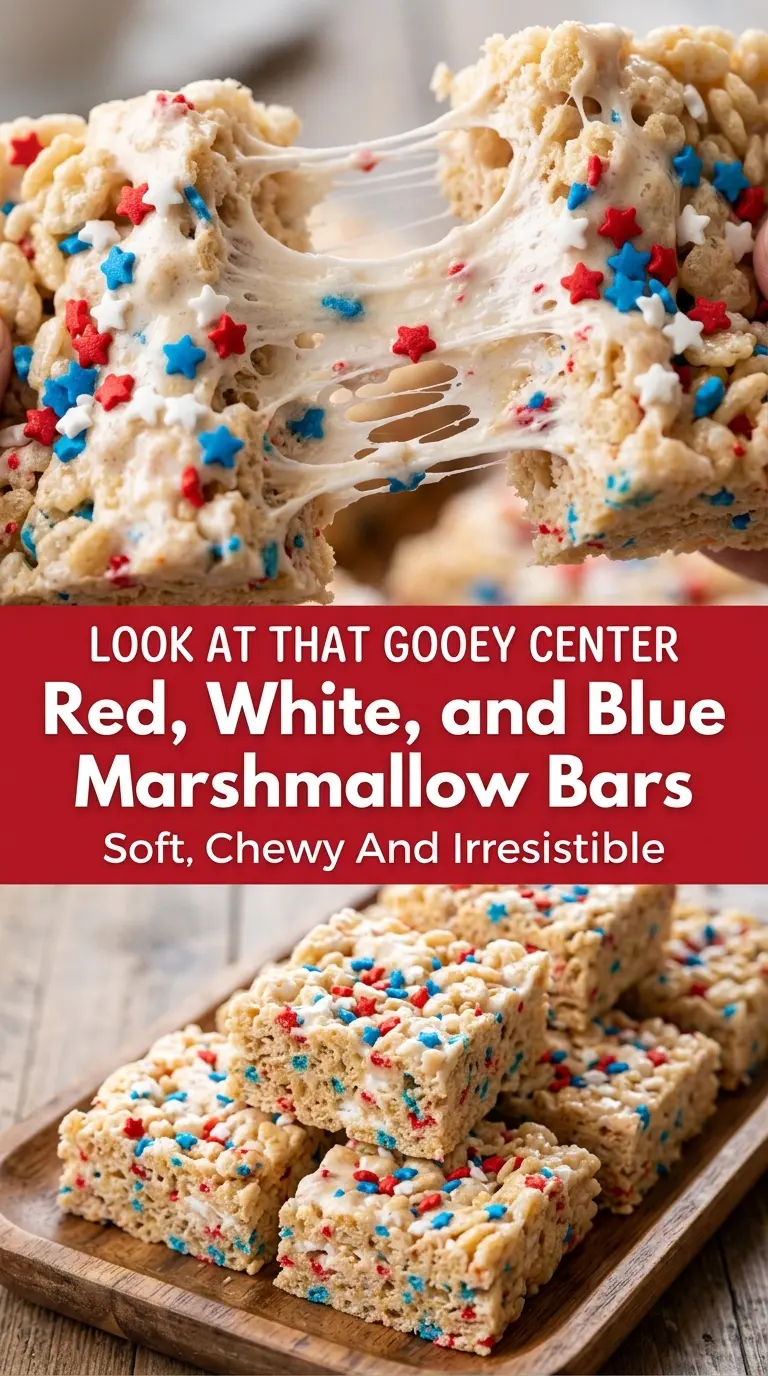
Red, white, and blue marshmallow bars hit that sweet spot between nostalgic and party-ready: crisp cereal, gooey marshmallow pockets, and a glossy candy melt finish that makes the whole pan look festive without any fussy decorating. They slice cleanly once cooled, but each bite still gives you that soft, sticky pull you want from a marshmallow bar.
The trick is keeping the marshmallow base gentle from start to finish. Low heat keeps the butter and marshmallows smooth instead of turning them stiff and grainy, and folding in the extra mini marshmallows after the heat is off gives you those little soft bursts in the finished bars. The sprinkles and candy melts bring the color, but they also add enough contrast that the bars don’t taste flat or one-note.
Below, I’m walking through the one step people usually rush — pressing the mixture into the pan without crushing the cereal — plus the best way to store these so they stay chewy instead of hard.
The candy drizzle set up fast and the bars stayed chewy for two days without getting hard. I also liked that the extra mini marshmallows gave little gooey pockets instead of disappearing into the cereal.
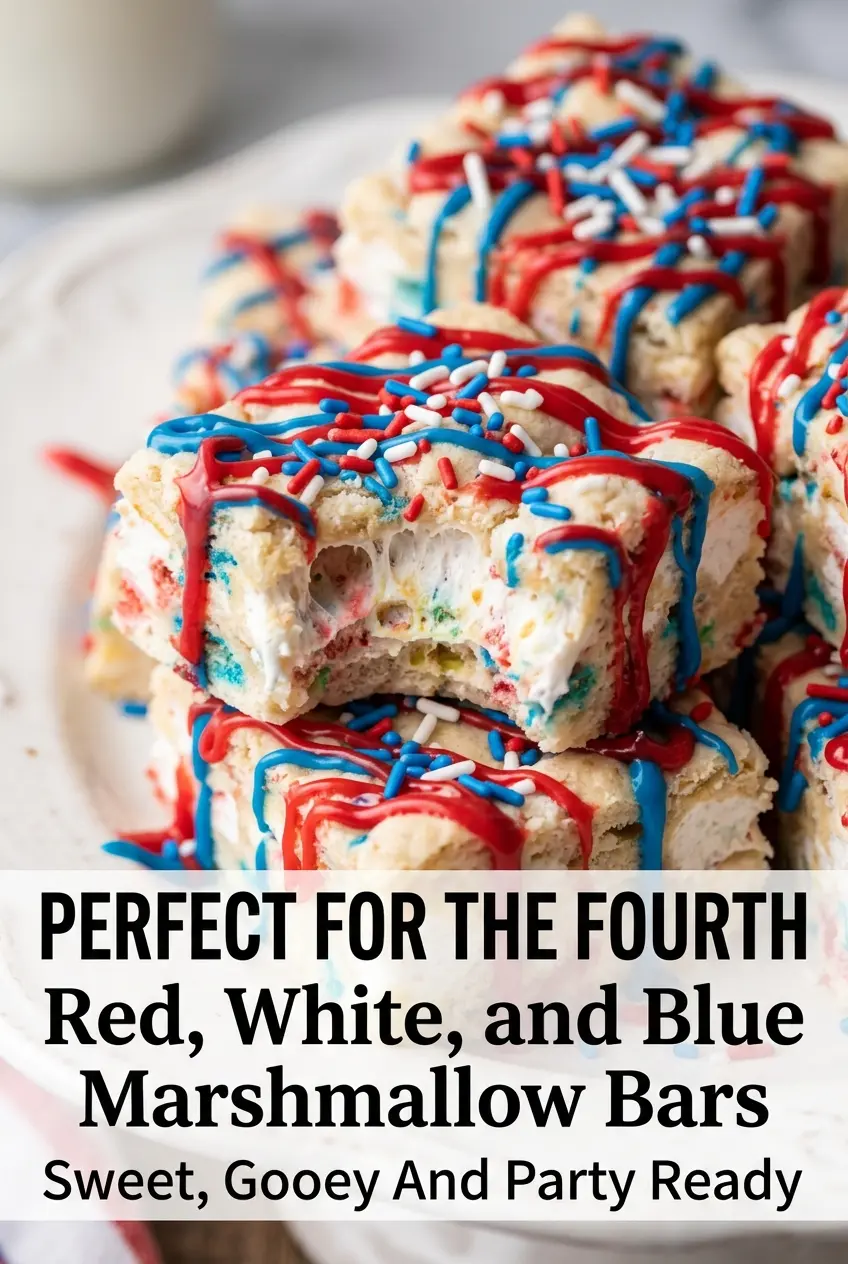
Save these red, white, and blue marshmallow bars for the kind of no-bake treat that disappears fast at cookouts and patriotic dessert tables.
The Secret to Marshmallow Bars That Stay Chewy Instead of Hard
Most marshmallow bars turn dense because the base gets overheated or packed too firmly into the pan. Both mistakes squeeze out the airiness that keeps the bars soft. Once marshmallows go over direct medium or high heat, they tighten up fast and the finished bars set like hockey pucks instead of tender squares.
Low heat is doing more than protecting the texture. It keeps the butter from separating and gives the marshmallows time to melt into a smooth coating for the cereal. When the mixture is off the heat, folding in the extra mini marshmallows matters because they stay intact instead of fully disappearing. That gives you the best part of a marshmallow bar: a base that holds together with scattered gooey pockets throughout.
What Each Ingredient Is Actually Doing in This Dish
- Crispy rice cereal — This gives the bars their structure and crunch. A generic puffed cereal won’t hold the same snap, and it tends to go soft faster. If you only have a store brand, that works fine as long as the pieces are light and crisp.
- Mini marshmallows — The 10 ounces melted with butter form the glue that binds everything together. The additional cup stirred in at the end is what creates those soft, stretchy pockets in each bite. Don’t swap in large marshmallows unless you chop them first, or they’ll melt unevenly.
- Unsalted butter — Butter helps the marshmallows melt smoothly and adds the rich base note that keeps the bars from tasting one-dimensional. Salted butter will work if that’s what you have, but the finished bars will taste a little sharper. If you use salted butter, hold back any extra salt elsewhere.
- Red, white, and blue sprinkles — These add color, but they also give a little crunchy contrast. Add some inside the bars and some on top so the decoration feels built in rather than sitting only on the surface. Jimmies hold up better than tiny nonpareils, which can bleed color into the marshmallow.
- Red and blue candy melts — The drizzle gives the bars their festive finish and sets firm enough to slice cleanly. Candy melts are easier here than chocolate because they stay bright and harden without needing tempering. If you want to thin them for cleaner drizzling, stir in a tiny bit of neutral oil, not butter.
Getting the Marshmallow Base Into the Pan Without Crushing It
Melting the Butter and Marshmallows Gently
Set the pot over low heat and let the butter melt first, then add the marshmallows and stir until the mixture looks glossy and smooth. If you see bubbling around the edges, the heat is already too high. Marshmallows should melt, not fry. The moment they go from lumpy to silky, pull the pot off the burner so the residual heat finishes the job.
Folding in the Cereal and Mix-Ins
Add the cereal all at once and fold with a spatula until every piece is coated. Work from the bottom of the pot and lift the mixture over itself instead of stirring aggressively, or the cereal will break into crumbs. Once the cereal is coated, stir in the extra mini marshmallows and half the sprinkles quickly. They should stay visible as separate bits, not melt into the base.
Pressing and Decorating the Bars
Spoon the mixture into the prepared pan and press it down lightly with greased hands or a piece of parchment. Heavy pressure is the fastest way to get dense bars, so aim for even coverage, not compression. Drizzle the melted candy melts across the top, then finish with the remaining sprinkles while the drizzle is still tacky. Let the pan cool completely before slicing, or the bars will smear instead of cut cleanly.
How to Adapt These Bars for Different Crowds and Kitchen Realities
Make Them Gluten-Free With the Right Cereal
Use a certified gluten-free crispy rice cereal and check the candy melts and sprinkles for hidden wheat ingredients. The texture stays the same, and this is the easiest adaptation because the recipe doesn’t rely on flour or baking.
Dairy-Free Version That Still Sets Well
Swap the butter for a dairy-free stick-style margarine and use dairy-free candy melts. Coconut oil can work in a pinch, but it changes the texture and can make the bars softer, so stick with a firm margarine for the cleanest slice.
Turning the Bars Into a Bigger Batch for a Crowd
Double the recipe and press it into two 9×13 pans instead of one giant pan. That keeps the bars from becoming too thick in the center, which matters because marshmallow bars set best when the layer stays even and not overly compacted.
Storage and Reheating
- Refrigerator: Store in an airtight container for up to 4 days. They’ll firm up a little in the fridge, but they still stay pleasantly chewy.
- Freezer: These freeze well for up to 1 month if you layer parchment between the squares. Thaw at room temperature before serving so the candy drizzle doesn’t sweat and the cereal layer doesn’t feel hard.
- Reheating: No reheating needed. If they’ve chilled too firmly, leave them on the counter for 10 to 15 minutes before serving. Microwaving softens the marshmallow unevenly and can turn the candy melt topping sticky.
Answers to the Questions Worth Asking
Red, White, and Blue Marshmallow Bars
Ingredients
Equipment
Method
- Grease a 9×13-inch baking pan or line it with parchment paper.
- Melt the butter in a large pot over low heat, stirring occasionally, for 2-3 minutes until just melted and glossy.
- Add the 10 oz mini marshmallows and stir continuously over low heat for 3-5 minutes until completely melted and smooth.
- Remove the pot from the heat, then immediately fold in the crispy rice cereal until every flake is evenly coated.
- Stir in the additional mini marshmallows (for mixing in) and half of the red, white, and blue sprinkles.
- Press the mixture gently into the prepared pan to form an even layer.
- Drizzle the melted red candy melts and melted blue candy melts over the top in thin lines.
- Sprinkle the remaining red, white, and blue sprinkles evenly over the candy-melt drizzle.
- Allow the bars to cool completely at room temperature for 60-75 minutes until set.
- Slice into squares using a steady motion, then serve.
