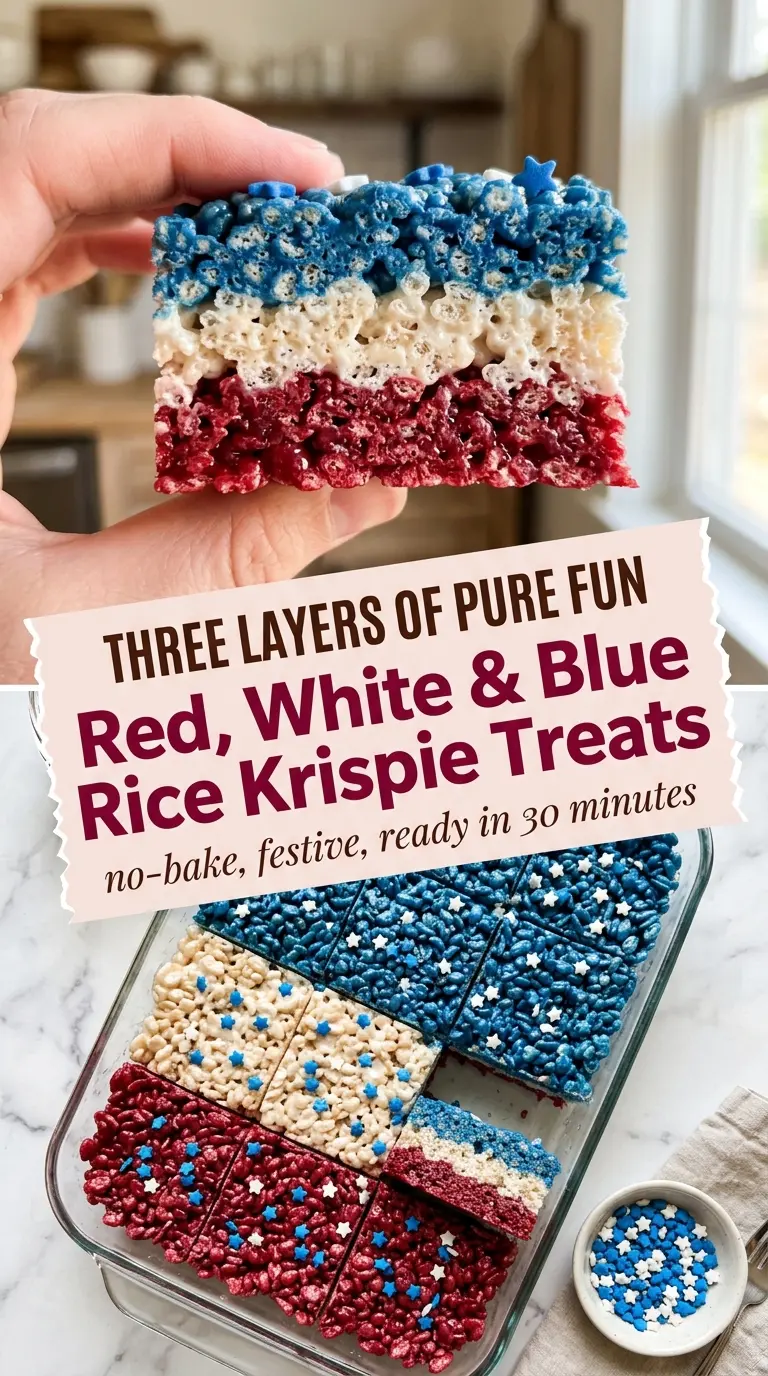
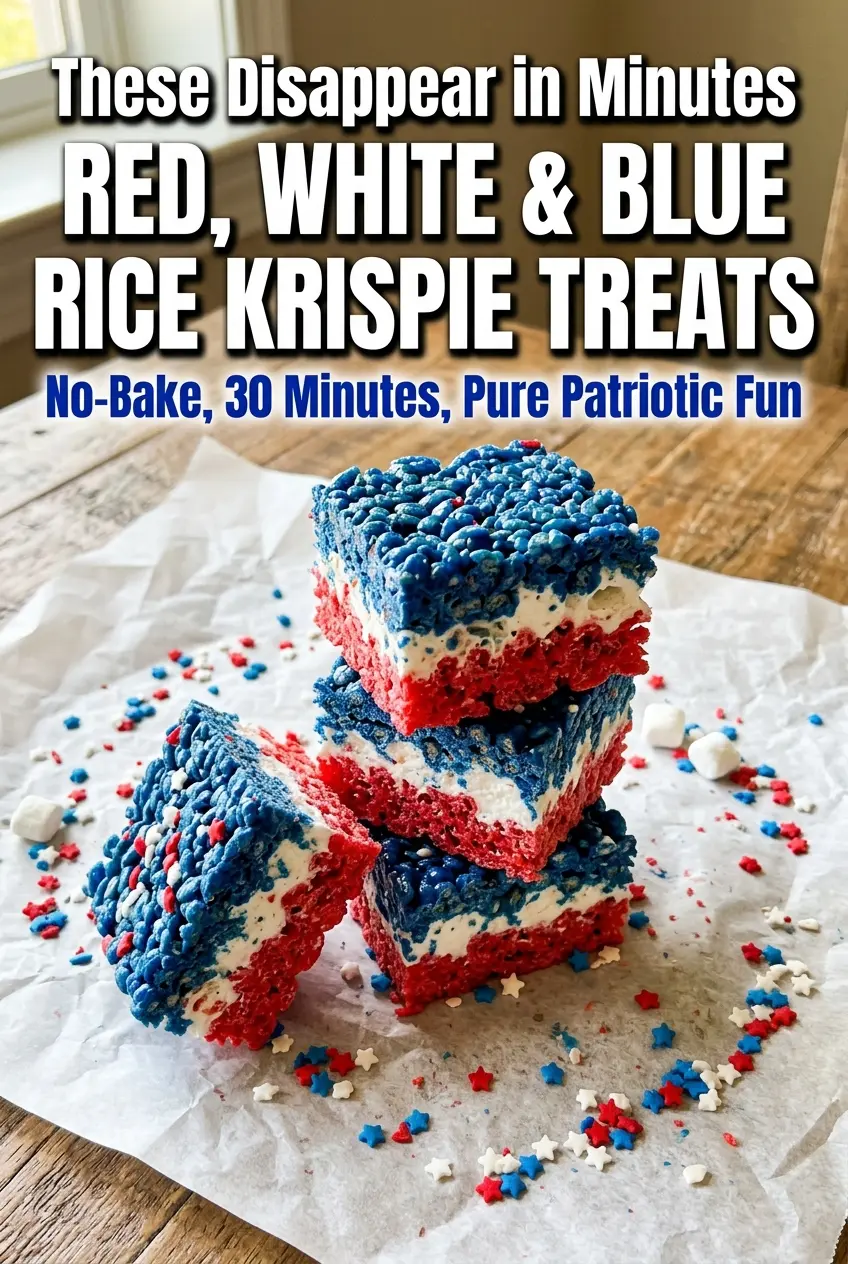
Red, white, and blue Rice Krispie treats pull off the kind of party look that gets people reaching for a square before they’ve even finished saying hello. The layers stay chewy, the marshmallow flavor stays front and center, and the colors make the whole pan feel festive without any fancy decorating work. They’re the kind of dessert that disappears fast because they’re familiar, fun, and easy to eat with one hand.
The trick is keeping each marshmallow batch gentle and each layer compact without turning it hard. Low heat matters here. If the marshmallows get too hot, the mixture gets sticky and the treats turn dense instead of tender. Gel coloring gives you that bold red and blue without watering down the marshmallow base, and adding the cereal after the color is mixed keeps every bite evenly tinted.
Below, I’ll show you how to get crisp layers that hold their shape, how to press them into the pan without gluing everything to your hands, and how to cut the squares cleanly so the colors stay sharp.
The marshmallow layers stayed soft and the colors came out so bright. I used a greased spatula to press each one in, and the squares sliced clean without squishing the layers together.
Pin these red, white, and blue Rice Krispie treats for an easy patriotic dessert with bold layers and that classic chewy marshmallow bite.
The Secret to Clean Layers Is Letting Each One Set Before the Next
Layered Rice Krispie treats can turn into a messy blur if the bottom layer is still warm when the next one goes in. The pressure from the second layer smears the first, and the colors blend at the edges instead of staying distinct. A short cooling window between layers gives each section enough structure to hold the line without turning brittle.
The other thing that matters is how you press the mixture into the pan. Pack it down firmly enough that the squares hold together, but don’t mash it into a brick. If you compact it too aggressively, the treats lose that airy chew and become heavy in the center.
- Mini marshmallows melt faster and more evenly than large ones, which matters when you’re working in three separate batches. Large marshmallows can work, but they take longer to melt and are easier to overheat.
- Gel food coloring gives the strongest color without thinning the marshmallow mixture. Liquid coloring can work in a pinch, but you’ll need more of it and the base can loosen up.
- Rice Krispies cereal needs to be folded in quickly after the marshmallows melt. Letting the mixture sit too long makes it harder to coat the cereal evenly.
- Butter keeps the marshmallow mixture from sticking to the pan and adds that classic rich taste. Salted butter can work if that’s what you have, but the flavor will read a little saltier.
- Sprinkles are optional, but they help finish the look. Add them while the top is still tacky so they actually cling instead of rolling off.
Building the Three Layers Without Losing the Marshmallow Stretch
Melt the Butter and Marshmallows on Low
Start each layer over low heat and stir until the butter and marshmallows melt into a smooth, glossy mass. If the heat climbs too high, the marshmallow mixture tightens up and the finished treats can turn hard around the edges. You want melted, not bubbling. The moment the last marshmallow disappears, pull the pan off the burner.
Stir in the Color Before the Cereal
Add the red or blue gel coloring while the marshmallow mixture is still hot and smooth, then stir until the color looks even. This is the point where you can build a deep shade without overworking the cereal later. If you wait until after the cereal goes in, you’ll end up with streaks and uneven patches. Keep the color concentrated; a few drops go a long way.
Fold and Press Without Crushing the Cereal
Pour in the cereal and fold just until every piece is coated. The mixture should look sticky and glossy, with no dry patches left behind. Transfer it to the pan right away and press it into the corners with greased hands or a buttered spatula. The goal is an even layer, not a packed-down slab, so use enough pressure to level it but stop before the texture turns dense.
Repeat the Same Rhythm for Each Color
The white layer goes in next with no coloring, then the blue layer finishes the stack. Keep each layer as even as you can and give the pan a few minutes between additions so the colors stay separate. If the pan feels warm to the touch, wait a little longer before pressing the next layer in. That small pause is what keeps the edges sharp when you cut the squares later.
Make Them in One Color for Simpler Cutting
If you don’t need the striped look, make all three batches the same color or skip the coloring completely. The texture stays exactly the same, and you’ll save a little time because you won’t need to pause between layers. This version still cuts into clean squares and tastes just like the classic treat people grew up with.
Use Dairy-Free Butter for a Dairy-Free Batch
A good plant-based butter alternative works here with very little change in texture. The key is using one that melts cleanly and doesn’t separate into oil and solids. The finished treats will still be chewy and festive, though the flavor will be a little less rich than the butter version.
Add Extra Sprinkles for a More Party-Ready Top
A light shower of star sprinkles on top gives the pan a little more sparkle without changing the base recipe. Press them in while the top layer is still soft so they stick. This works best if you want the treats to look finished in the pan and not just after cutting.
Storage and Reheating
- Refrigerator: Store at room temperature for up to 3 days. The fridge dries them out and makes the marshmallow layer firmer than it should be.
- Freezer: These freeze well if you wrap the squares individually and place them in an airtight container. Thaw at room temperature so the cereal doesn’t turn soggy from condensation.
- Reheating: These don’t need reheating. If they’ve firmed up a little, leave them at room temperature for 15 to 20 minutes before serving. Microwaving softens them unevenly and can melt the layers together.
Answers to the Questions Worth Asking
Red, White, and Blue Rice Krispie Treats
Ingredients
Equipment
Method
- Grease a 9×13-inch baking pan generously with cooking spray or butter, then set aside. Keep the pan ready so each layer can be pressed before the marshmallow sets.
- Melt 3 tbsp unsalted butter in a large saucepan over low heat. Stir until just melted and smooth, without letting it brown.
- Add 3 cups mini marshmallows and stir constantly over low heat until fully melted and smooth. Remove from heat as soon as the mixture looks glossy and uniform.
- Add several drops of Red gel food coloring to the melted marshmallow mixture and stir until deeply red. Stop when the color is even throughout.
- Fold in 3 cups Rice Krispies cereal until fully coated. Mix gently so the cereal stays intact.
- Press the red layer evenly into the bottom of the prepared pan using a greased spatula or buttered hands. Press firmly into an even, flat layer so it won’t slump.
- Let the red layer cool for 5 minutes. It should feel set enough to hold the next layer.
- Melt 3 tbsp unsalted butter in the saucepan over low heat. Stir until smooth and fully melted.
- Add 3 cups mini marshmallows and stir constantly over low heat until fully melted and smooth. Remove from heat once there are no lumps.
- Fold in 3 cups Rice Krispies cereal until fully coated. Mix just until the cereal is evenly covered.
- Press the white layer evenly over the red layer. Keep it level and press firmly so the layers fuse.
- Let the white layer cool for 5 minutes. This quick rest helps prevent color mixing.
- Melt 3 tbsp unsalted butter in the saucepan over low heat. Stir until the butter is completely melted.
- Add 3 cups mini marshmallows and stir constantly over low heat until fully melted and smooth. Pull the saucepan off the heat right away.
- Add several drops of Blue gel food coloring and stir until deeply blue. Keep mixing until the color is consistent.
- Fold in 3 cups Rice Krispies cereal until fully coated. Ensure there are no dry cereal pockets.
- Press the blue layer firmly and evenly over the white layer. Press with steady pressure to make clean, tight layers.
- If using, scatter star sprinkles over the top and press lightly to adhere. Add immediately after pressing so they stick.
- Let the pan sit at room temperature for at least 20–30 minutes until fully set and firm. The top should no longer feel sticky when touched lightly.
- Cut into squares or rectangles using a sharp greased knife. Wipe the blade between cuts for clean edges.
- Serve at room temperature. Store in an airtight container at room temperature for up to 3 days.
