
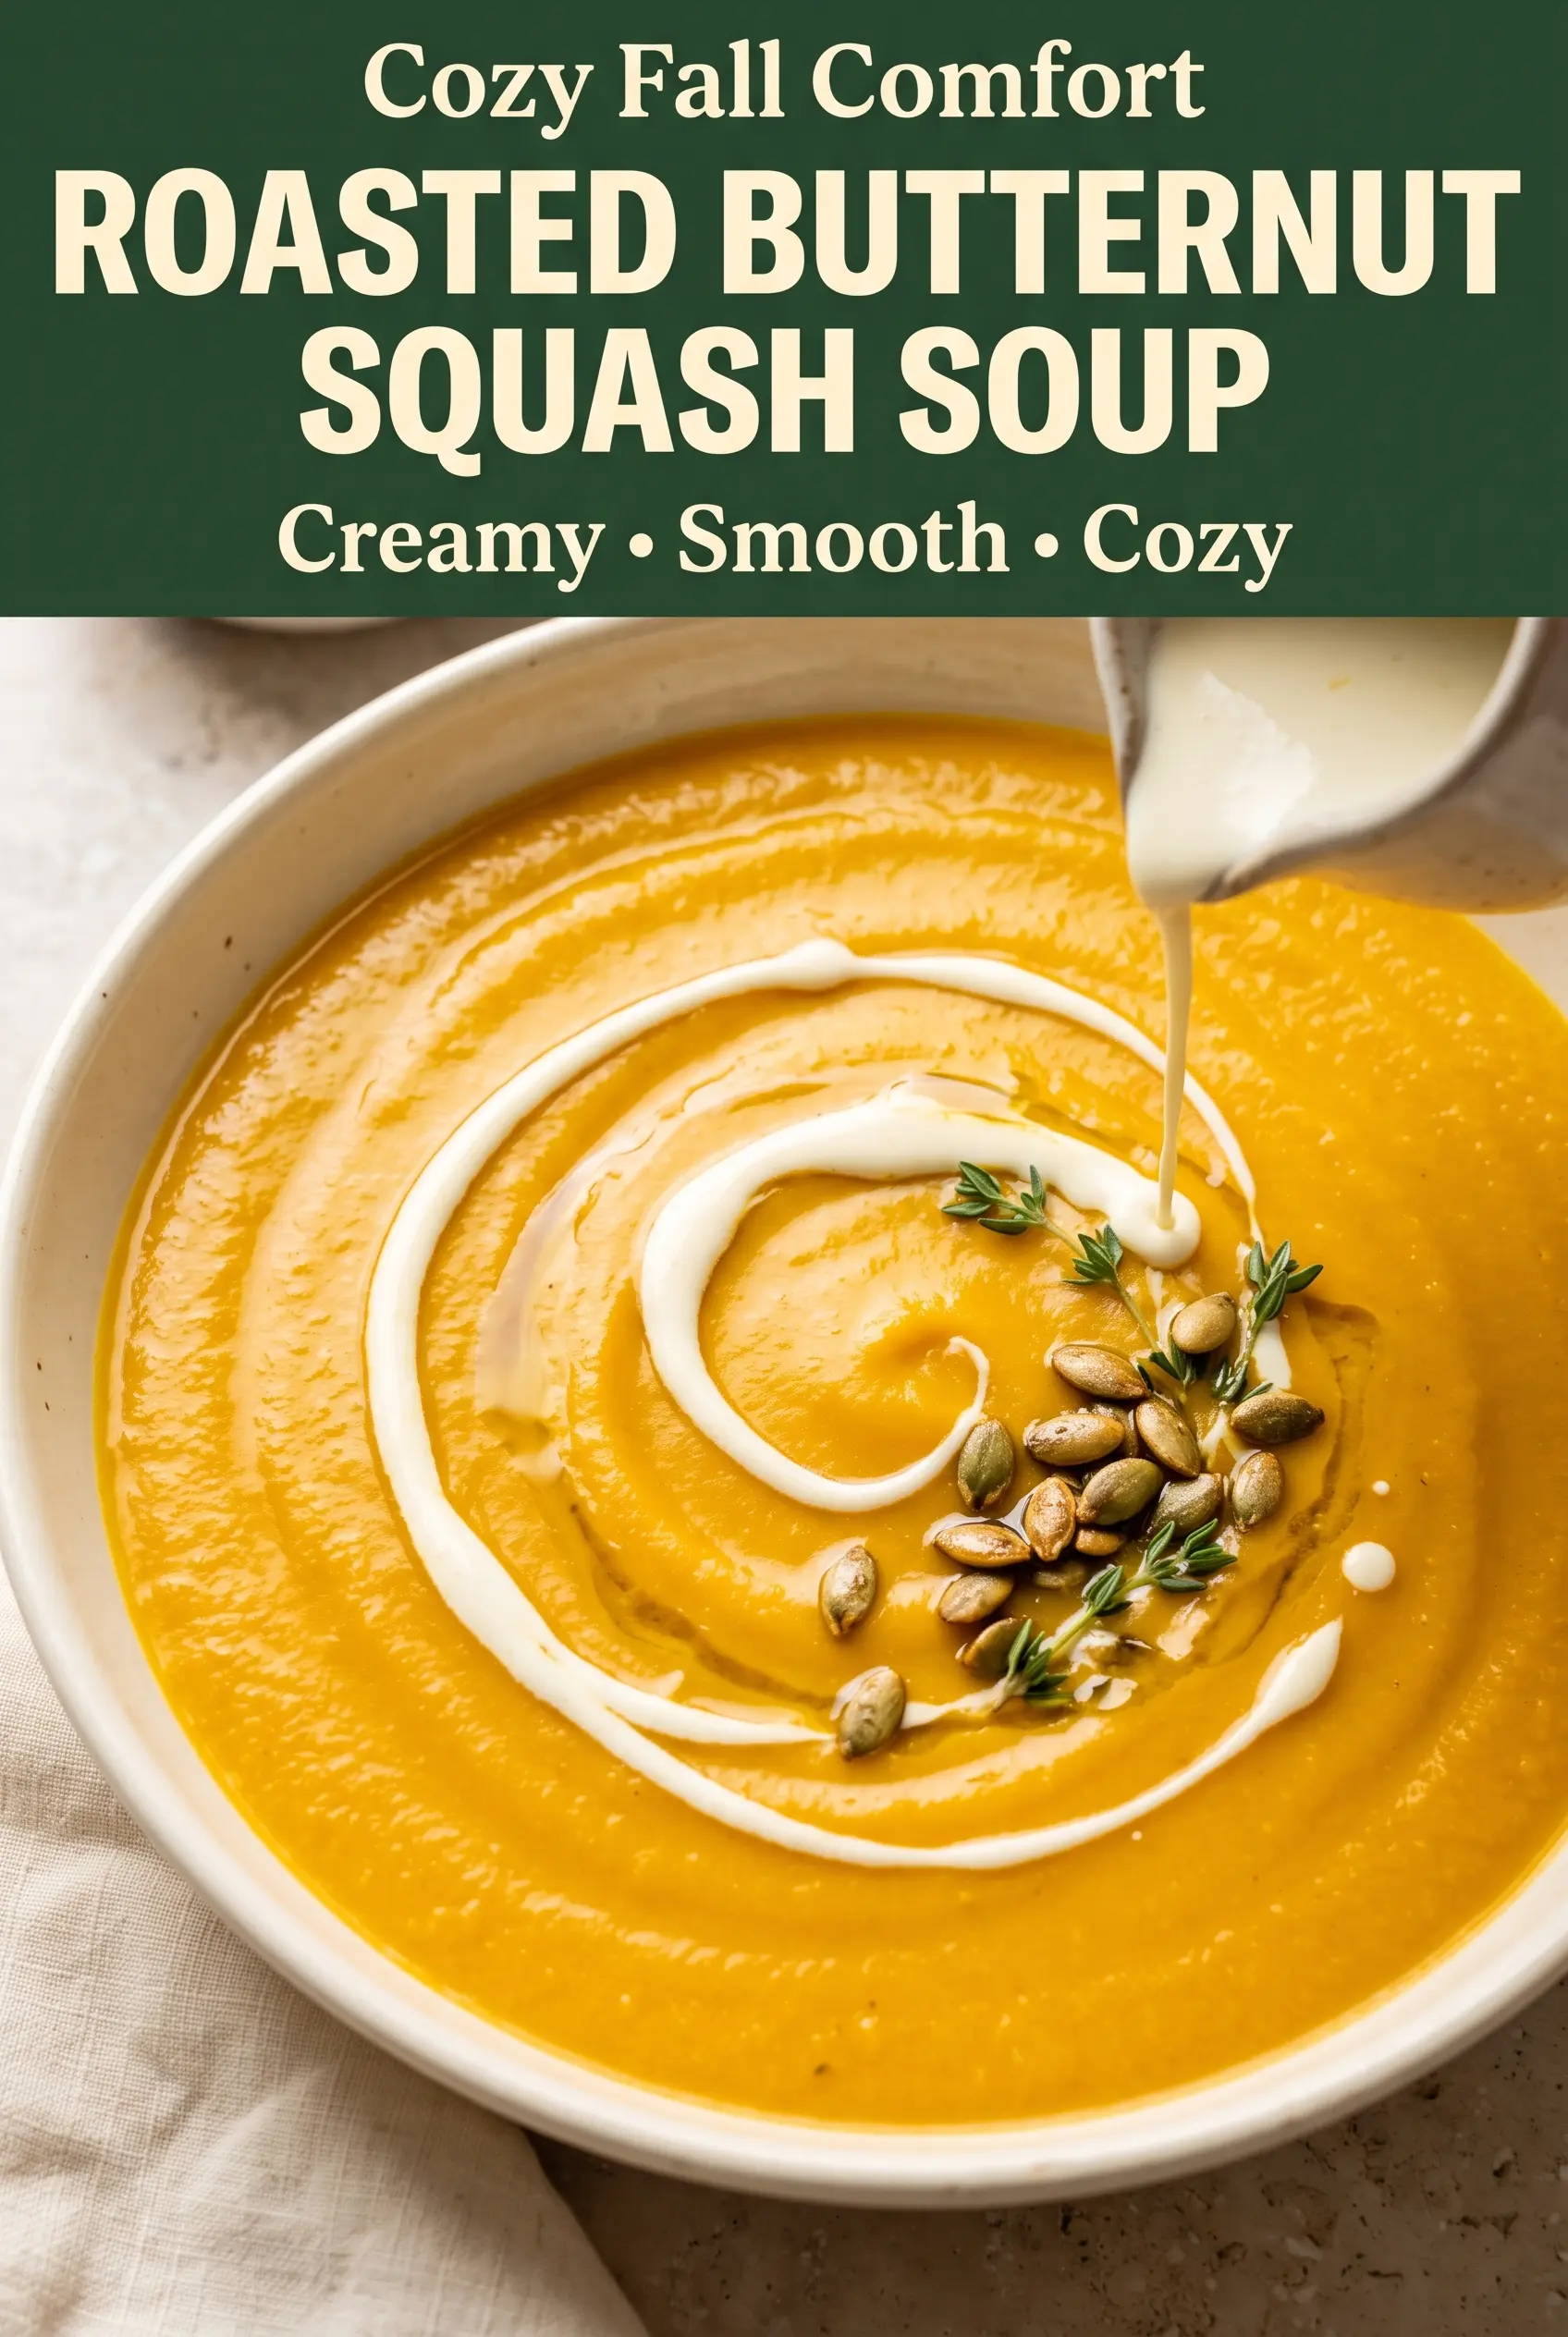
Roasted butternut squash soup earns its place on the table because it tastes like the squash had time to become itself first. The roasting step turns the edges deep gold and pulls out a nutty sweetness that plain simmered squash never quite gets. Once you blend it, the result is smooth and plush, with enough body to coat a spoon without feeling heavy.
The small details matter here. A little cinnamon, nutmeg, and ginger don’t make this taste like dessert; they round out the squash and give the soup warmth. Maple syrup adds a quiet finish that boosts the natural sweetness without taking over, and a final spoonful of cream and butter gives the puree that velvety texture people usually chase with far more fuss.
Below you’ll find the roasting cue that matters most, the ingredient choices that actually affect flavor, and the fixes for a soup that ends up too thick, too sweet, or not quite silky enough.
The roasting gave the squash such a deep flavor, and the soup blended up silky smooth without needing anything fancy. I loved that the cream and maple at the end balanced it without making it too sweet.
Save this roasted butternut squash soup for the nights when you want a silky, deeply flavored bowl with almost no cleanup.
The Roasting Step Is What Keeps This Soup From Tasting Flat
Butternut squash soup can turn dull fast if every ingredient is cooked only in liquid. Roasting changes that. The dry heat caramelizes the cut surfaces, so the soup gets a deeper, almost toasted sweetness instead of a one-note puree. That matters even more here because the broth, spices, and cream are all gentle flavors; the squash has to carry the bowl.
The other mistake people make is rushing past the onion stage. Softened onion builds sweetness and body before the broth goes in, while the garlic and spices need just enough heat to wake them up without burning. If the garlic turns brown, the soup takes on a harsh edge that no amount of cream can hide.
- Roast the squash in a single layer — crowded pieces steam, and steamed squash tastes muted. Give the cubes room so the edges can brown.
- Wait for real color — tender is not enough. You want golden-brown spots and slightly caramelized corners.
- Cook the spices briefly — 30 seconds in the pot is enough to bloom them. Any longer and they can taste bitter.
What Each Ingredient Is Actually Doing in This Bowl
- Butternut squash — This is the base flavor and the texture. A fresh squash with firm flesh gives the best body; pre-cut squash works fine if that’s what you’ll actually use, but the pieces should still look dry and brightly colored, not wet or stringy.
- Vegetable broth — Use a broth you would drink on its own. If it’s thin and salty in a harsh way, the finished soup will taste thin and salty. Chicken broth also works if you’re not keeping it vegetarian.
- Heavy cream — This is what gives the soup that lush finish. Coconut cream can stand in for a dairy-free version, but it brings a faint coconut note and a softer richness.
- Maple syrup — A small amount smooths out the edges and amplifies the squash. Honey works, but it tastes a little sharper and less round.
- Butter — It adds gloss and a fuller mouthfeel at the end. If you skip it, the soup is still good, just a touch less silky.
- Spices — Cinnamon, nutmeg, and ginger should support the squash, not bury it. Freshly grated nutmeg makes a noticeable difference if you have it.
Building the Soup So It Blends Silky, Not Gritty
Getting the Squash Properly Roasted
Heat the oven to 425°F and roast the squash until the edges look browned and the centers collapse easily when pressed. That color is not cosmetic; it is where the flavor lives. If the cubes are pale and just tender, the soup will taste thinner and more vegetal. Use parchment so the squash releases cleanly and the browned bits stay on the pan instead of sticking and burning.
Softening the Onion Without Browning It Too Hard
Cook the onion over medium heat until it turns translucent and sweet-smelling, not dark and sticky. You want it soft enough to melt into the soup later. If the pan runs hot and the onion starts to brown quickly, lower the heat; burnt onion will make the soup taste muddy. Stir in the garlic only for the last 30 seconds so it stays fragrant.
Blending to the Right Texture
Add the roasted squash and broth, simmer briefly, then blend until completely smooth. An immersion blender makes the job easy, but move it around the pot and get under the surface so no soft chunks hide at the bottom. If the soup seems too thick, loosen it with a splash of broth after blending. If it looks a little grainy, keep blending; squash needs a full puree to turn velvety.
Finishing With Cream and Butter
Stir in the cream, maple syrup, and butter after blending and keep the heat low. Boiling at this stage can make the dairy taste flat and can give the soup a heavy, cooked edge. Warm it just until the butter disappears and the soup looks glossy. Taste at the end and adjust the salt before serving, since the broth and cream can soften seasoning.
How to Adapt This for a Different Diet or a Different Dinner
Dairy-Free Version That Still Tastes Rich
Swap the heavy cream for full-fat coconut milk or coconut cream and use olive oil instead of butter. The soup stays smooth and satisfying, though the coconut brings a faint sweetness that works well with the squash. If you want the flavor to stay more neutral, use an unsweetened oat cream instead.
Make It Vegetarian-Friendly Without Losing Depth
This recipe already leans vegetarian with vegetable broth, but the broth matters. Pick one with a real savory backbone, not just salt and water, or the soup can taste watery. If your broth is mild, let the finished soup simmer uncovered for a few extra minutes before adding the cream so the flavor concentrates.
Make It Thicker or Lighter
For a thicker soup, use a little less broth at the blending stage and simmer uncovered for a few minutes. For a lighter version, add extra broth a splash at a time until the texture feels right. The soup should pour slowly off a spoon, not sit like mashed vegetables.
Storage and Reheating
- Refrigerator: Store for up to 4 days. The soup may thicken as it chills, which is normal.
- Freezer: It freezes well for up to 3 months, though the texture can turn slightly softer after thawing. Leave a little space in the container for expansion.
- Reheating: Warm it gently on the stove over low to medium-low heat, stirring often. High heat can make the dairy separate and can scorch the thicker puree on the bottom of the pot.
Answers to the Questions Worth Asking
Roasted Butternut Squash Soup
Ingredients
Equipment
Method
- Preheat the oven to 425°F and line a large baking sheet with parchment paper.
- Toss the butternut squash with 1 tablespoon olive oil, ½ teaspoon salt, and black pepper until evenly coated.
- Spread the squash in a single layer and roast for 30–35 minutes, turning once, until tender with caramelized golden-brown edges.
- Heat the remaining olive oil in a large pot over medium heat.
- Add the onion and cook for 5–6 minutes until softened.
- Add the garlic and cook for 30 seconds.
- Stir in the cinnamon, nutmeg, and ginger for 30 seconds, just until fragrant.
- Add the roasted butternut squash and vegetable broth, then bring to a gentle simmer.
- Cook at a gentle simmer for 10 minutes.
- Blend with an immersion blender until completely smooth and velvety.
- Stir in the heavy cream, maple syrup, butter, and remaining salt.
- Warm gently for 2–3 minutes without boiling, until creamy and hot.
- Adjust the consistency with a little additional broth if desired.
- Ladle the soup into bowls and top with a cream swirl.
- Finish each bowl with pumpkin seeds and optional fresh thyme leaves.
