
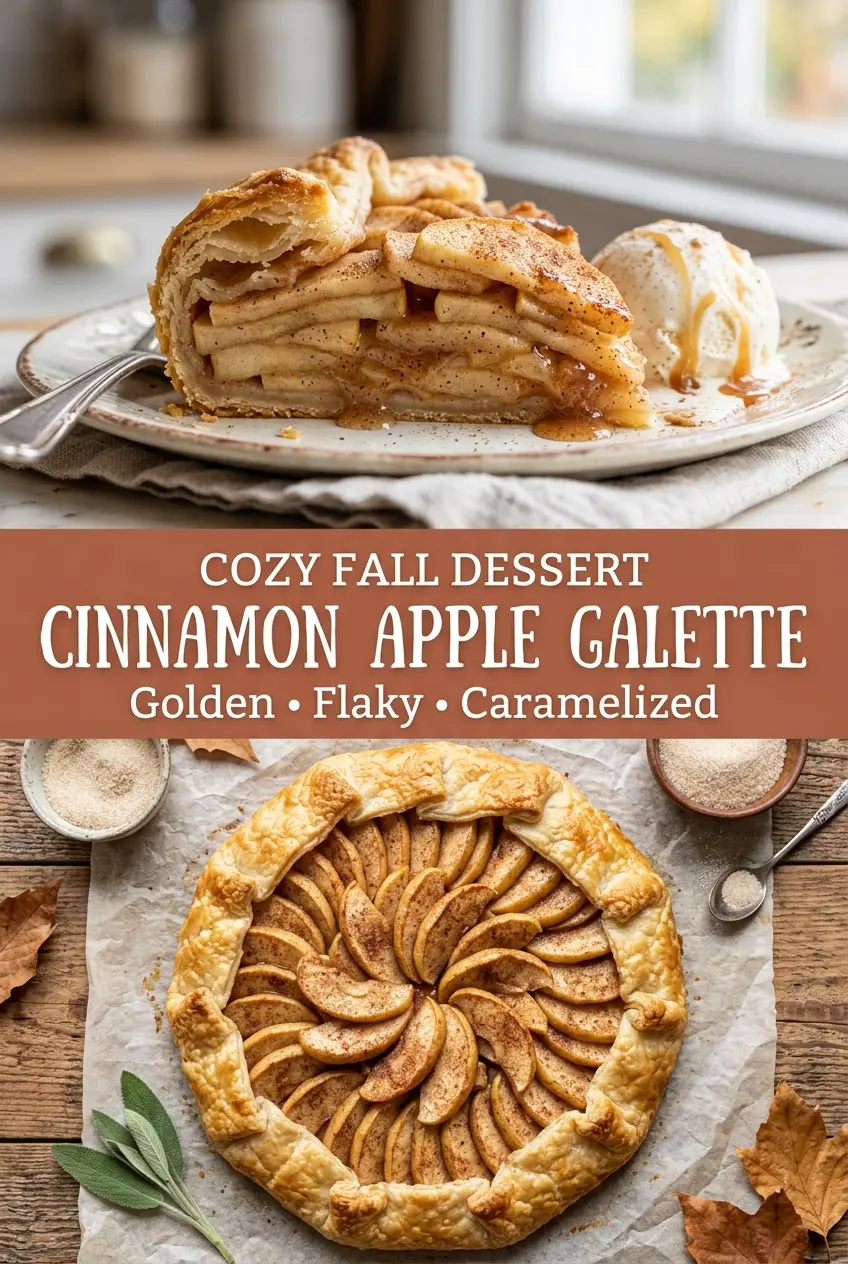
Buttery, flaky crust and tender sliced apples are a hard combination to beat, and a rustic galette delivers both without the fuss of a pie pan or a full top crust. The edges bake up crisp and golden while the apples on top soften into a glossy, cinnamon-scented layer that still has shape when you slice it. It feels relaxed on purpose, but the result tastes like you spent all afternoon at the counter.
What makes this version work is the balance: the apples are sliced thin enough to cook through, but not so thin that they collapse into sauce. Brown sugar brings a deeper caramel note than plain white sugar, and a little flour in the filling keeps the juices from flooding the crust. The lemon juice sharpens the sweetness and keeps the apples tasting bright instead of flat.
The details below walk through the part that matters most: keeping the dough cold, arranging the apples so they bake evenly, and folding the crust without tearing it. There’s also a note on which apples hold their shape best, because that choice changes the whole galette.
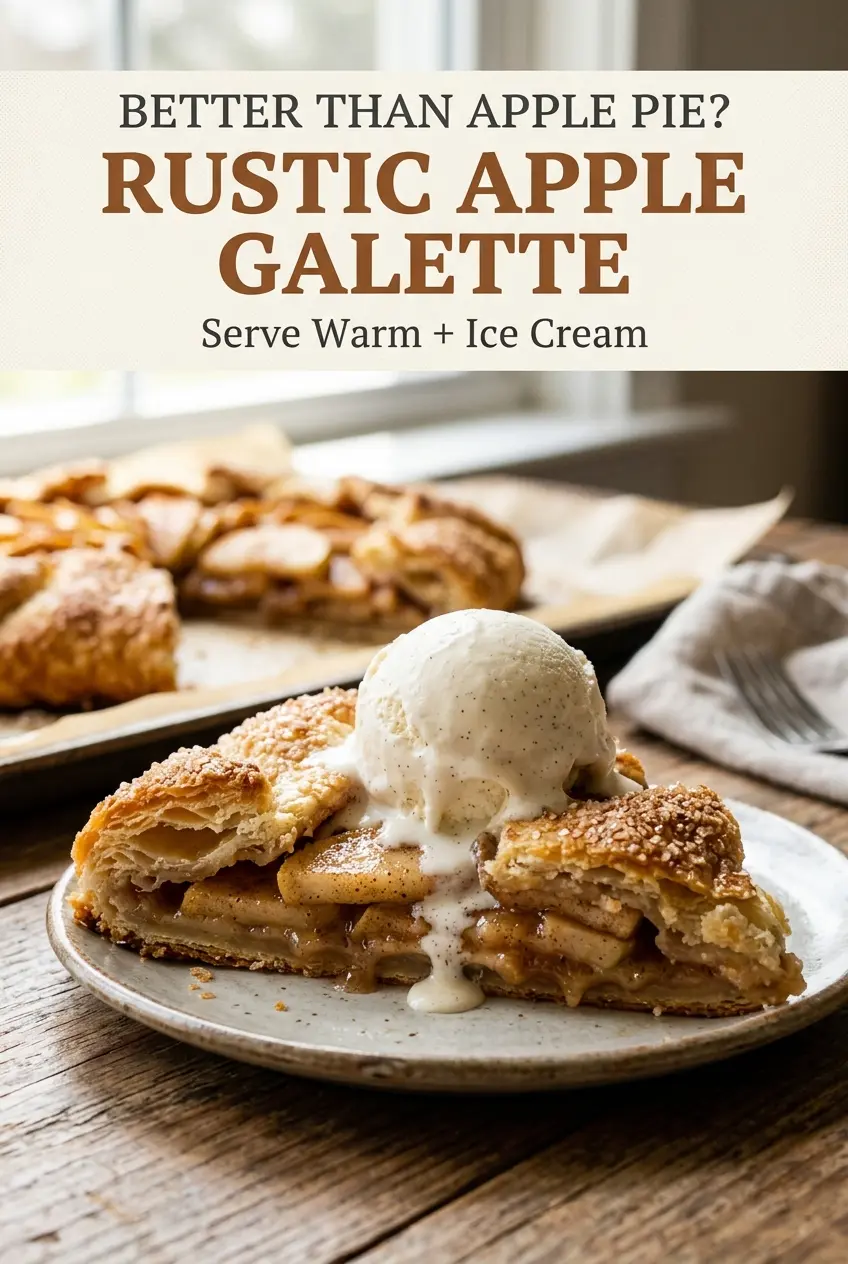
The crust stayed crisp underneath and the apples baked into that soft, jammy layer without leaking all over the pan. I used Honeycrisp and the filling still held its shape after cooling.
Love the flaky crust and cinnamon-spiced apples in this rustic galette? Save it to Pinterest for the next time you want an easier apple dessert with all the cozy pie flavor.
The Reason Galettes Stay Crisp When Pies Go Soggy
The biggest mistake with apple galettes is treating them like a shallow pie. The filling sits exposed, which means the moisture evaporates instead of getting trapped under a lid of pastry. That’s good news for texture, but only if the apples are sliced evenly and the crust stays cold long enough to set before the fruit starts releasing juice.
The other thing that matters is the border. A wide enough edge gives you room to fold and seal the juices inside the pastry walls instead of letting them run straight onto the pan. If your galette has ever come out with a pale bottom and burnt syrup on the parchment, that usually means the fruit was piled too thick in the center or the crust warmed up before baking.
- Thin apple slices — They cook fast and lie flat, which keeps the galette neat. Thick wedges stay firm in the middle while the crust browns too much.
- A little flour in the filling — It catches the juices as the apples bake. Skip it and you’ll get a loose puddle instead of a glossy filling that slices cleanly.
- Cold butter in the dough — Those solid butter pieces melt in the oven and create the flakes. Soft butter gives you a tougher crust with less lift.
What Each Ingredient Is Actually Doing in This Galette
- All-purpose flour — This goes both in the dough and the filling. In the crust, it gives structure without making the pastry tough. In the apples, just a tablespoon helps the juices thicken as they bake.
- Cold unsalted butter — Use the real thing here. Butter carries flavor and creates those flaky layers when it melts in the oven. If you swap in margarine, you lose that clean, rich finish and the crust tends to bake up flatter.
- Brown sugar — Packed light brown sugar brings molasses depth that plain sugar can’t match. It melts into the apples and helps create the caramel-like syrup around the slices.
- Apples — Choose apples that hold their shape, such as Honeycrisp, Braeburn, or Granny Smith. Softer apples can work, but the filling will turn saucier and won’t keep the same layered look after baking.
- Lemon juice and vanilla — The lemon keeps the filling bright and keeps the sweetness in check. Vanilla rounds it out so the galette tastes like a finished dessert, not just baked fruit.
Building the Galette So the Crust Bakes Before the Apples Flood It
Mix the dough just until it holds
Start with the flour, sugar, and salt, then cut in the butter until you still see pea-size pieces. Those pieces are what turn into flakes later. Add the ice water a spoonful at a time and stop as soon as the dough comes together when pinched. If it feels sticky or soft now, it will spread instead of puffing in the oven.
Chill before rolling
Wrap the dough and chill it until it feels firm again, not slack. This rest gives the flour time to hydrate and keeps the butter cold. Roll too soon and the dough springs back or tears; roll it when it’s cold and it behaves.
Layer the apples in a single, tidy mound
Toss the sliced apples with the sugar, flour, cinnamon, nutmeg, lemon juice, and vanilla, then arrange them in overlapping circles on the dough. Don’t dump the whole bowl in one pile unless you want a heavy center and loose edges. Leave a clear border all the way around so the dough has room to fold naturally.
Fold and bake until the juices bubble
Lift the exposed dough over the outer apples, pleating as needed. Brush the crust with egg wash and sprinkle on coarse sugar for a crisp, sparkling finish. Bake until the crust is deeply golden and the apple juices are actively bubbling in the center; if the crust is pale, the bottom won’t have enough color or crunch.
Three Ways to Make This Galette Fit What You’ve Got
Make it dairy-free
Swap the butter in the crust and the filling for a plant-based butter that stays solid when cold. The texture will still be flaky if the substitute is firm and not whipped. Expect a slightly different flavor, but the apples and cinnamon still carry the dessert.
Use a gluten-free crust
A 1:1 gluten-free baking flour blend can replace the all-purpose flour in the dough. Roll it between sheets of parchment because gluten-free dough often cracks if you try to move it bare-handed. The galette will still bake up crisp, though the pastry will be a little more delicate at the edges.
Change the fruit without changing the method
Pears work well if they’re firm, and a mix of apples and pears gives a softer, more fragrant filling. Stone fruit can also work, but it releases more juice, so the flour in the filling matters even more. Keep the slices even and the fruit in a single layer so the crust still bakes through.
Storage and Reheating
- Refrigerator: Store covered for up to 3 days. The crust softens a little, but the flavor stays excellent.
- Freezer: Freeze baked slices tightly wrapped for up to 2 months. The crust loses some of its snap, so this is best for convenience, not peak texture.
- Reheating: Warm slices in a 325°F oven for 10 to 15 minutes. The oven brings the crust back to life; the microwave makes it limp and steamy.
Questions I Get Asked About This Recipe
Rustic Apple Galette with Cinnamon Brown Sugar
Ingredients
Equipment
Method
- Whisk all-purpose flour, granulated sugar, and kosher salt together until evenly combined.
- Cut in the cold unsalted butter until the mixture contains pea-size pieces.
- Add 3 tablespoons ice water and gently mix; add the remaining 1 tablespoon only if needed so the dough just holds together.
- Shape the dough into a disk, wrap it, and refrigerate for 30–45 minutes to chill.
- Preheat the oven to 400°F (205°C).
- Core the apples and slice them about 1/8 inch thick for even cooking.
- Toss the apples with light brown sugar, all-purpose flour, ground cinnamon, ground nutmeg, fresh lemon juice, and vanilla extract until well coated.
- Roll the chilled dough on a lightly floured surface into an approximately 12-inch circle.
- Transfer the dough to a parchment-lined sheet pan and arrange the apples in overlapping concentric circles, leaving about a 2-inch border.
- Dot the apple filling with the remaining 1 tablespoon butter cut into small pieces to help caramelize.
- Fold the exposed dough over the outer apples, pleating naturally as you work around the galette.
- Whisk the egg with 1 teaspoon water until smooth, then brush it over the crust.
- Sprinkle the crust with coarse sugar so it bakes into a crisp finish.
- Bake at 400°F (205°C) for 35–40 minutes, until the crust is deeply golden and the apples are tender with bubbling, caramelized juices.
- Cool for at least 15 minutes before slicing so the filling sets and slices cleanly.
- Serve warm or at room temperature, with optional vanilla ice cream or caramel sauce if desired.
