
Baked Buffalo Wings hit the table with what people want most from wings: shattering-crisp skin, juicy meat, and a sticky, tangy coating that clings instead of sliding off. The oven does the heavy lifting here, and when the wings are dried properly and given space on a rack, the skin turns deep golden without the mess of deep frying.
The small amount of baking powder is the trick that changes everything. It nudges the skin toward blistered and crisp by raising the surface pH, while the salt and spices season the meat before the sauce ever goes on. The buffalo sauce stays balanced too, with butter softening the heat and a little honey rounding out the sharp edge so the wings taste bold instead of harsh.
Below, I’ve laid out the timing that matters, the ingredient swaps that still work, and the common wing mistake that keeps people from getting that crisp finish at home.
The skin came out crisp in the oven and the sauce clung perfectly instead of pooling on the plate. I used the rack like you said, and the wings were still crunchy after everyone ate dinner.
Save these oven-baked Buffalo Wings for game day crunch and saucy, no-fry heat.
The Crisp Skin Comes From Dry Wings, Not More Oil
Wings fail in the oven for one main reason: they steam before they brown. If the skin is damp or the wings are crowded, moisture has nowhere to go, and you end up with soft, pale skin instead of that crisp shell people expect from wings. The rack matters because it lets hot air move around every piece, which means the bottoms crisp instead of turning soggy against the pan.
Baking powder helps because it dries the surface and encourages browning. Use aluminum-free if you can, because older baking powders can leave a metallic note. The other thing people miss is patience at the end of baking. Pulling wings too early gives you rubbery skin, while a few extra minutes can turn them from good to the kind you pick up with your fingers and hear crackle.
What Each Ingredient Is Actually Doing in This Dish
- Chicken wings — Flats and drumettes both work here, but they need to be split so the heat reaches the skin evenly. Fresh wings or fully thawed frozen wings crisp better than wings that still hold extra moisture from partial thawing.
- Aluminum-free baking powder — This is the crisping tool, not a flavoring ingredient. It helps the skin brown and tighten in the oven, and there isn’t a true substitute if you want the same texture.
- Buffalo-style hot sauce — Use a sauce you like straight from the bottle, since it becomes the backbone of the coating. Frank’s-style sauces give you that classic sharp heat and thin texture that clings well when mixed with butter.
- Butter — Butter gives the sauce body and helps it coat the wings instead of sliding off. Salted butter works in a pinch, but unsalted gives you more control because the hot sauce already brings plenty of salt.
- Honey — This softens the heat just enough to keep the sauce balanced. It also adds a slight shine and helps the coating cling a little better. Leave it out if you want a sharper, more traditional wing sauce.
- Ranch or blue cheese dressing — You need something cool and creamy against the heat. Blue cheese is the classic move if you like a punchier contrast; ranch works better for people who want the sauce to stay front and center.
The 45 Minutes That Matter Most for Crisp Baked Wings
Drying and seasoning the wings
Pat the wings dry until the paper towels stop picking up moisture. That step matters more than the spice mix, because wet skin blocks browning and gives the oven steam to work with. Tossing the wings with baking powder and seasoning at this point coats the skin evenly and starts the crisping process before the wings even go in the oven.
Baking on the rack
Set the wings in a single layer with space between each piece. If they touch, the sides in contact with each other stay soft. Bake until the first side is deeply golden, then flip them so both sides can dry and brown. If your oven runs cool, give them the full time and watch for the skin to look taut and blistered rather than merely tan.
Finishing with the buffalo sauce
Whisk the sauce while the wings finish so it’s ready the moment they come out. Toss the wings while they’re hot because the heat helps the sauce coat in a thin, even layer. If the sauce looks separated, the butter was too hot when it went in; whisk again and let it sit for a minute, and it usually comes back together.
How to Adapt These Wings for Different Heat Levels and Diets
Milder wings with the same tang
Cut the hot sauce with a little more butter and keep the honey in. You’ll lose some of the sharp burn, but the sauce will stay silky and clingy, which matters more than brute heat for a balanced wing.
Extra-spicy Buffalo wings
Add a pinch of cayenne or a splash of a hotter sauce to the buffalo mix. Keep the butter amount the same so the sauce still coats well; if you reduce the fat, the heat gets harsher and the sauce feels thin.
Dairy-free version
Swap the butter for a neutral vegan butter or olive oil. Olive oil gives you less richness but still carries the sauce, while vegan butter keeps the flavor closer to the original. The wings themselves stay just as crisp as long as the baking powder step stays in place.
What to do if you don’t have a wire rack
Set the wings directly on parchment-lined foil and flip them a little more often. They won’t crisp quite as evenly underneath, but they’ll still brown well if you keep space between them and don’t let them sit in rendered fat.
Storage and Reheating
- Refrigerator: Store leftover wings in an airtight container for up to 4 days. The skin softens as it sits, so expect less crackle than when they’re fresh.
- Freezer: Freeze the baked, unsauced wings for up to 2 months. Sauced wings freeze poorly because the coating turns greasy and watery when thawed.
- Reheating: Reheat on a wire rack in a 400°F oven or air fryer until the skin crisps again and the center is hot. The usual mistake is microwaving, which turns the skin rubbery and wipes out the texture you worked for.
Questions I Get Asked About This Recipe
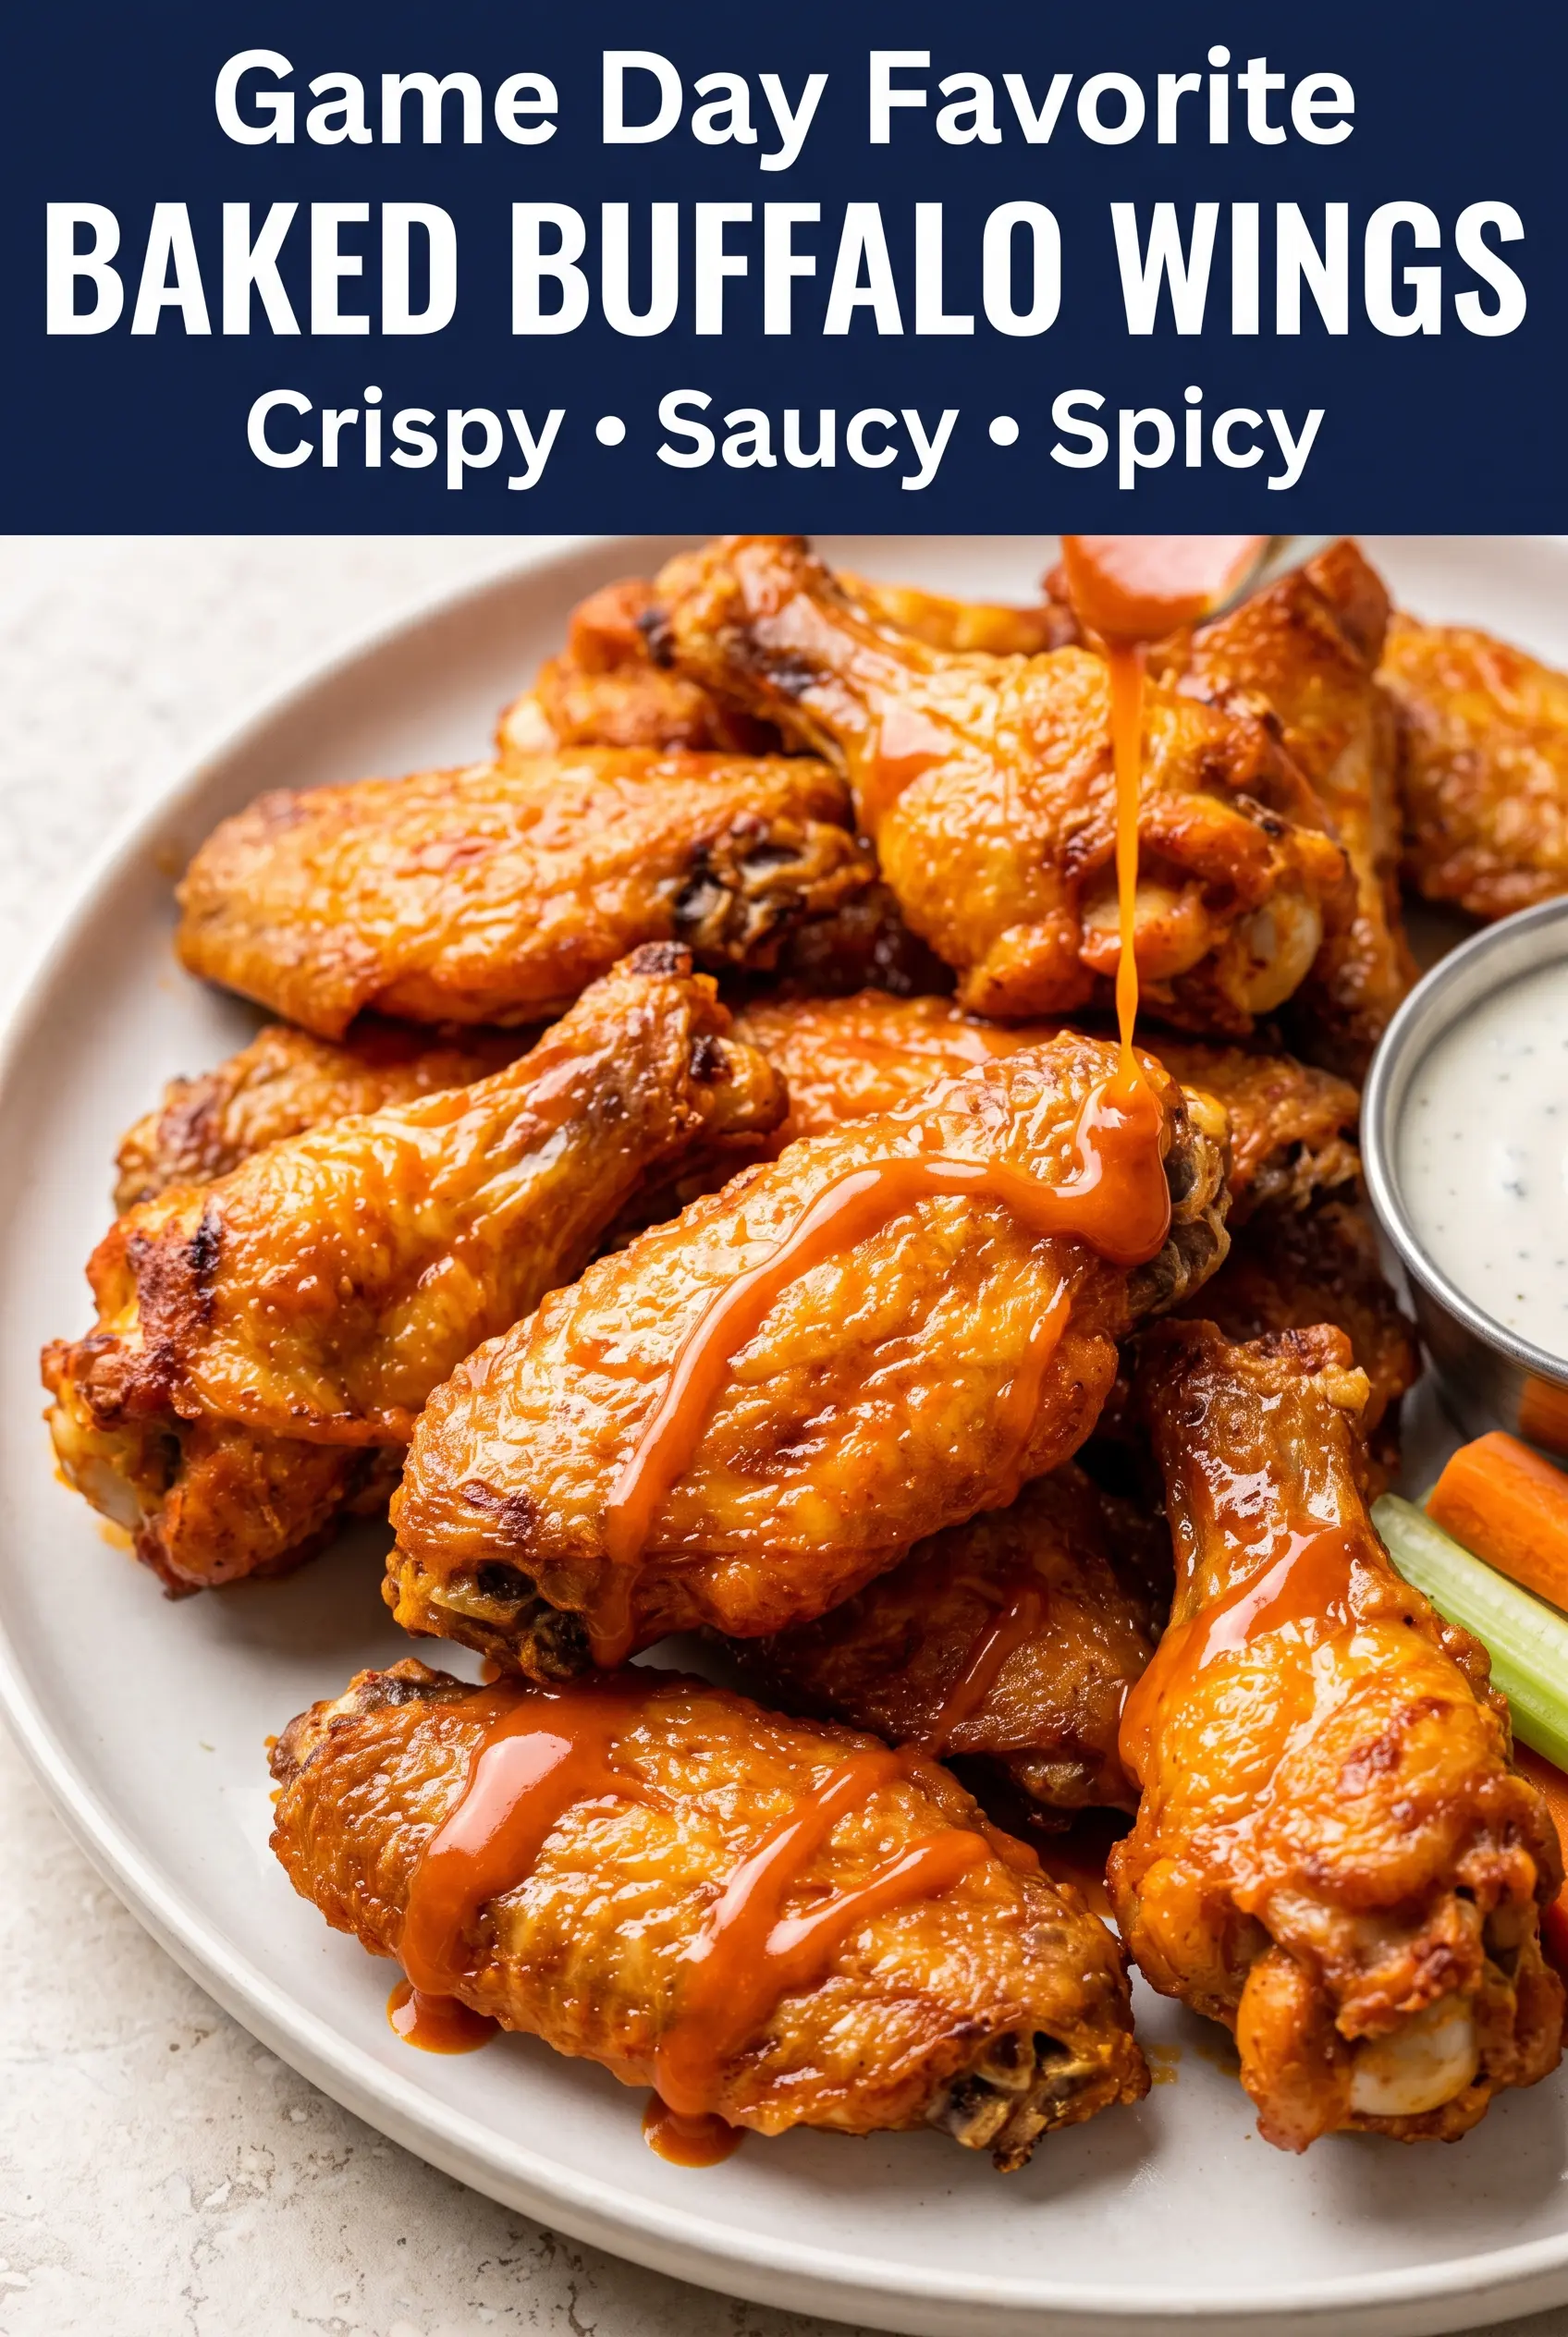
Baked Buffalo Wings
Ingredients
Equipment
Method
- Preheat the oven to 425°F. Line a large baking sheet with foil and place a wire rack on top.
- Pat the chicken wings thoroughly dry with paper towels. Removing surface moisture helps the skin become crisp.
- Combine the baking powder, salt, garlic powder, smoked paprika, and black pepper. Mix until evenly distributed.
- Toss the wings with the seasoning mixture until evenly coated. Ensure every wing surface is lightly but fully covered.
- Arrange the wings in a single layer on the wire rack. Leave space between them for airflow so the skin browns.
- Bake for 25 minutes at 425°F. Look for lightly golden edges and a dry, tightening surface.
- Flip each wing and continue baking for 20–25 minutes at 425°F. Cook until golden, crisp, and cooked to at least 165°F internally, with no pink near the bone.
- Whisk the hot sauce, melted butter, honey, and garlic powder until smooth. Stir until the mixture is glossy and fully combined.
- Toss the hot baked wings immediately with the buffalo sauce until generously coated. Coat while the wings are hot so the sauce clings.
- Arrange on a serving platter and sprinkle lightly with sliced green onions. Add them after saucing for fresh color.
- Serve immediately with ranch or blue cheese dressing, celery sticks, and carrot sticks. Keep the dippers on the side for the crispiest wings.
