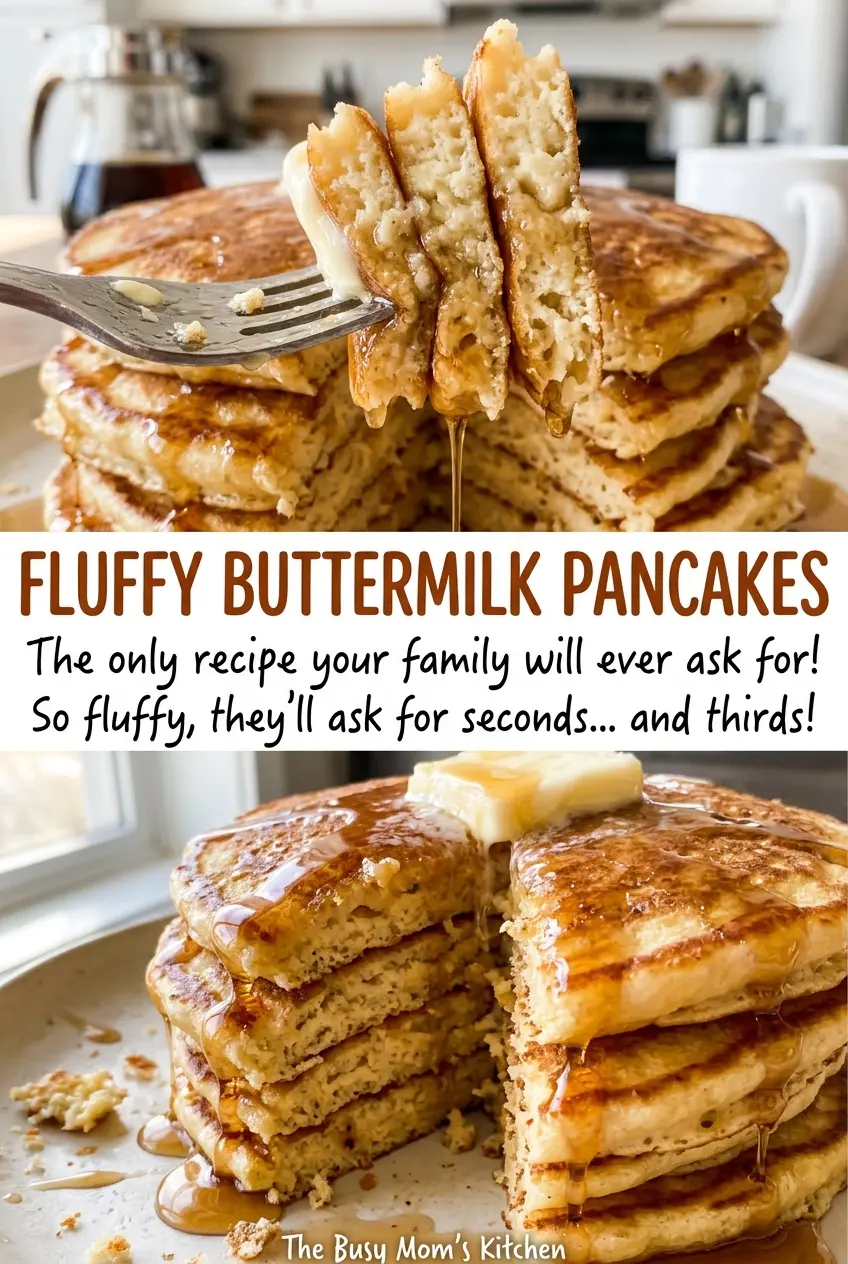
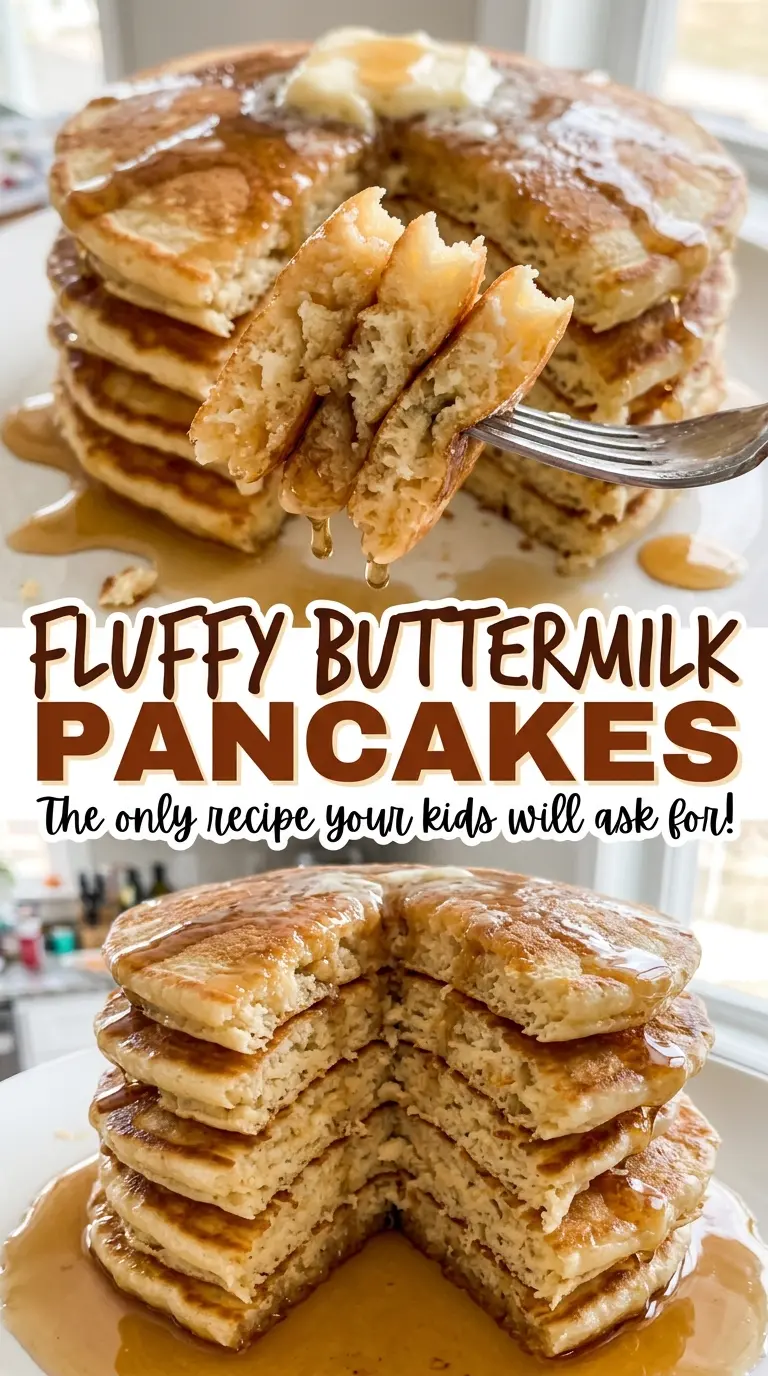
The first pancake is the one I watch most closely. When bubbles rise across the top and the edges lose their wet shine, it’s ready to flip; underneath, it should be golden rather than dark. That small window is what keeps these fluffy buttermilk pancakes tender instead of dry or doughy in the middle.
I keep the batter a little lumpy and let it sit for five minutes before it reaches the skillet. Buttermilk gives the pancakes their gentle tang, while the two leaveners help create a soft, airy crumb. A lightly oiled nonstick skillet keeps the edges from sticking without leaving the pancakes greasy. Serve them while the centers are warm and the tops are still soft.
Kitchen Note
Once the batter has rested, leave it alone rather than stirring it smooth. Those small lumps are normal, and another round of mixing can make the pancakes tougher.
Save these fluffy buttermilk pancakes for a weekend breakfast when you want tender centers, golden edges, and a quick skillet batch.
Why Buttermilk Pancakes Need Both Baking Powder and Baking Soda
Buttermilk isn’t only there to make the batter tangy. Its acidity reacts with baking soda, which helps the batter rise and contributes to the pancakes’ golden color. Baking powder brings its own leavening action, so the two work together rather than serving as interchangeable versions of the same ingredient.
That balance also explains why plain milk isn’t a simple one-for-one replacement. Milk doesn’t have the same acidity, so the baking soda won’t behave the same way and the finished pancakes can lose some of their lift. Keep the dry ingredients well whisked before the wet mixture goes in; an even distribution means you won’t get a bite with a concentrated patch of baking soda or salt.
The other part of the equation is restraint. Mixing until the batter is perfectly smooth may seem like the way to avoid lumps, but it works the flour more than this batter needs. Stop as soon as you can’t see dry flour, then give the leaveners and flour a short rest before cooking. The result should be thick, softly mounded batter, not a thin, glossy pour.
What the Buttermilk, Butter, and Flour Each Bring to the Batter
- All-purpose flour — It gives the pancakes enough structure to hold their rise without making them bready. Measure it without packing it into the cup; too much flour makes a stiff batter and heavier pancakes. Standard all-purpose flour is the right choice here, so there’s no need for a specialty brand.
- Buttermilk — Use cultured buttermilk for its tang and thickness. Those qualities help define the batter, and plain milk alone won’t produce the same result. Keep it cold until you’re ready to whisk the wet ingredients together.
- Baking powder and baking soda — Fresh leaveners matter more than a premium brand. If a container has been open for a long time, replace it; old leaveners can leave pancakes flat even when the batter is mixed gently. Whisk them thoroughly through the flour so each pancake gets an even share.
- Eggs — Large eggs bind the batter and help the cooked pancakes hold their shape. Use the size specified rather than swapping in extra-small or jumbo eggs, which change the balance of wet ingredients.
- Unsalted butter — Melt it, then let it cool before whisking it into the buttermilk and eggs. Cooling prevents the warm butter from changing the texture of the mixture. Regular grocery-store butter works well; its flavor carries through in the tender crumb.
- Neutral oil — Canola oil is a practical choice for lightly coating the skillet because its flavor doesn’t compete with the pancakes. Any neutral oil that suits the recipe works; you don’t need a specialty cooking oil.
- Granulated sugar — It adds a modest sweetness and helps the surfaces brown. Ordinary granulated sugar is all you need; save a different sugar for a deliberate flavor variation.
Mixing and Cooking the Batter Without Losing Its Lift
Whisk the dry and wet mixtures separately
In a large bowl, whisk the flour, sugar, baking powder, baking soda, and kosher salt until the dry ingredients look evenly combined. In a medium bowl, whisk the buttermilk and eggs, then whisk in the melted, cooled butter. Keeping the mixtures separate at first makes it easier to distribute the leaveners and combine the batter with just a few strokes. If you see little clumps of butter in the wet mixture, whisk until it’s incorporated before pouring it into the flour.
Stir only until the flour disappears
Pour the buttermilk mixture into the dry ingredients and stir just until no dry flour remains. The batter should still have small lumps; don’t chase a smooth surface. Let it rest for five minutes before cooking. It will look thick, and that’s better than thinning it out to make it pour like crepe batter.
Warm the skillet and coat it lightly
Set a 12-inch nonstick skillet over medium heat, then lightly coat the surface with some of the neutral oil. Give the pan time to warm evenly rather than turning the burner high to rush it. A skillet that’s too hot can brown the underside before the center cooks, while a cool pan tends to leave the first pancake pale. Keep the heat at medium and adjust it slightly if the pancakes color too quickly.
Wait for set edges before flipping
Pour 1/3 cup of batter for each pancake, leaving space between them so you can get a spatula underneath. Cook for 2 to 3 minutes, watching for bubbles to form on top and the edges to look set; a wet, shiny edge means it needs more time. Flip once and cook the other side for 1 to 2 minutes, until it’s golden underneath and the pancake is cooked through. Repeat with the remaining batter, lightly oiling the skillet again as needed.
Three Ingredient Swaps That Change These Pancakes
Use a cup-for-cup gluten-free flour blend
Replace the all-purpose flour with a gluten-free blend made for one-for-one baking. Choose a blend that includes a binder, since the pancakes need enough structure to flip cleanly. The texture may be a little less tender than the wheat-flour version, but the buttermilk keeps the batter moist.
Make the batter dairy-free
Use an unsweetened, acidified dairy-free buttermilk beverage in place of the cultured buttermilk, and use plant-based butter instead of dairy butter. Keep the eggs and other ingredients unchanged. The pancakes will still cook up soft, though the butter flavor will be less pronounced; plain plant milk by itself isn’t a good substitute for the buttermilk.
Swap in brown sugar for a warmer sweetness
Use light brown sugar in place of the granulated sugar, keeping the amount the same. Its molasses notes give the pancakes a deeper sweetness and a slightly darker surface. Break up any hard sugar lumps before whisking it with the flour so they don’t remain in the finished batter.
Storage and Reheating
- Refrigerator: Store cooked pancakes in a covered container for 3 to 4 days. They’ll soften as they sit, so the edges won’t stay freshly griddled.
- Freezer: Cool the pancakes completely, separate them with parchment, and freeze in an airtight container for up to 2 months for best quality.
- Reheating: Warm refrigerated or frozen pancakes in a toaster or skillet until the center reaches 165°F. Avoid stacking them in a covered dish while hot, which traps steam and makes them soggy.
Questions That Come Up While Making Buttermilk Pancakes
Fluffy Buttermilk Pancakes
Ingredients
Equipment
Method
- Whisk the flour, sugar, baking powder, baking soda, and salt together in a large bowl.
- In a medium bowl, whisk the buttermilk and eggs, then whisk in the melted butter.
- Pour the buttermilk mixture into the flour mixture and stir just until no dry flour remains; the batter will be lumpy.
- Let the batter rest for 5 minutes.
- Heat a 12-inch nonstick skillet over medium heat, then lightly coat it with some of the oil.
- Pour 1/3 cup batter per pancake into the skillet, leaving space between pancakes, and cook for 2 to 3 minutes, until bubbles form on top and the edges look set.
- Flip and cook for 1 to 2 minutes, until golden underneath and cooked through.
- Repeat with the remaining batter, lightly oiling the skillet as needed.
