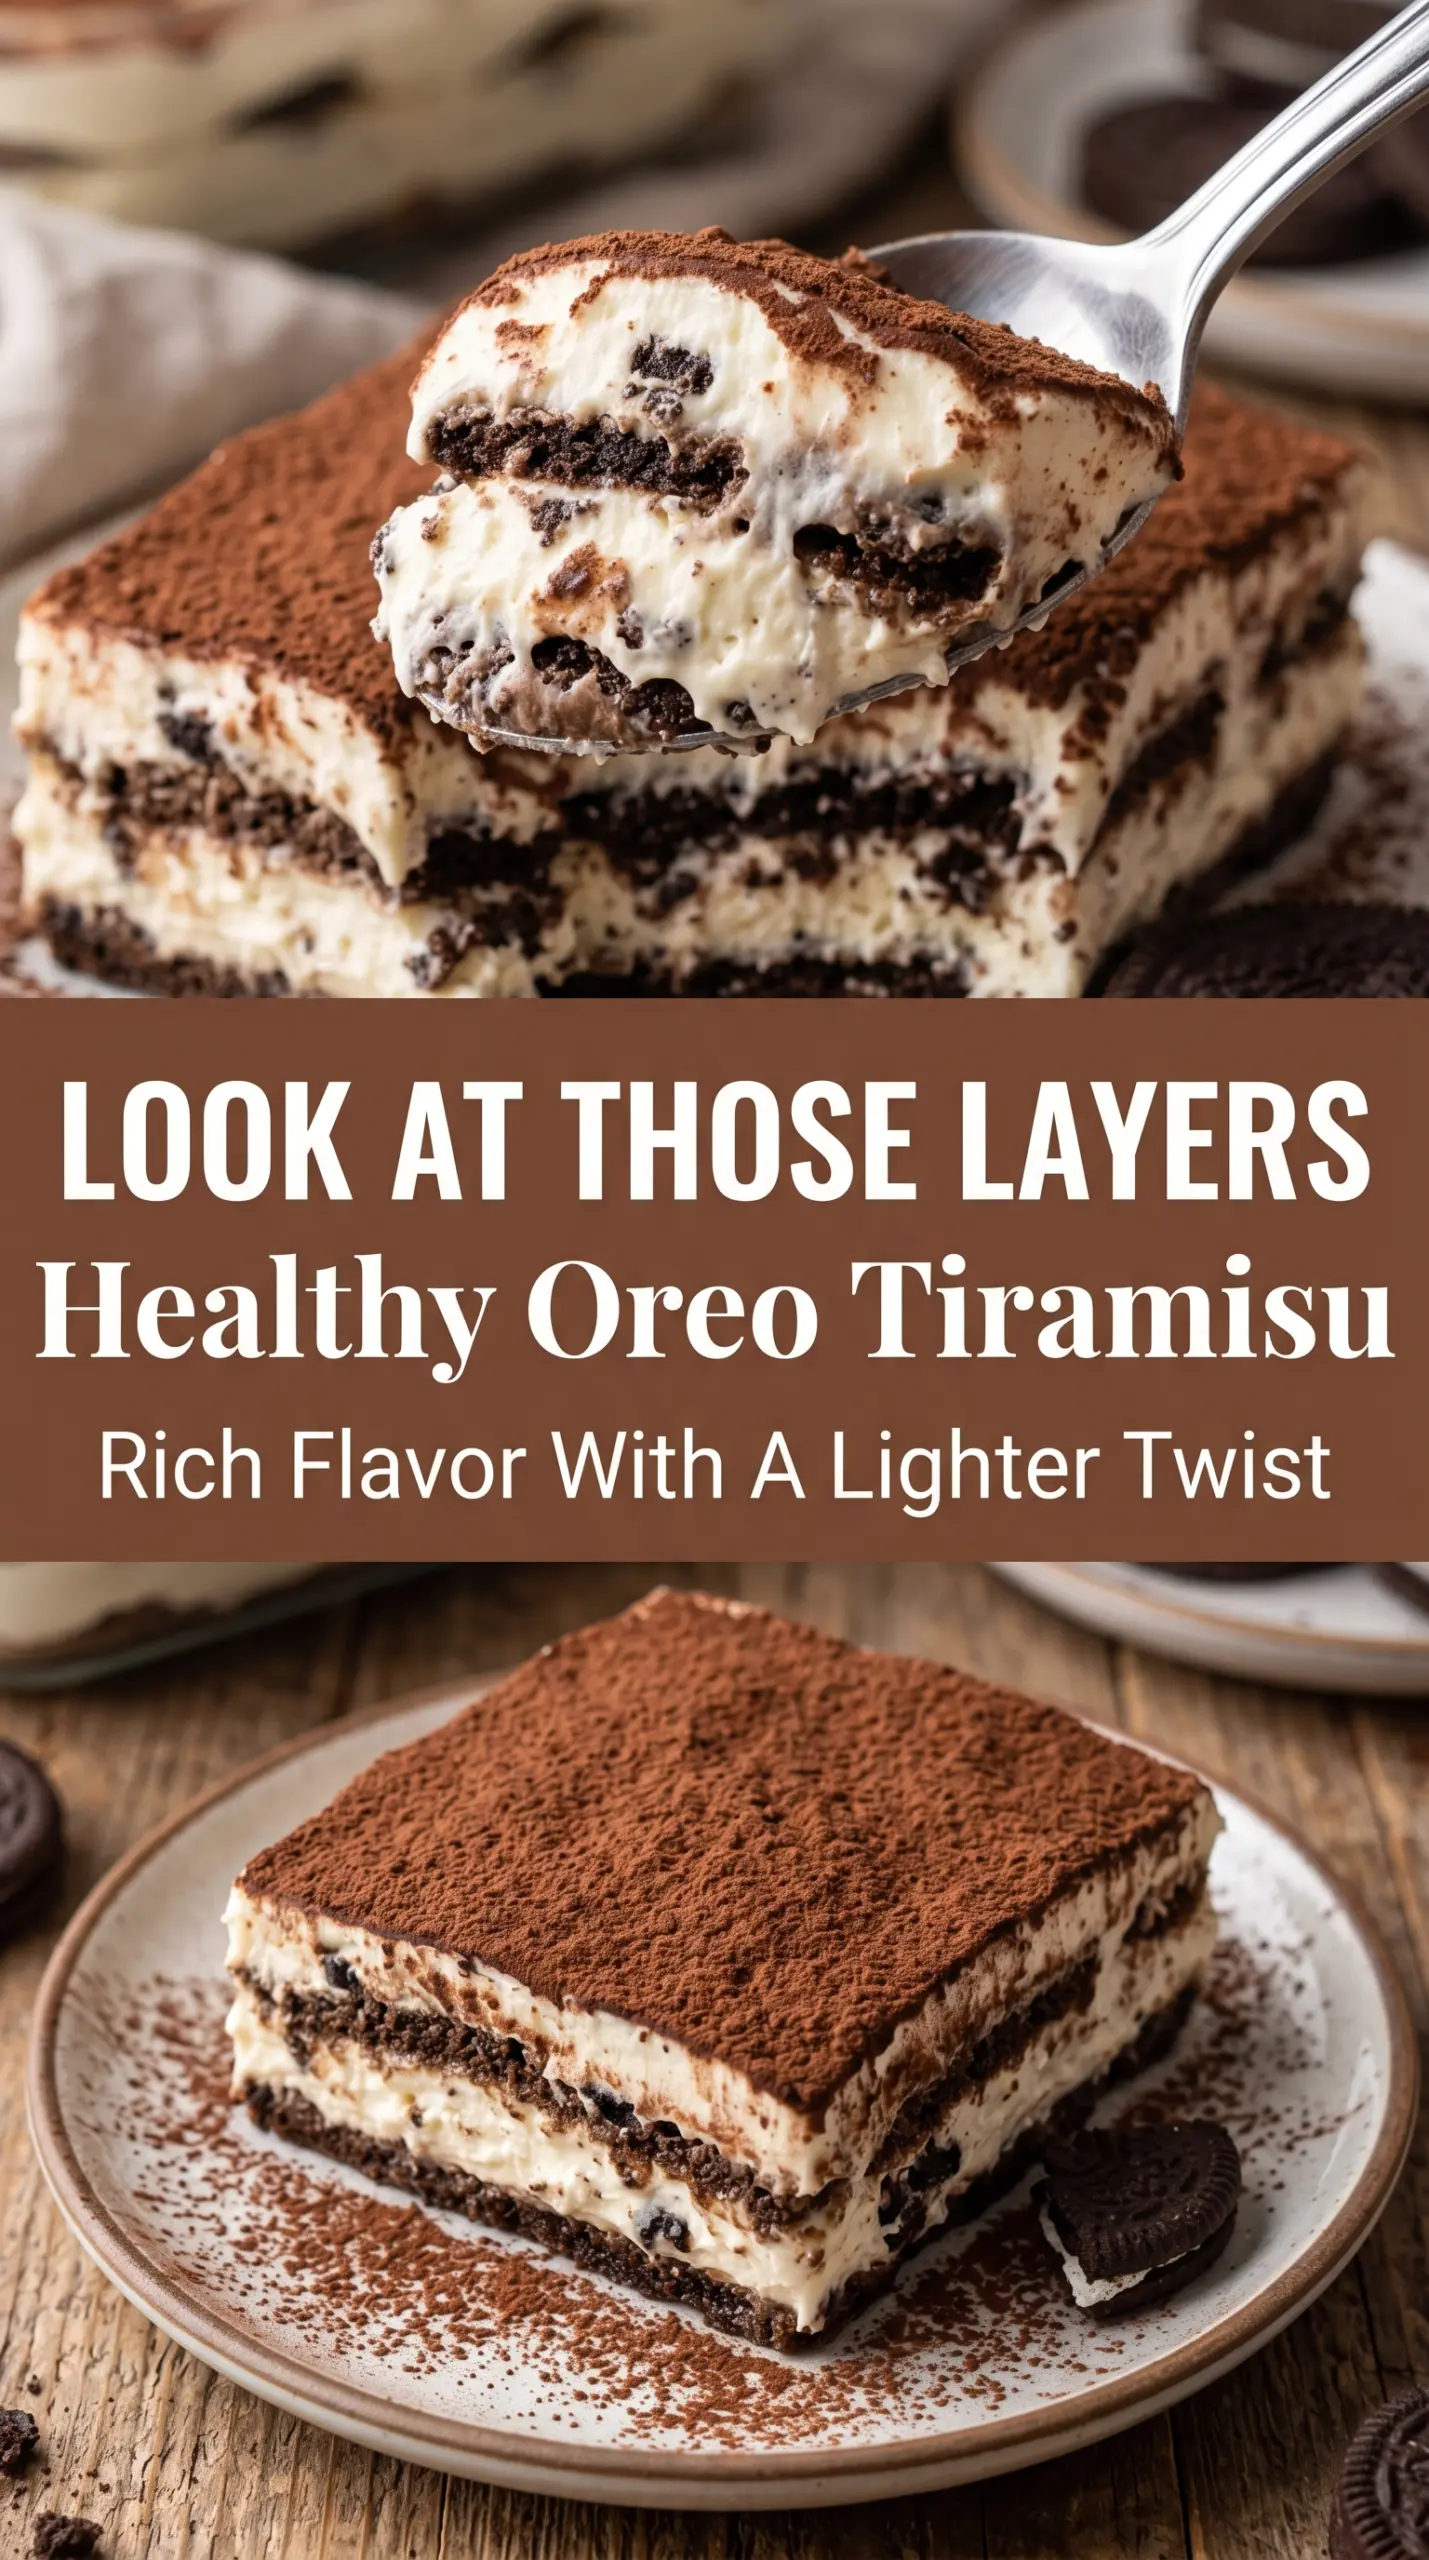
Oreo tiramisu hits that sweet spot between nostalgic and elegant: layers of coffee-dipped cookies, a creamy filling, and a cocoa finish that tastes richer than the ingredient list suggests. This lighter version still gives you the cold, spoonable contrast you want, but it leans on Greek yogurt and light cream cheese to keep the filling tangy, airy, and sturdy enough to slice cleanly after chilling.
The trick is treating the Oreos gently. A quick dip in cooled coffee gives you that tiramisu-style depth without turning the cookies into mush, and the filling needs a proper beat at the start so the cream cheese loses every lump before the yogurt and whipped topping go in. That’s what gives you clean layers instead of a soft, runny middle.
Below, I’ll walk you through the best way to build the layers, how long it really needs to chill, and a few smart swaps if you want to make it a little richer, a little lighter, or a little more your own.
The coffee-dipped Oreos stayed layered instead of turning soggy, and the filling set up beautifully after overnight chilling. My kids kept sneaking forkfuls before dinner.
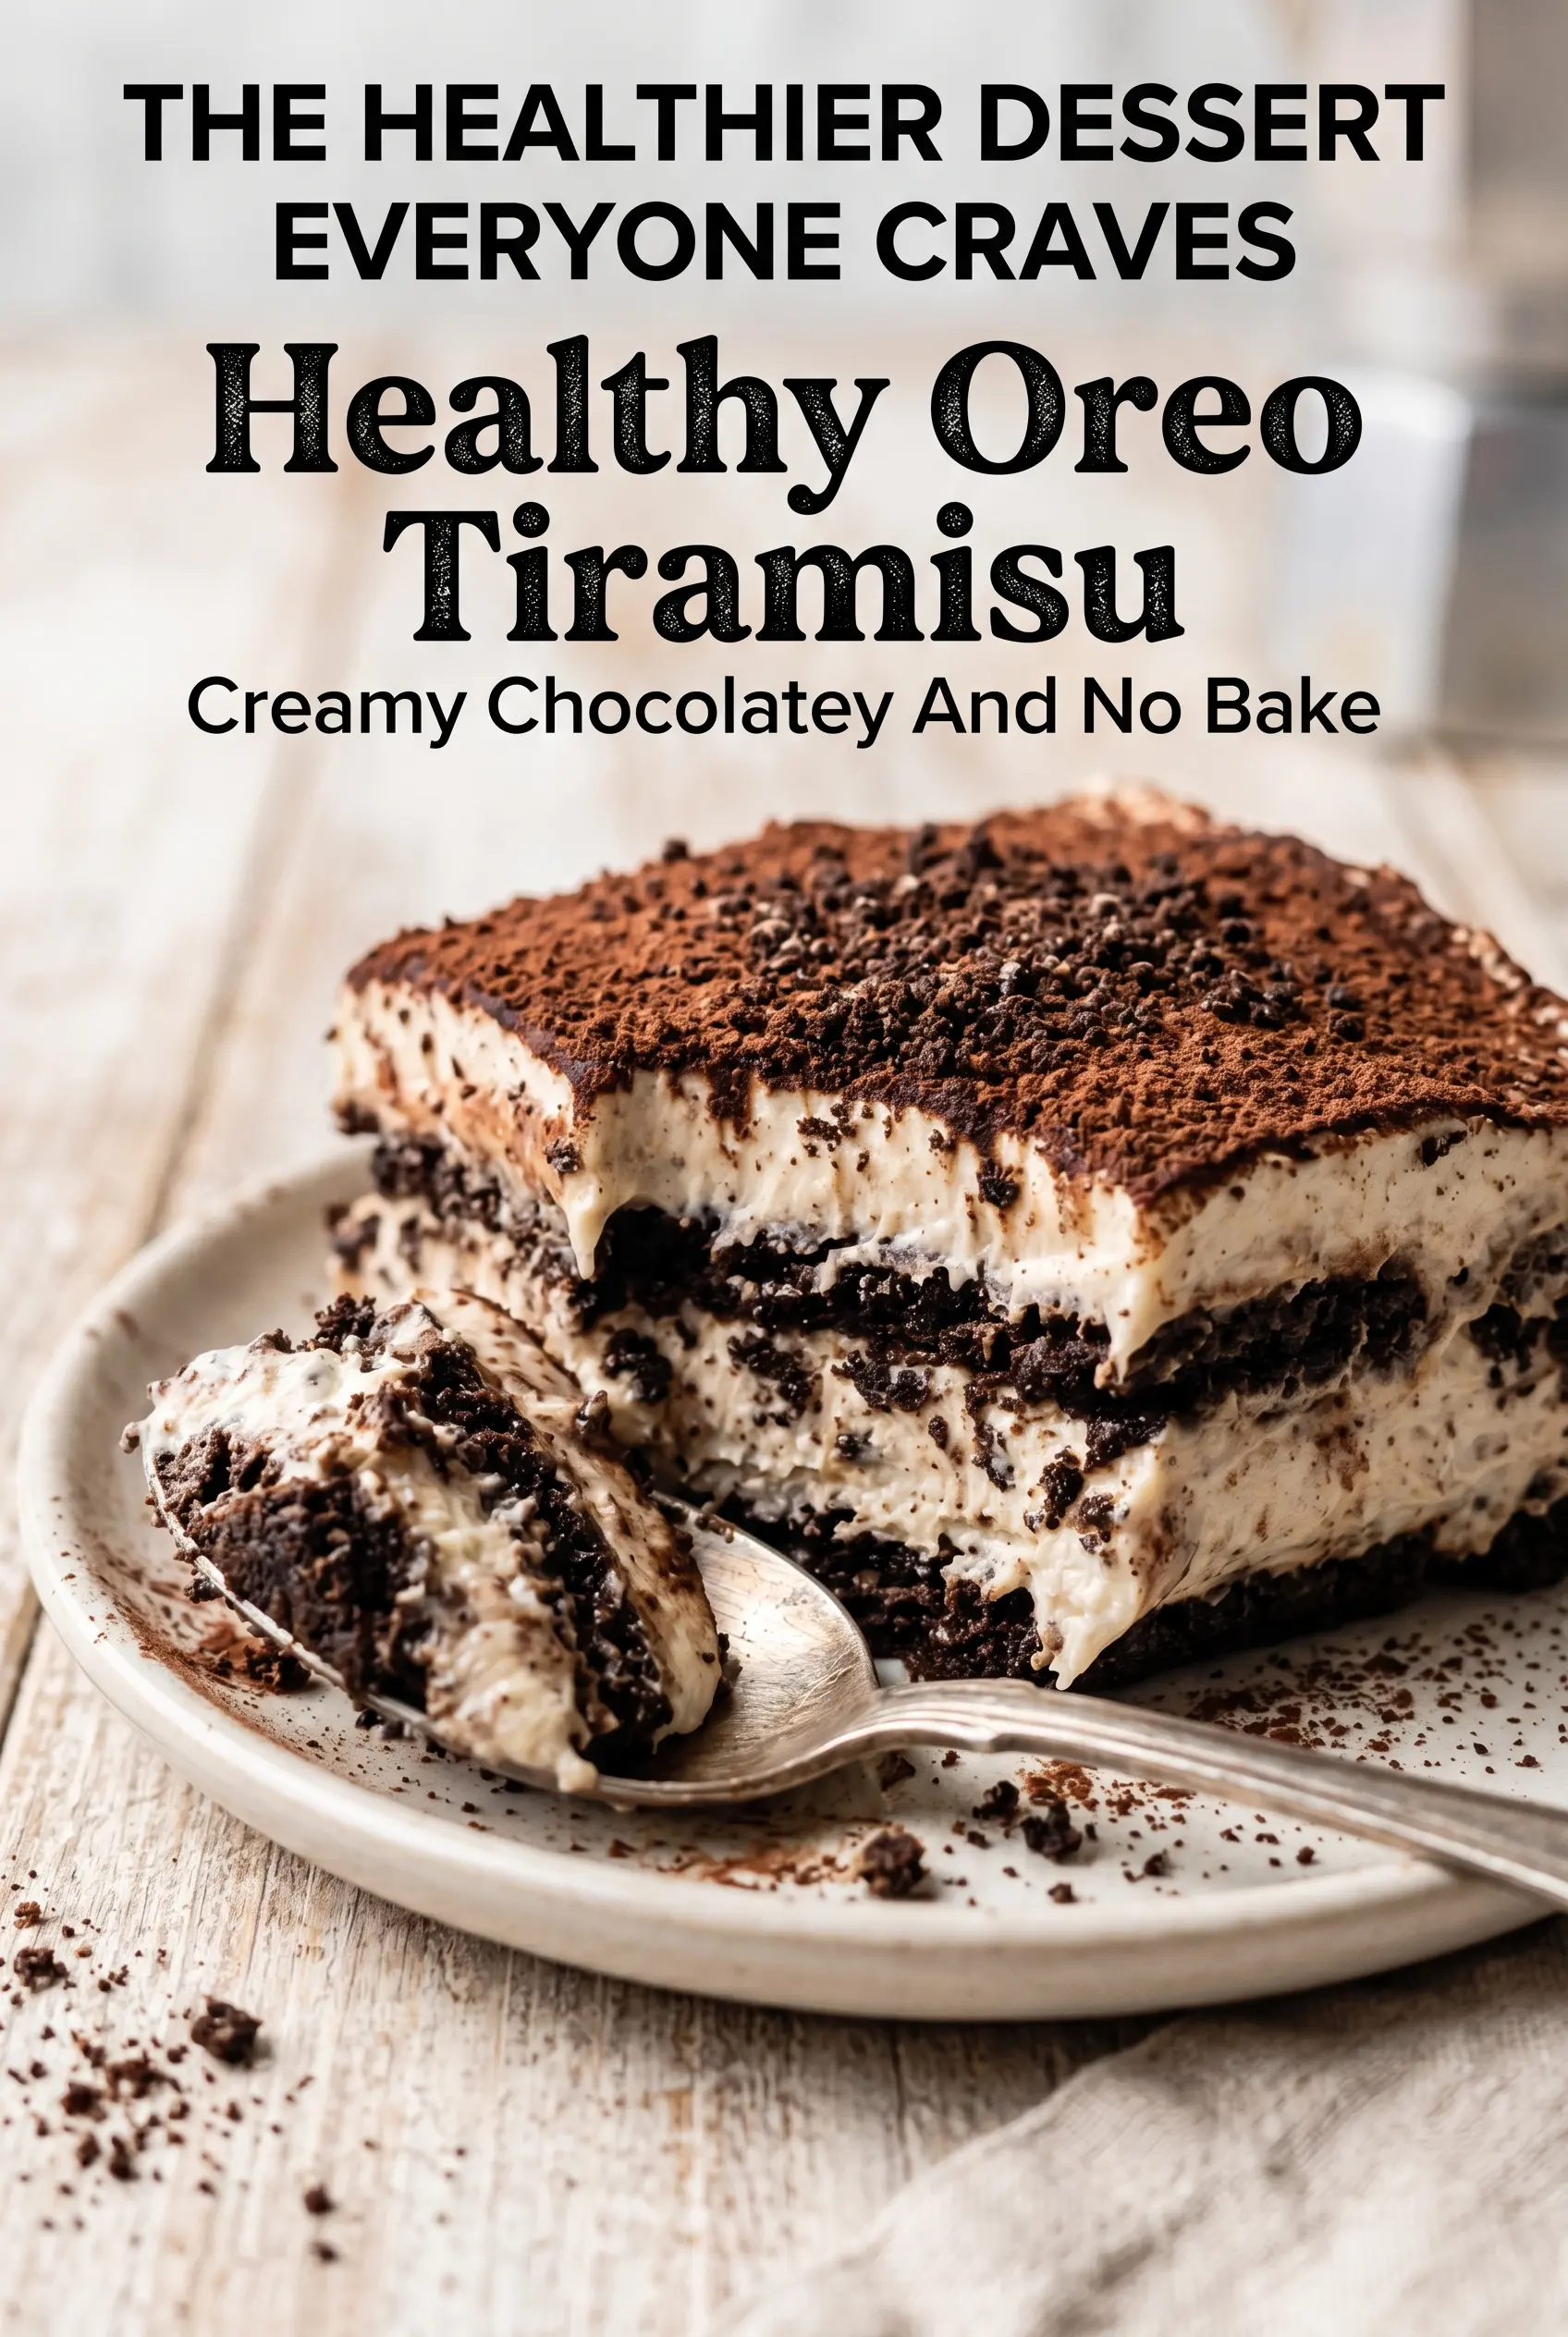
Save this Oreo tiramisu for the nights when you want a chilled no-bake dessert with coffee, cocoa, and a creamy filling that slices cleanly.
The Reason the Cookies Need a Fast Dip, Not a Soak
With tiramisu, the difference between a clean layer and a sad puddle usually comes down to the cookie dip. Oreos absorb liquid fast, and once they cross that line, they collapse before the dessert has time to chill and set. A quick dip in cooled coffee gives you the right flavor without losing structure.
The filling matters just as much. Cream cheese needs to be beaten smooth first, before the Greek yogurt and whipped topping are added, or you’ll carry little bits of cold cream cheese through the whole dessert. The goal is a filling that spreads easily but still holds its shape when you cut in.
- Oreos — Regular Oreos give you the classic chocolate-cookie base. Double Stuf works, but the extra filling makes the layers softer, so I stick with standard cookies here.
- Greek yogurt — This adds tang and keeps the filling from tasting heavy. Full-fat Greek yogurt gives the best texture, but plain 2% works too.
- Light cream cheese — This is doing the structural work. Soften it fully before mixing, or the filling will stay lumpy no matter how long you beat it.
- Whipped topping — It lightens the filling and helps it set in the fridge. Homemade whipped cream works, but the texture will be a little softer and less stable after a day.
- Cooled brewed coffee — This should be strong enough to taste, but not hot. Hot coffee breaks down the cookies too fast and can thin the filling at the edges.
- Cocoa powder — Use unsweetened cocoa for the finish so the top keeps that bitter-tidy tiramisu contrast instead of turning candy-sweet.
Building the Layers Without Turning It Into a Soggy Mess
Beat the Base Until It’s Completely Smooth
Start with the cream cheese on its own and beat it until there are no visible lumps and it looks satiny. That step is doing more than saving texture; it gives the rest of the filling a smooth base to blend into. Once it’s creamy, add the yogurt, honey, vanilla, and protein powder if you’re using it, then mix just until combined. If you overwork it after the whipped topping goes in, the filling can loosen instead of staying fluffy.
Dip the Oreos for a Split Second
Pour the cooled coffee into a shallow bowl and dip each Oreo fast — one second per side is plenty. You want the cookie darkened and flavored, not saturated. The moment the cookie starts to bend in your fingers, it has gone too far. Lay the dipped Oreos in the dish right away so they don’t keep absorbing liquid while they sit on the counter.
Layer, Chill, and Let the Fridge Do the Work
Spread half the cream mixture over the first layer of cookies, then repeat with the remaining Oreos and filling. Use an offset spatula or the back of a spoon to nudge the top smooth, but don’t press hard enough to crush the layers underneath. The dessert needs at least 4 hours in the fridge, and overnight is even better. That chill time firms the filling, softens the cookies just enough, and gives you the cleanest slices.
How to Make This Oreo Tiramisu Fit the Way You Eat
Dairy-Free Version
Use dairy-free cream cheese, a thick coconut yogurt, and a whipped topping that holds its shape in the fridge. The flavor stays close to the original, but the filling will taste a little more coconut-forward and the set may be softer, so give it the full overnight chill.
Lower-Sugar Swap
Use a sugar-free or reduced-sugar Oreo-style cookie and replace the honey with a monk fruit or stevia-based sweetener that measures like sugar. You’ll lose a little of the rounded honey note, but the dessert still lands creamy and chocolate-forward.
More Coffee, Less Sweet
Increase the coffee slightly and dust the top with a heavier hand of cocoa. That pushes the dessert closer to classic tiramisu territory and reins in the Oreo sweetness without changing the structure.
Storage and Reheating
- Refrigerator: Store covered for up to 4 days. The cookies soften more each day, so the texture is best within the first 24 to 48 hours.
- Freezer: It freezes well as a whole dish or in portions for up to 1 month. Wrap it tightly and thaw in the fridge; the filling may loosen slightly, but the flavor holds up.
- Reheating: No reheating needed. Serve it cold straight from the fridge, and don’t leave it sitting out too long or the filling starts to slacken at the edges.
Questions I Get Asked About This Recipe
Healthy Oreo Tiramisu
Ingredients
Equipment
Method
- Beat the light cream cheese until smooth, with no lumps, then scrape the sides of the bowl as needed for an even texture.
- Mix in the plain Greek yogurt, honey, vanilla extract, and chocolate protein powder if using until creamy and well combined.
- Fold in the light whipped topping until no streaks remain, keeping the mixture light.
- Quickly dip the Oreo cookies into the cooled brewed coffee, just enough to coat without breaking the cookies.
- Arrange a layer of dipped Oreos in an 8×8-inch dish, pressing lightly to fit the layer.
- Spread half of the cream mixture over the cookies in an even layer.
- Repeat with another layer of dipped Oreos, then spread the remaining cream mixture evenly on top.
- Cover the dish and refrigerate for at least 4 hours or overnight so the layers set for slicing.
- Dust the top with unsweetened cocoa powder right before serving, then slice and serve chilled.
