
These Pumpkin Spice Magic Cookie Bars bake into exactly what you want from a fall dessert pan: a chewy graham crust, a thick pumpkin-spiced center, toasted coconut, and little pockets of melted white chocolate and butterscotch in every bite. The edges turn crisp and candy-like while the middle stays soft and almost fudgy, which is what keeps people coming back for “just one more square.”
The trick is in the layering. A light press on the graham crumbs keeps the base tender instead of dense, and whisking the pumpkin with the sweetened condensed milk before it goes on top helps the spice distribute evenly without leaving little clumps behind. Pouring the milk mixture slowly also gives the chips and coconut time to settle into place instead of sliding around in the pan.
Below, you’ll find the one part that matters most if you want clean slices, plus a few smart swaps if you need to work around allergies or pantry gaps. These bars hold up well for parties, bake sales, or a make-ahead dessert tray, and they taste even better once they’ve had time to cool and settle.
The pumpkin layer set up perfectly and the edges got that caramelized crunch without turning hard. I used the warm knife trick after they cooled and every bar came out clean.
Save these Pumpkin Spice Magic Cookie Bars for the nights when you want a chewy pumpkin dessert with toasted coconut, butterscotch, and no mixer to wash.
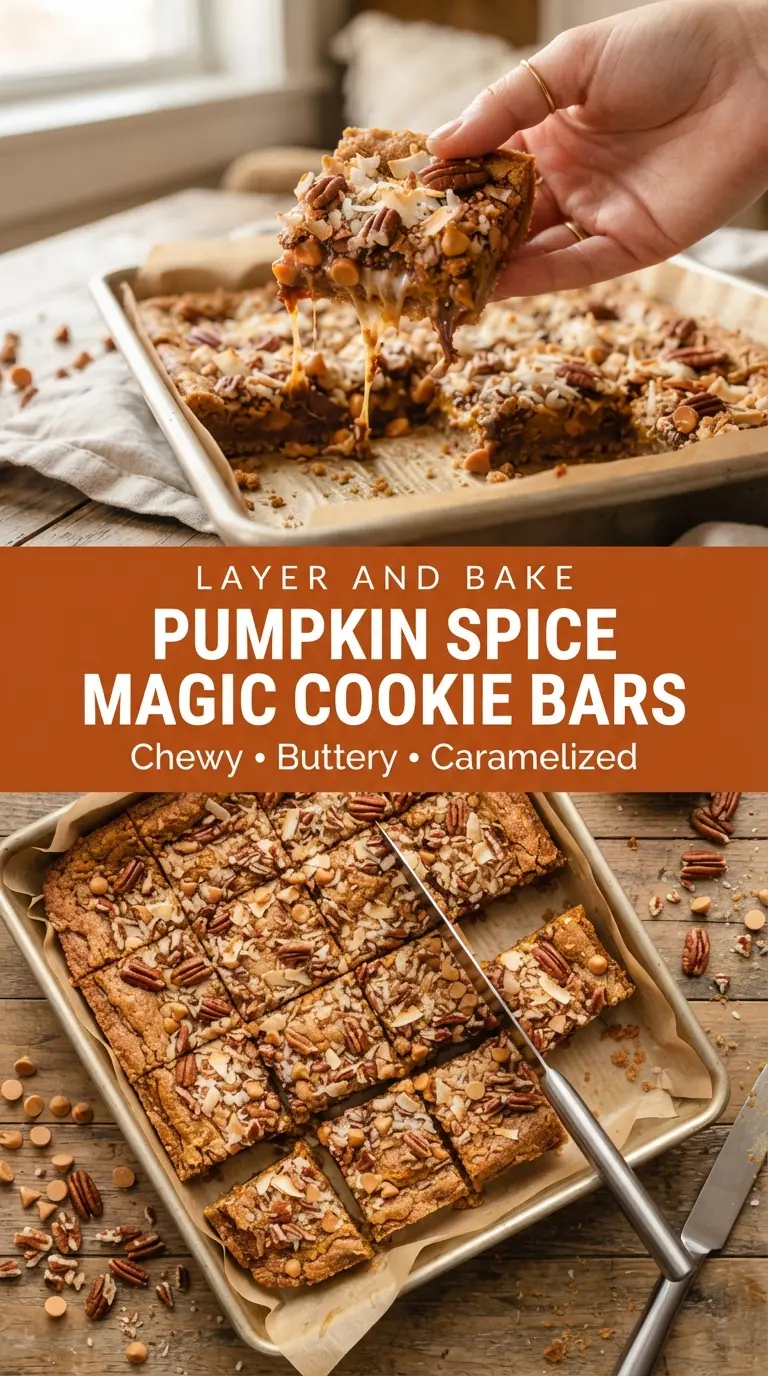
The Layer That Keeps These Bars Chewy Instead of Gummy
With magic cookie bars, the part that usually goes wrong is the middle. Too much pressure on the crumb base turns it dense. Too much baking time dries out the coconut and makes the edges hard before the center has set. The goal here is a firm bar that still gives when you bite into it.
The pumpkin mixture adds moisture, which is why it has to be balanced with the sweetened condensed milk and baked until the top looks set and deeply toasted at the edges. Don’t wait for the whole pan to look dry. By the time the coconut is golden and the edges are bubbling, the center is usually right where it should be.
- Graham cracker crumbs — These form the base and need only a light press. If you pack them down hard, the crust loses that tender, sandy bite that makes the layers work together.
- Sweetened condensed milk — This is the glue. There isn’t a good substitute here if you want the same chewy, caramelized finish, because it thickens as it bakes and holds the bars together.
- Canned pumpkin purée — Use plain pumpkin purée, not pumpkin pie filling. Pie filling already contains sugar and spices, which throws off the balance and makes the bars sweeter and softer than intended.
- White chocolate and butterscotch chips — These melt into the pumpkin layer and add pockets of sweetness. If you swap in all one type of chip, the bars still work, but you lose some of the layered flavor.
- Sweetened shredded coconut — The sweetened kind browns better and gives the top its toasty texture. Unsweetened coconut can work in a pinch, but it bakes drier and less candy-like.
- Pecans — They bring crunch and a little bitterness to keep the bars from tasting flat. Walnuts work too, but pecans fit the pumpkin and butterscotch combination better.
How to Build the Pan So the Center Sets Cleanly
The Buttered Base
Start by coating the pan with melted butter before you add the crumbs. That thin layer helps the base bake into a crisp, shrunken edge that lifts cleanly from the parchment later. Press the crumbs down just enough to level them. If the layer looks compacted and damp like wet sand, you’ve gone too far.
The Pumpkin Custard Layer
Whisk the condensed milk, pumpkin, spices, and salt until the mixture looks smooth and even in color. Pour it slowly over the chips so it spreads instead of plunging through the crumbs in one spot. If the mixture looks streaky or grainy, keep whisking; the spices need to be fully dispersed or you’ll get pockets of clove and nutmeg in the finished bars.
The Bake That Matters
Bake until the coconut and pecans are deeply golden and the edges are bubbling. That bubbling is your cue that the sugars have started to caramelize and the center has thickened enough to hold its shape. Pull the pan before the whole top looks dry. Overbaking is what turns these from chewy bars into dry squares with a hard edge.
Cooling Before Cutting
Let the bars cool completely in the pan. Warm bars look set at the top but slide apart when you lift them, and the layers need time to settle. A warm knife helps a lot here. Wipe the blade between cuts so the pumpkin layer doesn’t smear across every square.
Three Ways to Adjust the Bars Without Losing the Texture
Dairy-Free Version with Coconut Condensed Milk
Swap in a dairy-free sweetened condensed milk made from coconut milk and use a plant-based butter for the crust. The bars will still set, but they pick up a faint coconut note that works nicely with the topping. Check the label on the condensed milk, since some brands are thinner and may need the full bake time.
Nut-Free Bars That Still Have Crunch
Leave out the pecans and replace them with extra coconut or crushed pretzels for texture. The coconut gives you toastiness, while pretzels add a salty snap that cuts through the sweet layers. Skip the flaky sea salt only if you’re using salted pretzels, since too much salt makes the top taste sharp.
Gluten-Free Base Swap
Use gluten-free graham-style crumbs in the same amount. The rest of the recipe is naturally gluten-free, so this swap keeps the texture close to the original as long as the crumb layer isn’t packed too tightly. A sandy, even base matters more than the exact brand.
Make Them Less Sweet
Use half white chocolate and half chopped dark chocolate, then keep the butterscotch chips as written. The darker chocolate pulls the bars back from dessert-candy territory and adds a little bitterness without changing the structure. Don’t reduce the condensed milk, since that would weaken the set.
Storage and Reheating
- Refrigerator: Store in an airtight container for 5 days. The bars get a little firmer when chilled, which actually helps the layers stay neat.
- Freezer: These freeze well. Wrap the cut bars individually, then place them in a freezer bag for up to 2 months. Thaw in the refrigerator so the topping doesn’t turn sticky.
- Reheating: If you want a softer bite, let a bar sit at room temperature for 15 to 20 minutes. Microwaving can make the coconut tough and the chips greasy, so use only a few seconds if you want the center just barely warm.
Answers to the Questions Worth Asking
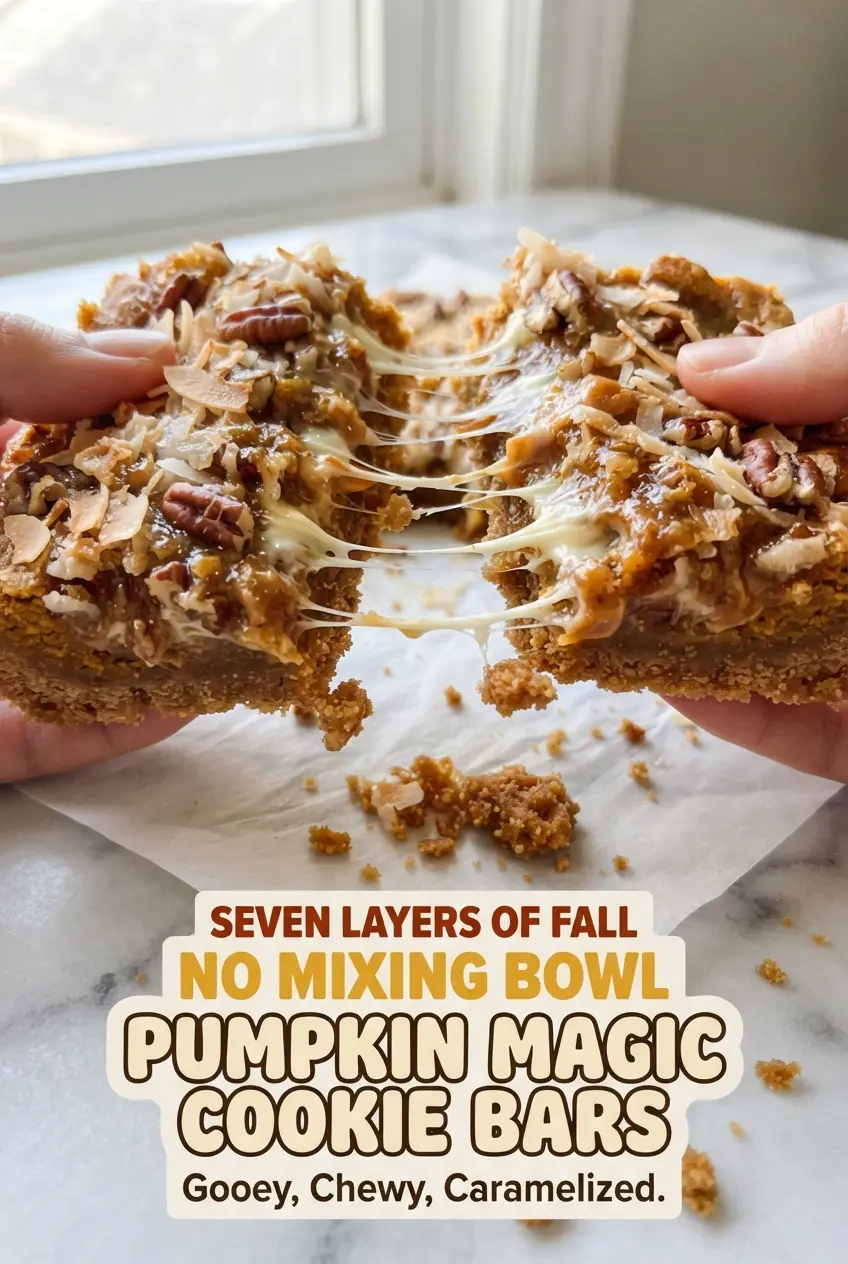
Pumpkin Spice Magic Cookie Bars
Ingredients
Equipment
Method
- Heat the oven to 350°F. Line a 9x13-inch pan with parchment, leaving an overhang on the long sides so you can lift the bars out later.
- Pour the melted butter into the pan and tilt it until the bottom is evenly coated.
- Sprinkle the graham cracker crumbs over the butter in an even layer and press them down gently with the back of a spoon, without packing tight.
- Whisk the sweetened condensed milk, pumpkin purée, cinnamon, ginger, nutmeg, cloves, and fine salt in a measuring cup until smooth and evenly orange.
- Scatter the white chocolate chips, then the butterscotch chips, evenly over the crumb layer.
- Pour the pumpkin condensed milk slowly and evenly over the chips, covering as much of the surface as possible.
- Sprinkle the shredded coconut over the top, then finish with the chopped pecans, pressing everything down lightly so it settles into the milk.
- Bake 28–32 minutes at 350°F, until the coconut and pecans are deep golden and the edges are bubbling and caramelized.
- Sprinkle with flaky sea salt while hot.
- Cool completely in the pan about 2 hours so layers set, because cutting warm bars can pull apart.
- Lift the bars out by the parchment and cut into 24 bars with a warm knife, wiping the blade between cuts.
