Red, white, and blue cupcakes bake up with tender crumbs, clean layers of color, and a frosting swirl that holds its shape without tasting heavy. The best part is the surprise when you cut into one: the batter bakes into soft stripes instead of blending into a muddy shade, which gives these cupcakes a bright, bakery-style look without extra fuss.
The trick is using white cake mix as the base, then dividing the batter evenly before tinting each portion with gel coloring. Gel color keeps the batter thick and vibrant, which matters here because thin liquid coloring can weaken the batter and mute the final shades. A simple vanilla buttercream finishes the cupcakes with a smooth, pipeable texture that balances the sweet cake without overpowering it.
Below you’ll find the method for getting clean color layers, the little texture cues that tell you the cupcakes are done, and a few smart swaps if you need to adjust the frosting or make these ahead for a party.
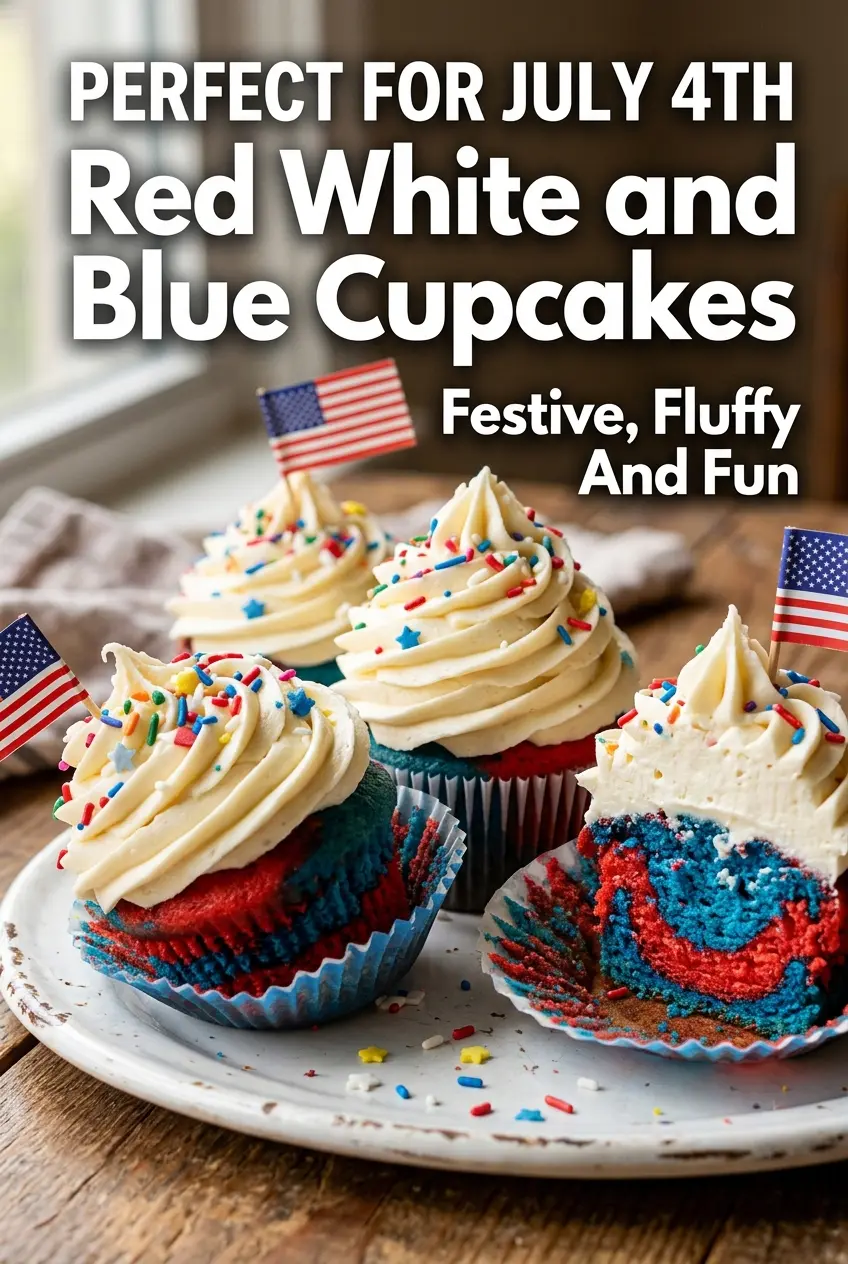
The colors stayed separate in the liners and the cupcakes baked up fluffy instead of dense. I loved that the buttercream piped smoothly after a quick beat, and the sprinkles made them look like a party tray from a bakery.
These red white and blue cupcakes keep their bright patriotic layers and fluffy vanilla buttercream right where they belong.
The Secret to Keeping the Red, White, and Blue Layers Distinct
The colors stay sharp when the batter is thick enough to hold its shape and the colors are added before the batter is overmixed. Stir just until the color disappears into each portion. If you beat the batter after coloring, the texture loosens and the stripes start to blur together in the oven.
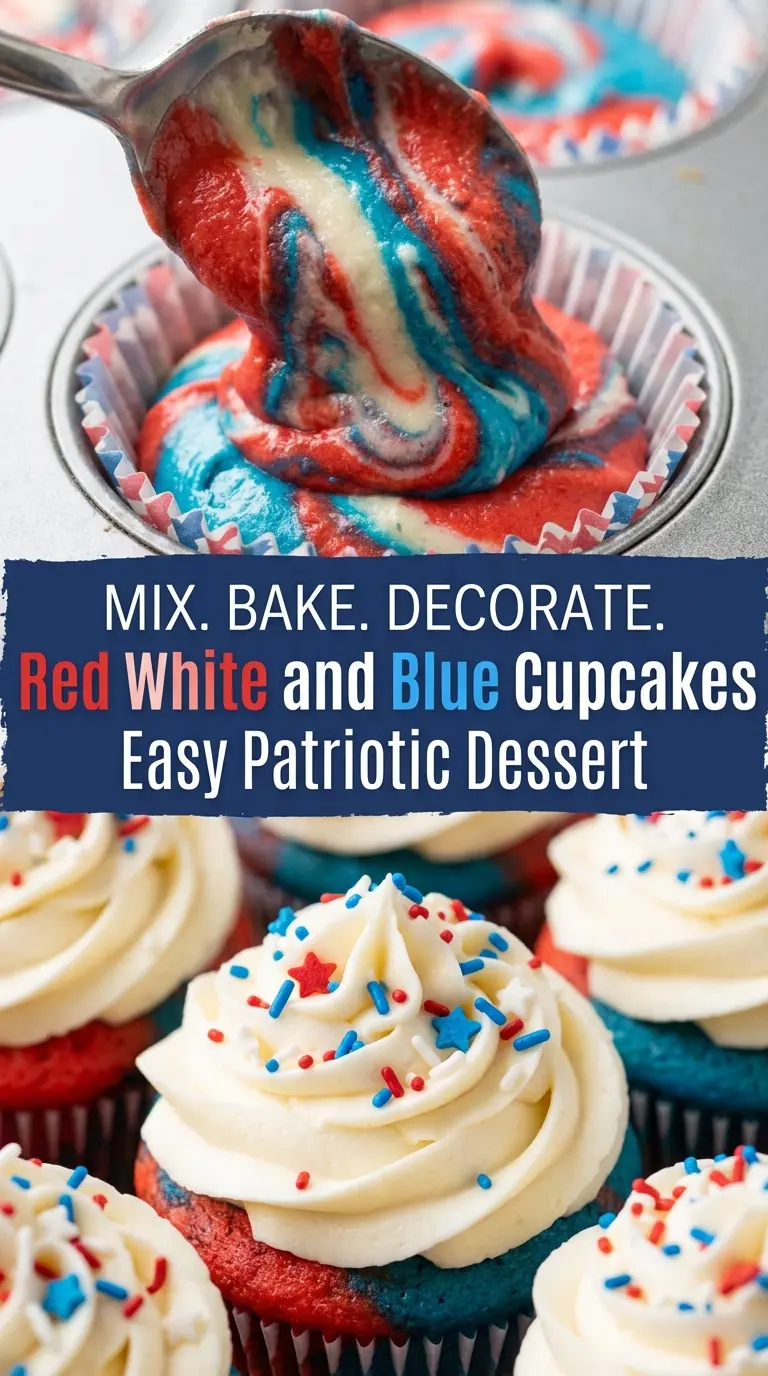
Spoon the batters into the liners in alternating dollops rather than trying to layer them neatly. That messy approach actually works better because the batter settles as it bakes, creating clear pockets of color instead of a single blended shade. The goal is a festive swirl, not a perfectly stacked tricolor tower.
- White cake mix — This gives you a light crumb and a clean base color, which matters when you want the red and blue to stay vivid. A yellow cake mix will muddy the look.
- Eggs, water, and oil — These are the structure and moisture for the cupcakes. Use the amounts on the box; changing them too much can make the batter too loose to hold the colors.
- Red gel food coloring — Gel gives stronger color without thinning the batter. Liquid coloring works in a pinch, but you’ll need more of it and the final red often looks softer.
- Blue gel food coloring — Blue usually needs a little more coloring than red to stay bold after baking. Add it gradually so you don’t overshoot into navy batter.
- Unsalted butter — This is the backbone of the buttercream. Softened butter creams smoothly and traps air, which helps the frosting pipe cleanly.
- Powdered sugar — This sets the sweetness and structure of the frosting. Add it slowly or the buttercream turns dusty and clumpy before it comes together.
- Heavy cream — Just enough cream loosens the frosting into a pipeable texture. Milk can work, but the frosting will be a little softer and less stable.
Building the Batter, Then Frosting It While It Still Pipes Cleanly
Mixing the base
Prepare the cake batter according to the box directions, then divide it evenly into three bowls. Keep one bowl plain, tint one red, and tint one blue with gel color. Stir each bowl just until the color looks even; the batter should stay thick and smooth, not slack and glossy. If you overwork it, the cupcakes bake up tougher and the colors start to blend before they hit the oven.
Layering the colors
Alternate spoonfuls of red, white, and blue batter into each cupcake liner until it’s about two-thirds full. Don’t drag a toothpick through the batter to swirl it, or you’ll smear the colors into one another. The alternating dollops do the work for you as the batter rises and settles in the oven. The tops should look marbled before baking, then open into brighter bands as they set.
Baking until just set
Bake at 350°F until the tops spring back when lightly touched and a toothpick comes out with a few moist crumbs, about 18 to 20 minutes. If the tops dome hard and the edges pull too far from the liners, they’re already past the sweet spot. Pulling them a minute early is better than waiting for perfectly dry crumbs, because overbaked cupcakes lose the soft bite that makes this recipe work.
Whipping the buttercream
Beat the softened butter until it turns pale and fluffy before adding the powdered sugar in batches. Once the sugar is in, mix in the vanilla and cream until the frosting holds a swoop when you lift the beater. If it seems stiff, add cream a teaspoon at a time. If it looks loose, let it sit for a few minutes and beat again; that short rest often tightens it enough to pipe neatly.
Make Them Gluten-Free With a Cupcake-Safe Flour Blend
Use a gluten-free white cake mix in the same amount and keep the rest of the ingredients unchanged. The texture stays soft and festive, though the crumb may be a touch more delicate, so let the cupcakes cool completely before frosting.
Dairy-Free Frosting Without Losing the Swirl
Swap the butter for a good dairy-free stick butter and use a splash of non-dairy milk instead of cream if needed. The frosting still pipes well, but it may soften faster at room temperature, so chill the cupcakes briefly before serving if the kitchen is warm.
Using a Homemade White Cake Base
A from-scratch white cake batter works too, as long as it bakes up light and neutral in color. The important part is not adding ingredients that darken the crumb, because the blue and red sections won’t stand out as clearly once baked.
Storage and Reheating
- Refrigerator: Store frosted cupcakes in an airtight container for up to 4 days. The frosting stays stable, though the cake is best in the first 2 days.
- Freezer: Freeze unfrosted cupcakes for up to 2 months. Wrap them tightly and thaw at room temperature before frosting so the tops don’t sweat.
- Reheating: These don’t need reheating. If the cupcakes were chilled, let them sit at room temperature for 20 to 30 minutes so the buttercream softens back to a creamy texture.
Answers to the Questions Worth Asking
Red White and Blue Cupcakes with Vanilla Buttercream
Ingredients
Equipment
Method
- Preheat the oven to 350°F (175°C).
- Line a muffin tin with cupcake liners.
- Prepare cake batter according to package directions.
- Divide the batter into three bowls.
- Leave one bowl uncolored (white), and color one bowl red gel and another bowl blue gel.
- Alternate spoonfuls of red, white, and blue batter into the cupcake liners.
- Fill each liner about two-thirds full.
- Bake at 350°F (175°C) for 18–20 minutes, until the tops spring back when lightly touched and a toothpick comes out clean.
- Cool the cupcakes completely before frosting.
- Beat the softened unsalted butter until creamy.
- Add powdered sugar gradually and mix until smooth.
- Mix in the vanilla extract and heavy cream until the buttercream is thick and spreadable.
- Pipe buttercream onto the cooled cupcakes.
- Decorate with red and blue sprinkles.
- Serve the cupcakes.
