
The first whisk through the pan drippings tells you whether you’re headed for smooth gravy or a greasy one. Separate the fat from the juices before measuring, and the roux has exactly what it needs to thicken without leaving a slick on top. That simple bit of organization is what makes this turkey gravy from drippings dependable.
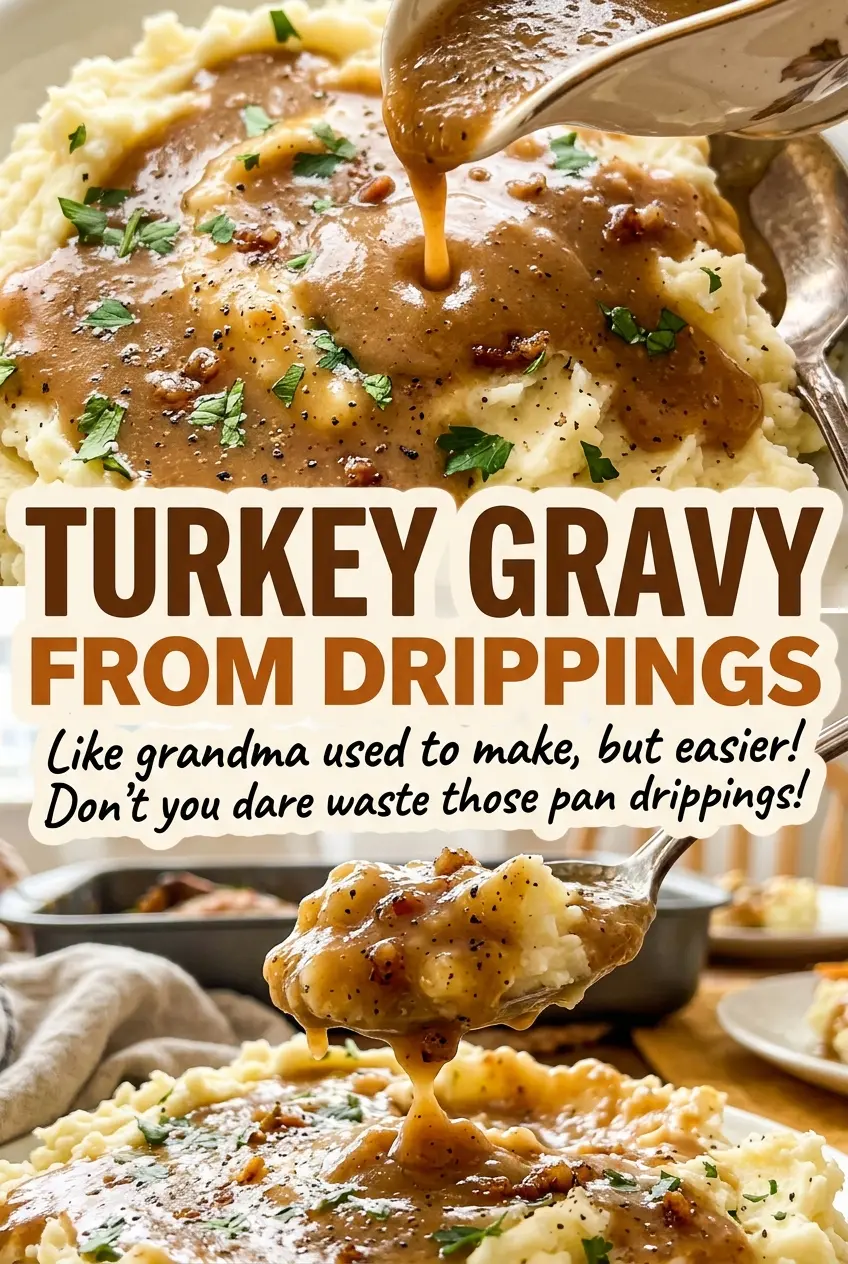
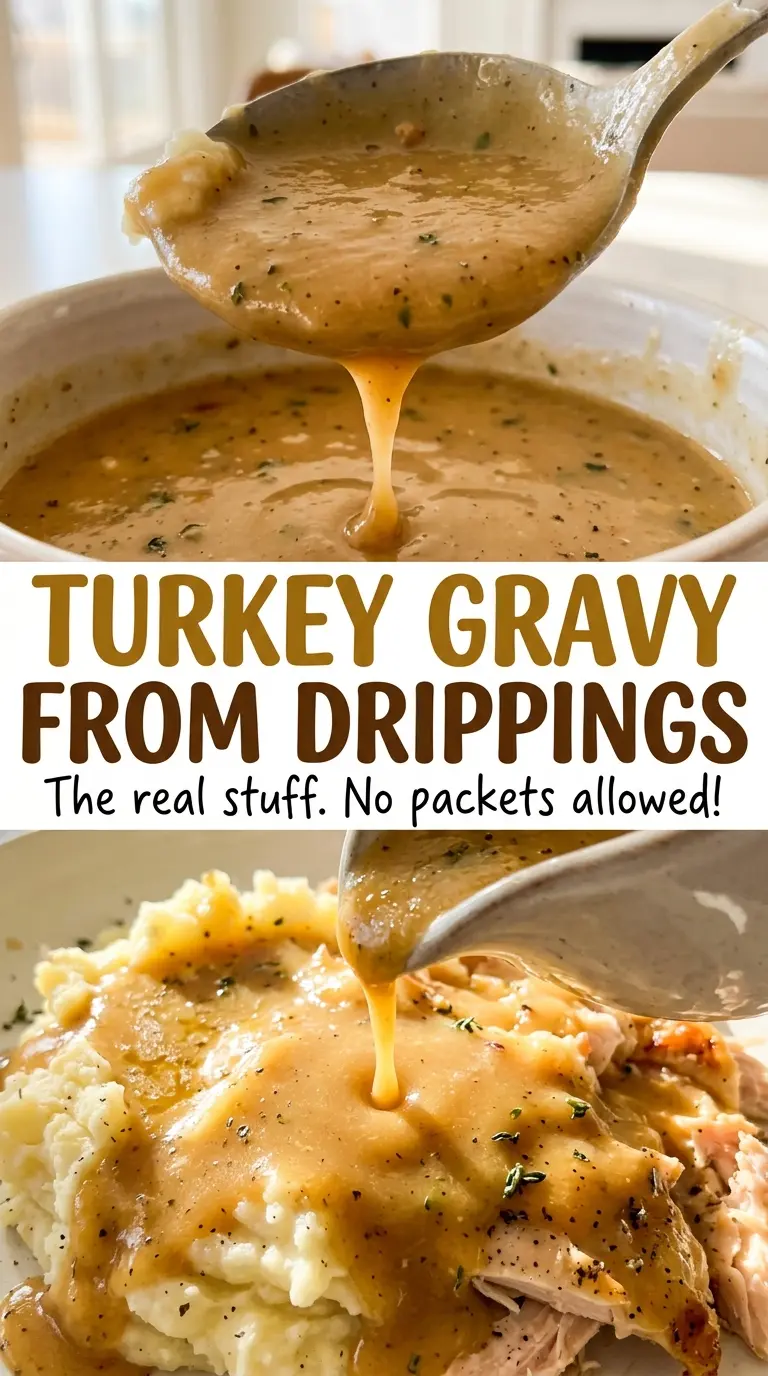
I build the gravy in a small saucepan, starting with a pale roux and adding the liquids gradually. Warm broth blends in more easily, while the defatted drippings bring the roasted turkey flavor through every spoonful. Let it simmer until it coats the back of a spoon, and you’ll have a pourable gravy that clings to turkey and potatoes.
Kitchen Note
Stay with the whisk while the flour cooks. In just 1 to 2 minutes, the roux should look smooth and lightly golden; letting it get much darker can take the gravy away from that classic turkey flavor.
Save this turkey gravy from drippings for a smooth, savory finish made with the flavor already in your roasting pan.
Why Separating the Fat and Juices Makes Better Turkey Gravy
Pan drippings aren’t one ingredient with one job. The fat is what combines with flour to form the roux, while the defatted juices carry concentrated turkey flavor into the liquid. If you pour the drippings in without separating them, it’s easy to end up with too much fat and not enough of the flavorful juices you meant to measure.
The proportions keep those jobs in balance: an equal measure of fat and flour forms the thickening base, and the measured defatted drippings join warm turkey broth for the gravy itself. The broth gives you enough volume for eight servings without asking the pan juices to do all the work. Low-sodium broth also leaves room to season after the gravy simmers, which matters because pan drippings can vary in saltiness from one turkey to the next.
That balance is why the finished gravy tastes like turkey rather than flour or grease. Take a moment to measure the separated parts instead of eyeballing them, especially when the roasting pan holds a generous amount of liquid.
What the Fat, Flour, and Pan Juices Each Bring to the Gravy
- Turkey fat or unsalted butter — Turkey fat gives the roux a roasted, savory base. Unsalted butter is the useful backup when the pan doesn’t yield enough fat, and its mild dairy flavor won’t compete with the drippings.
- All-purpose flour — Flour thickens the broth as the gravy simmers and gives it a familiar, spoon-coating body. Whisking it into the fat before adding liquid helps it disperse smoothly rather than clump in the broth.
- Defatted turkey drippings — These juices contribute the distinctive flavor that broth alone can’t supply. Straining them before separating makes it easier to measure the liquid without bits from the roasting pan.
- Low-sodium turkey broth — Turkey broth extends the pan juices into enough gravy for the table. Low-sodium broth is the better choice here because it lets you taste before deciding whether the gravy needs more salt.
- Kosher salt and black pepper — The salt brings the turkey flavor into focus, and black pepper adds a gentle savory edge. Season at the end, once the pan juices and broth have had time to come together.
Building the Roux and Whisking in the Drippings Without Lumps
Separate and Measure the Pan Drippings
Strain the turkey pan drippings into a fat separator, then measure the fat and defatted juices separately. You need 1/4 cup fat and 1/2 cup defatted juices; if the drippings don’t provide enough fat, use unsalted butter to make up the shortfall. Measuring first keeps the roux and liquid in the right proportion before the saucepan is hot.
Cook a Lightly Golden Roux
Heat the fat in a 2-quart saucepan over medium heat. Whisk in the flour and keep whisking constantly for 1 to 2 minutes, until the mixture is smooth and lightly golden. If you see dry flour or lumps at this stage, keep whisking before moving on. The roux should look cohesive, not browned or separated.
Whisk in the Juices and Warm Broth
Gradually whisk in the defatted drippings, followed by the warm turkey broth, until smooth. Pouring the liquids in gradually gives the flour-and-fat mixture time to loosen evenly. If the gravy starts looking lumpy, pause the pour and whisk until the mixture smooths out before adding more liquid. Keep the whisk moving as the saucepan fills.
Simmer Until the Spoon Is Coated
Bring the gravy to a gentle simmer and cook for 5 to 8 minutes, whisking often. Look for a smooth gravy that clings to the back of a spoon rather than running off like broth. Stir in the kosher salt and black pepper, taste, and add more salt only if it needs it. A gentle simmer thickens the gravy without scorching the bottom of the saucepan.
How to Adapt the Fat and Seasoning to Your Drippings
A dairy-free batch when the turkey gives enough fat
Use turkey fat for the full fat measure and leave out the butter. This keeps the gravy dairy-free and gives it a more pronounced roasted-turkey character. If the drippings come up short, the specified backup is butter, so this adaptation only works when there’s enough turkey fat.
A milder, buttery base
When the separator leaves little or no turkey fat, use unsalted butter to make up the missing amount. The gravy will taste a little less deeply roasted and a little more buttery, while the flour and broth still give it the same smooth, spoon-coating texture.
A saltier finish, only if the drippings need it
For a more seasoned gravy, taste it after the simmer and add kosher salt a little at a time until it suits the drippings. This changes the finish without masking the turkey flavor; starting with low-sodium broth gives you more control over that adjustment.
Storage and Reheating
- Refrigerator: Refrigerate in an airtight container within 2 hours and use within 3 to 4 days. The gravy will thicken as it chills.
- Freezer: Freeze in an airtight container for up to 2 to 3 months. Thaw in the refrigerator; the texture may look slightly separated, but whisking as it warms helps bring it back together.
- Reheating: Warm gently in a saucepan, whisking often, until the gravy reaches 165°F. Avoid high heat, which can scorch the thickened gravy before it’s hot throughout.
Questions That Come Up When Making Turkey Gravy from Drippings
Turkey Gravy from Drippings
Ingredients
Equipment
Method
- Strain the turkey pan drippings into a fat separator and measure 1/4 cup fat and 1/2 cup defatted juices; supplement the fat with unsalted butter if needed to reach 1/4 cup.
- Heat the fat in a 2-quart saucepan over medium heat, then whisk in the flour and cook for 1 to 2 minutes, whisking constantly, until smooth and lightly golden.
- Gradually whisk in the defatted drippings and warm broth until smooth.
- Bring the gravy to a gentle simmer and cook for 5 to 8 minutes, whisking often, until thick enough to coat the back of a spoon.
- Stir in the salt and pepper.
- Taste and add more salt if needed.
